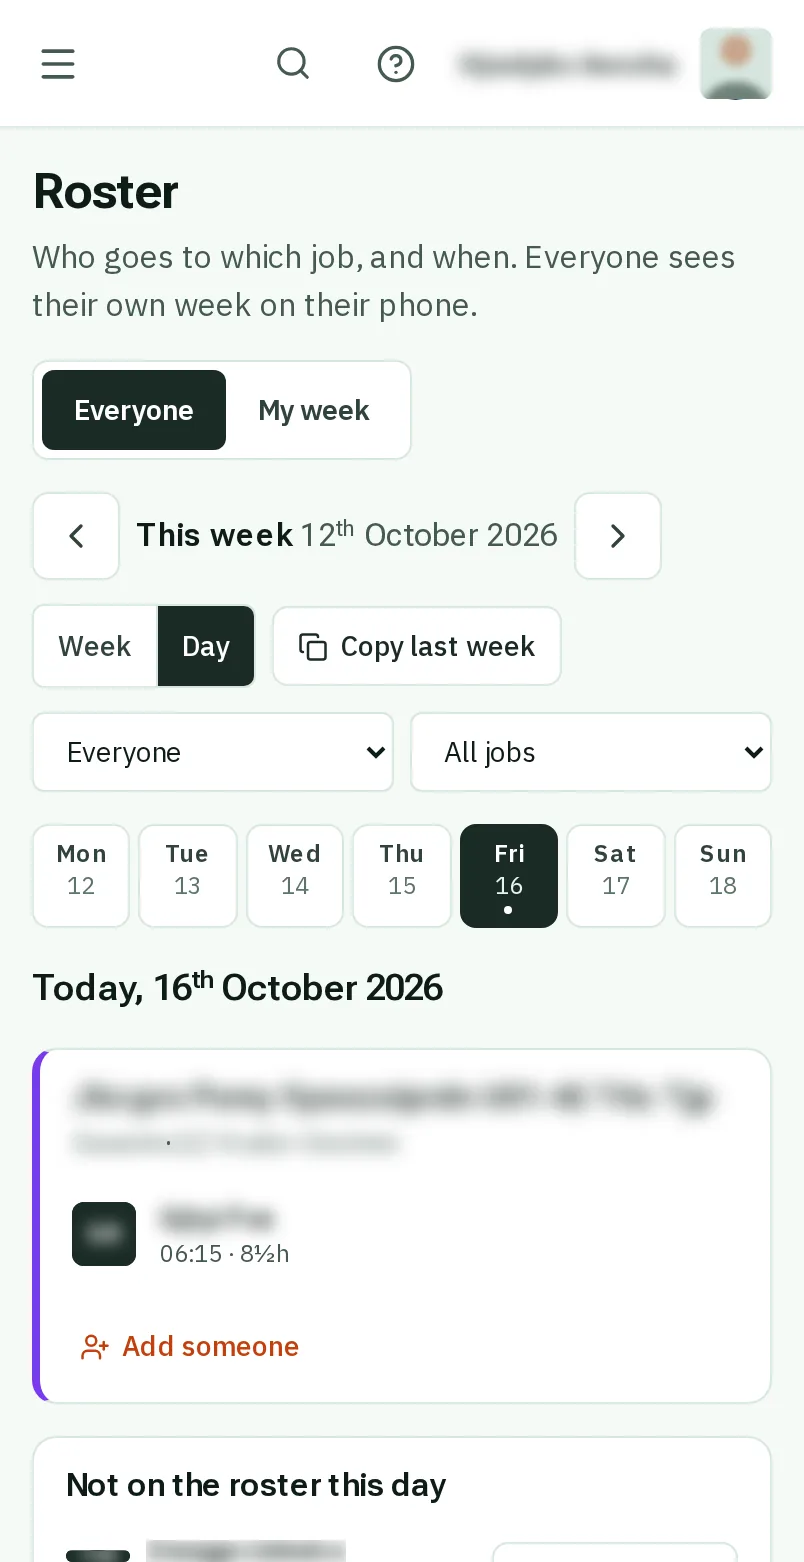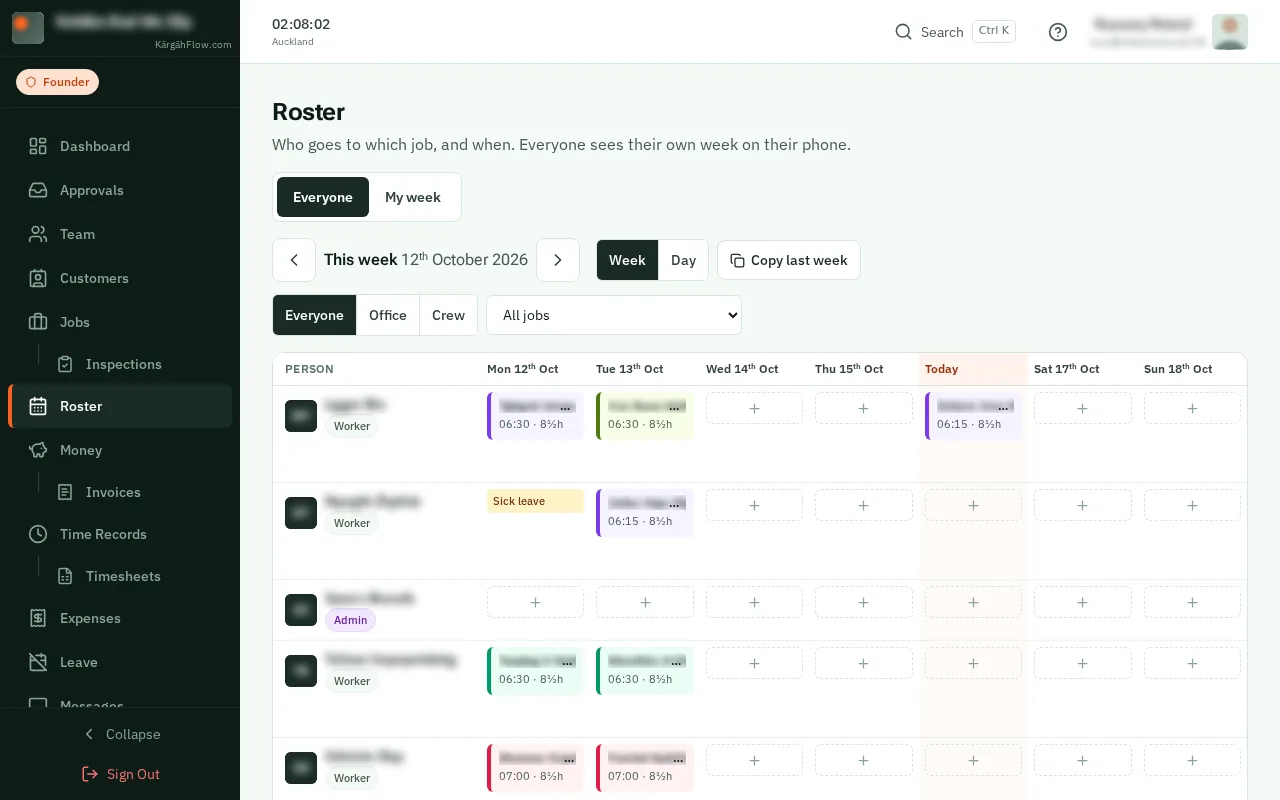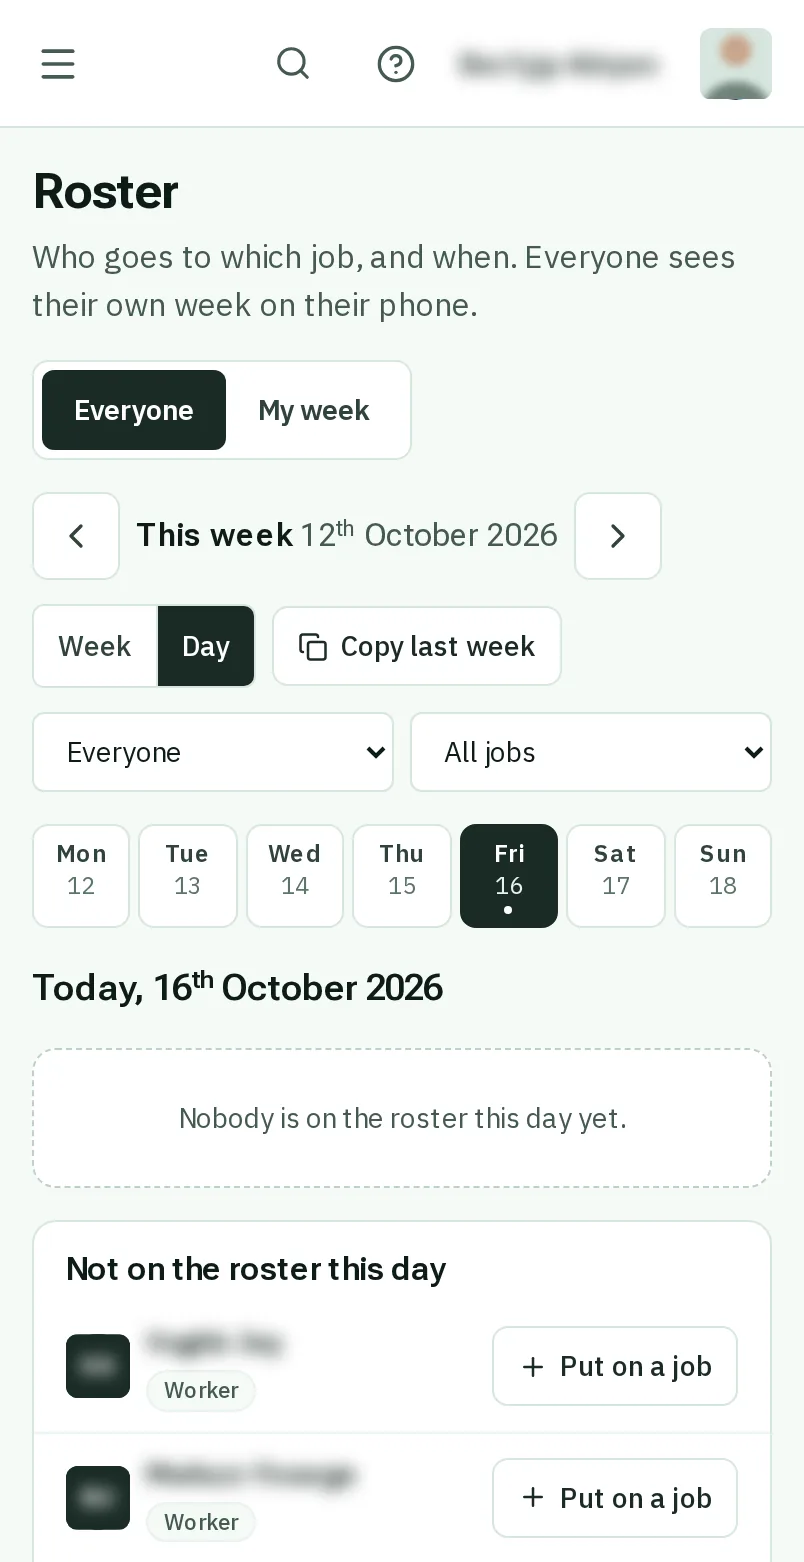
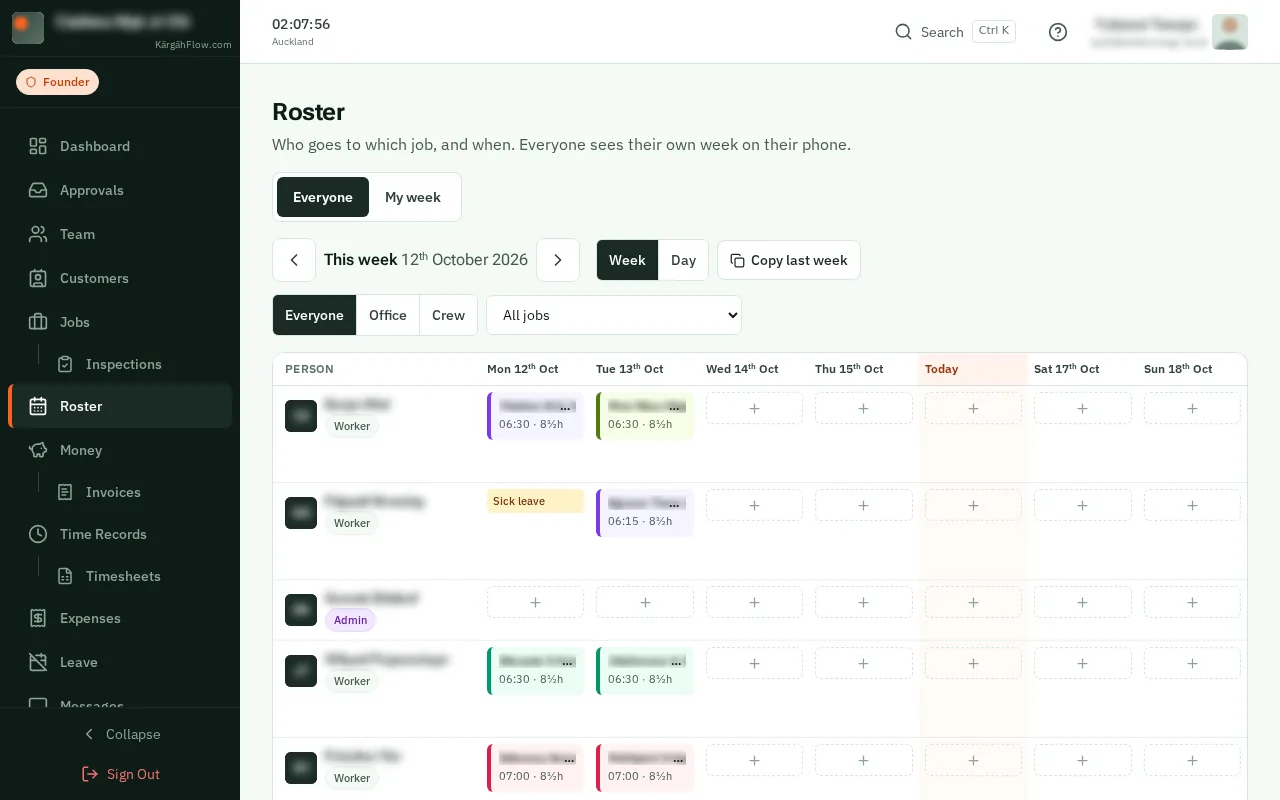
Step 1: Open Roster
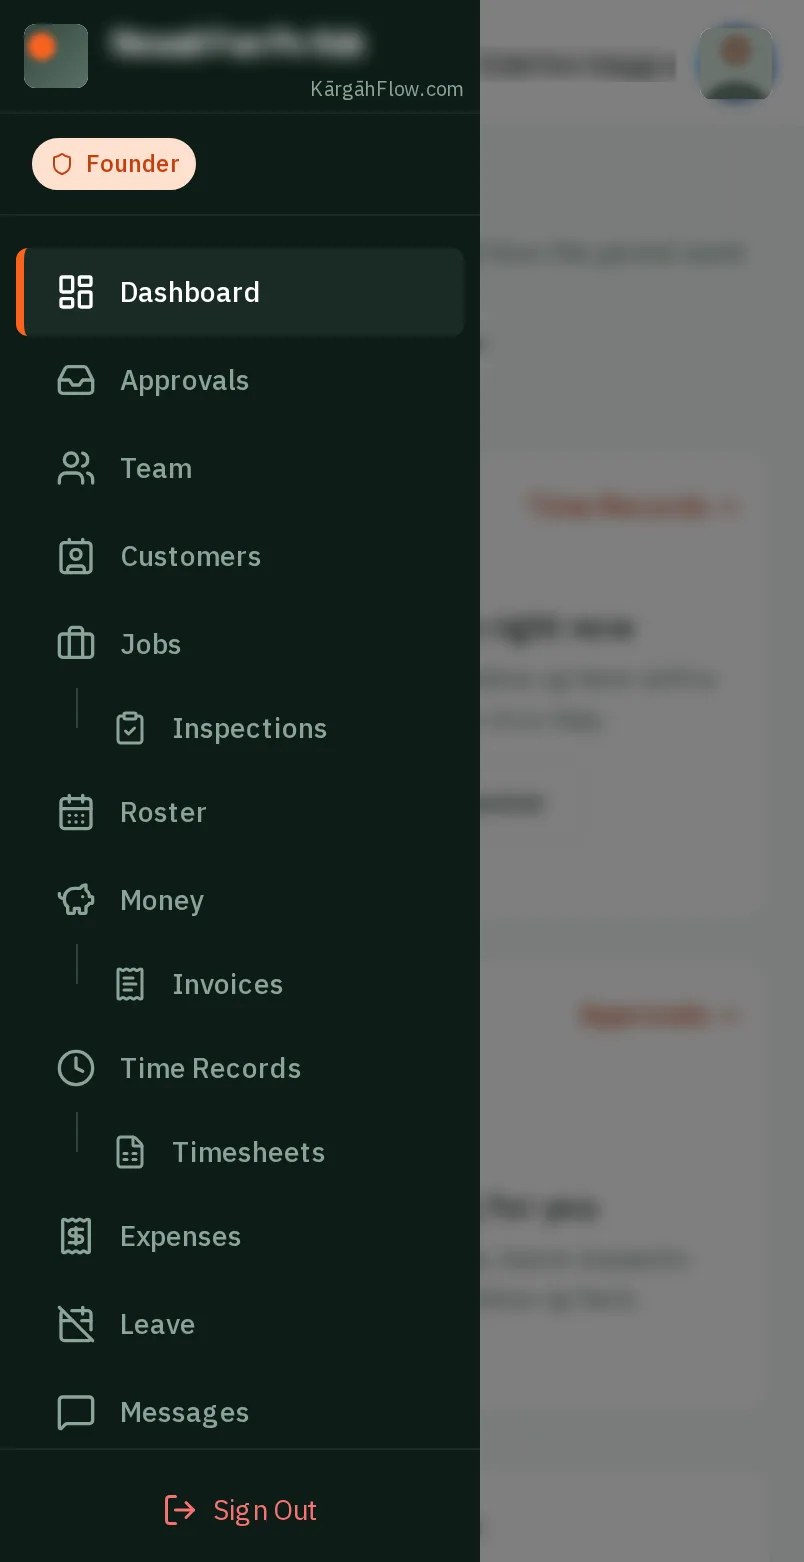
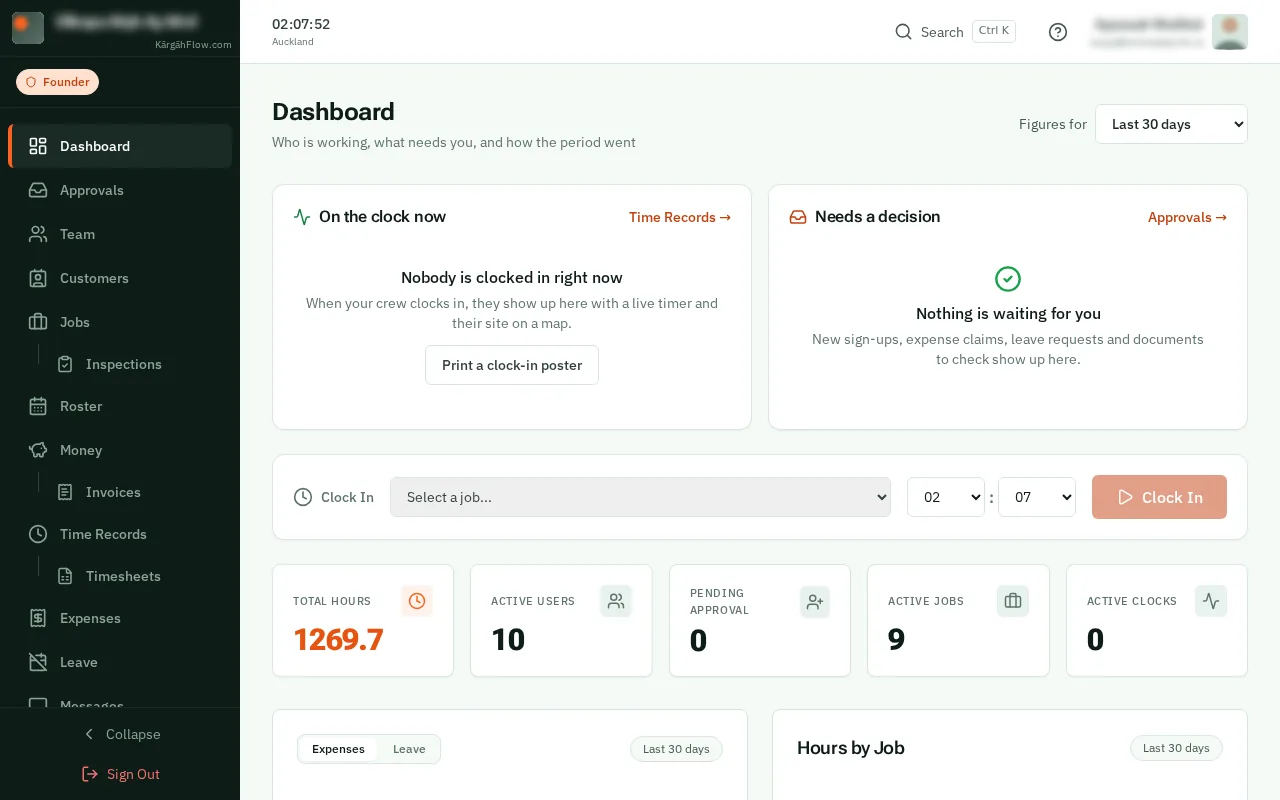
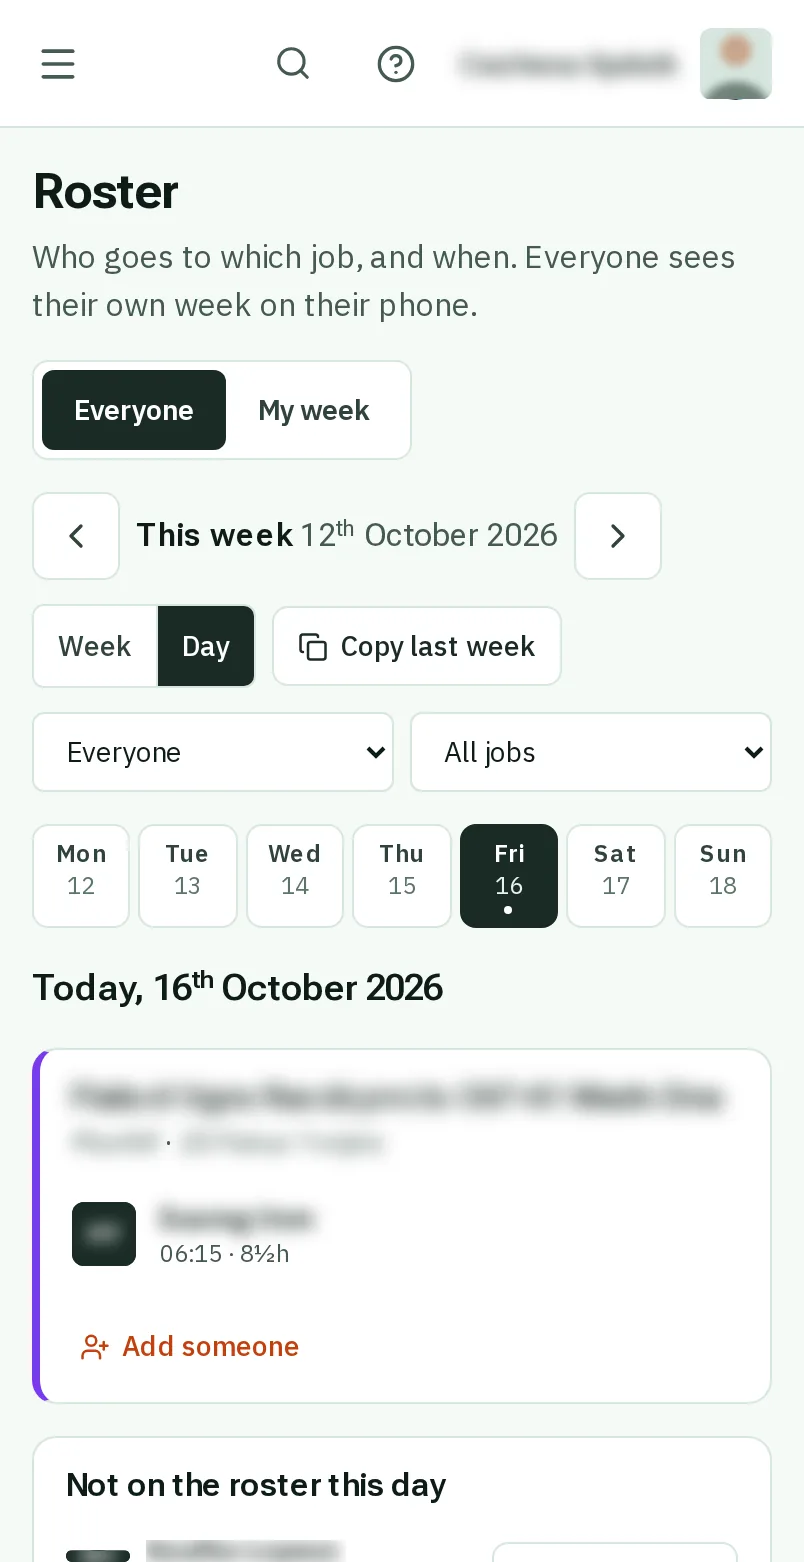
TapClick the menu button at the top left of the screen, then Roster.TapClick Roster in the menu on the left.
Look forthe Roster item in the menu
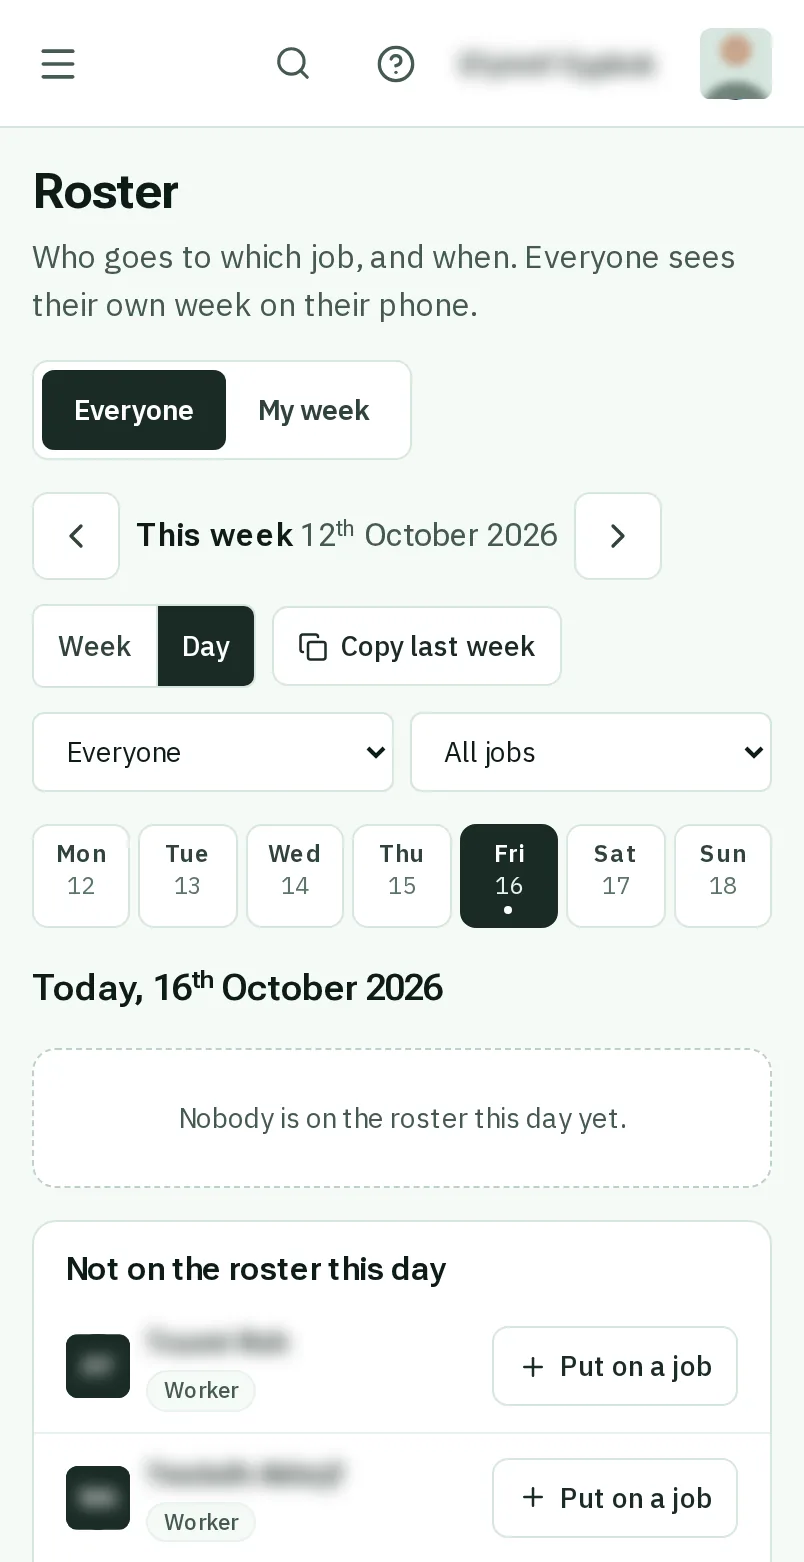
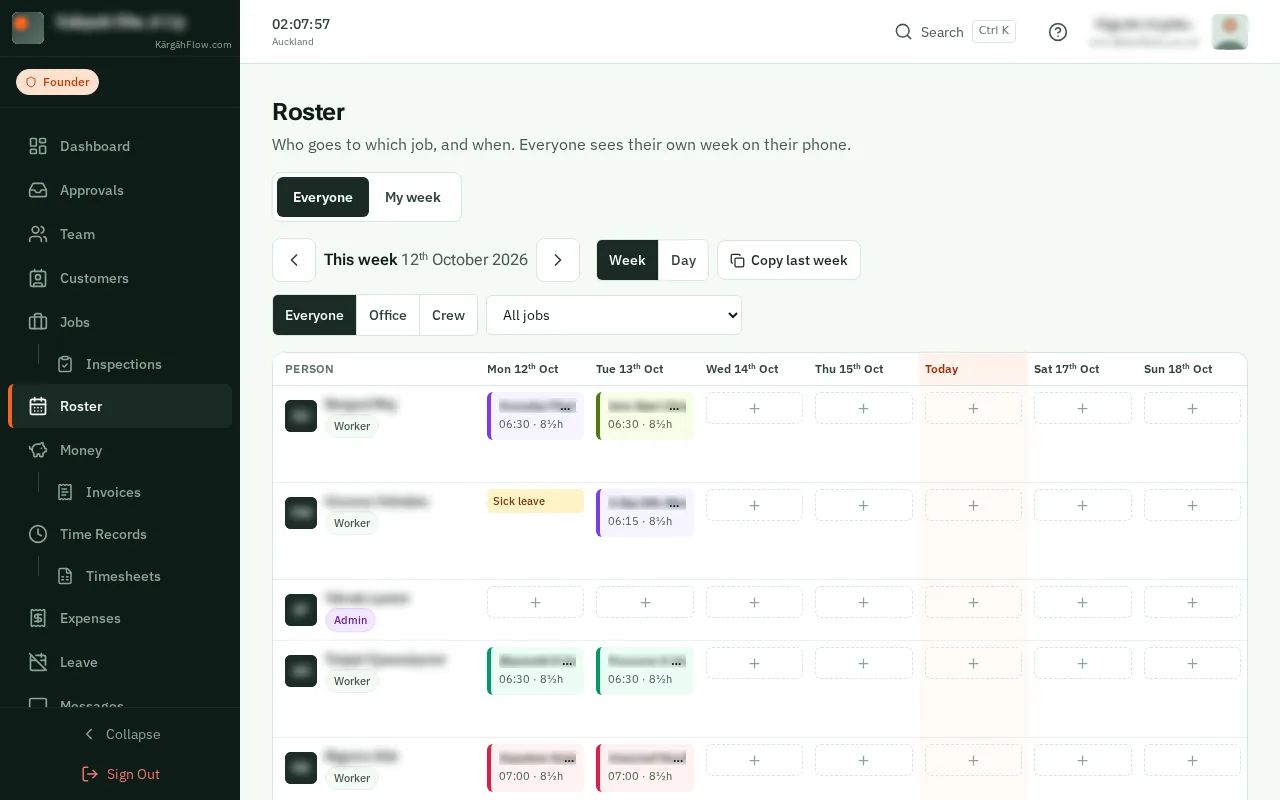
The roster is your plan for the week: who goes to which job, on which day, and when they start. Each person sees their own days on their phone, with your note and who else is going.
When you change someone’s week, they get one notification once you have finished, not one for every change, and changes made late at night wait for the morning.
TapClick the menu button at the top left of the screen, then Roster.TapClick Roster in the menu on the left.
The roster opens on today. TapClick another day at the top if you need to, then Put on a job beside the person.Find the person on the left, and tapclick the + under the day they are going.
Good to know: Nobody on these this week lists the work nobody is on yet. TapClick Put someone on there to start from the job.
TapClick the job they are going to. To find it, type its number, its name, the customer or the address in Find a job.
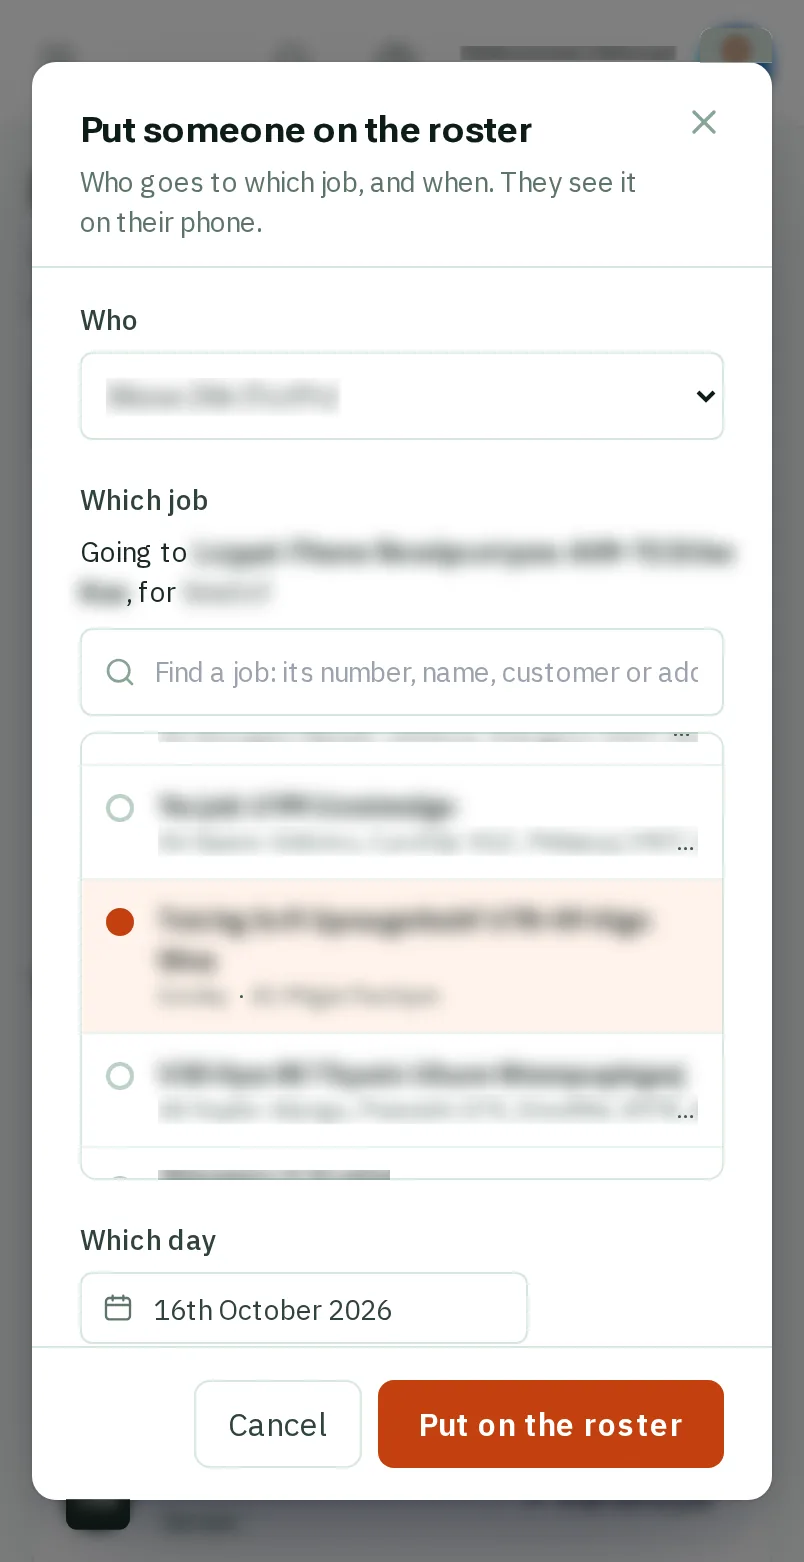
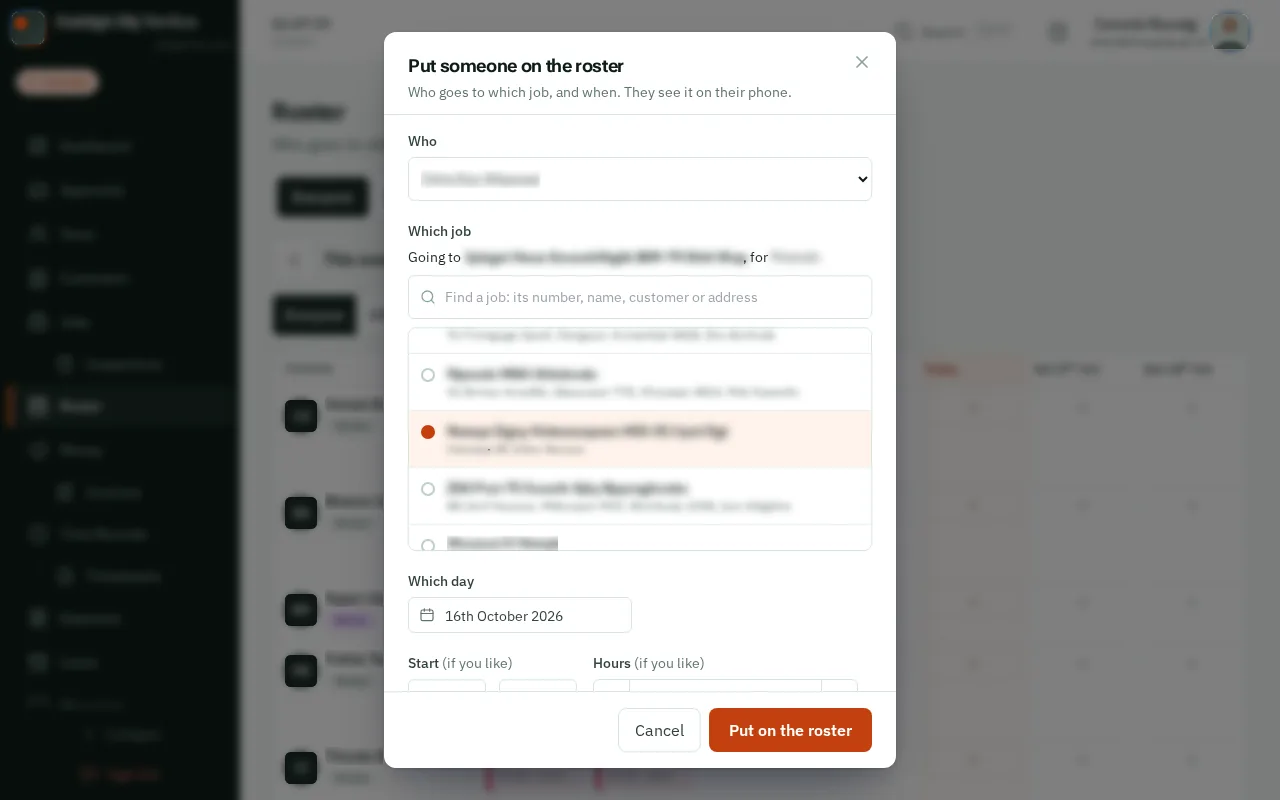
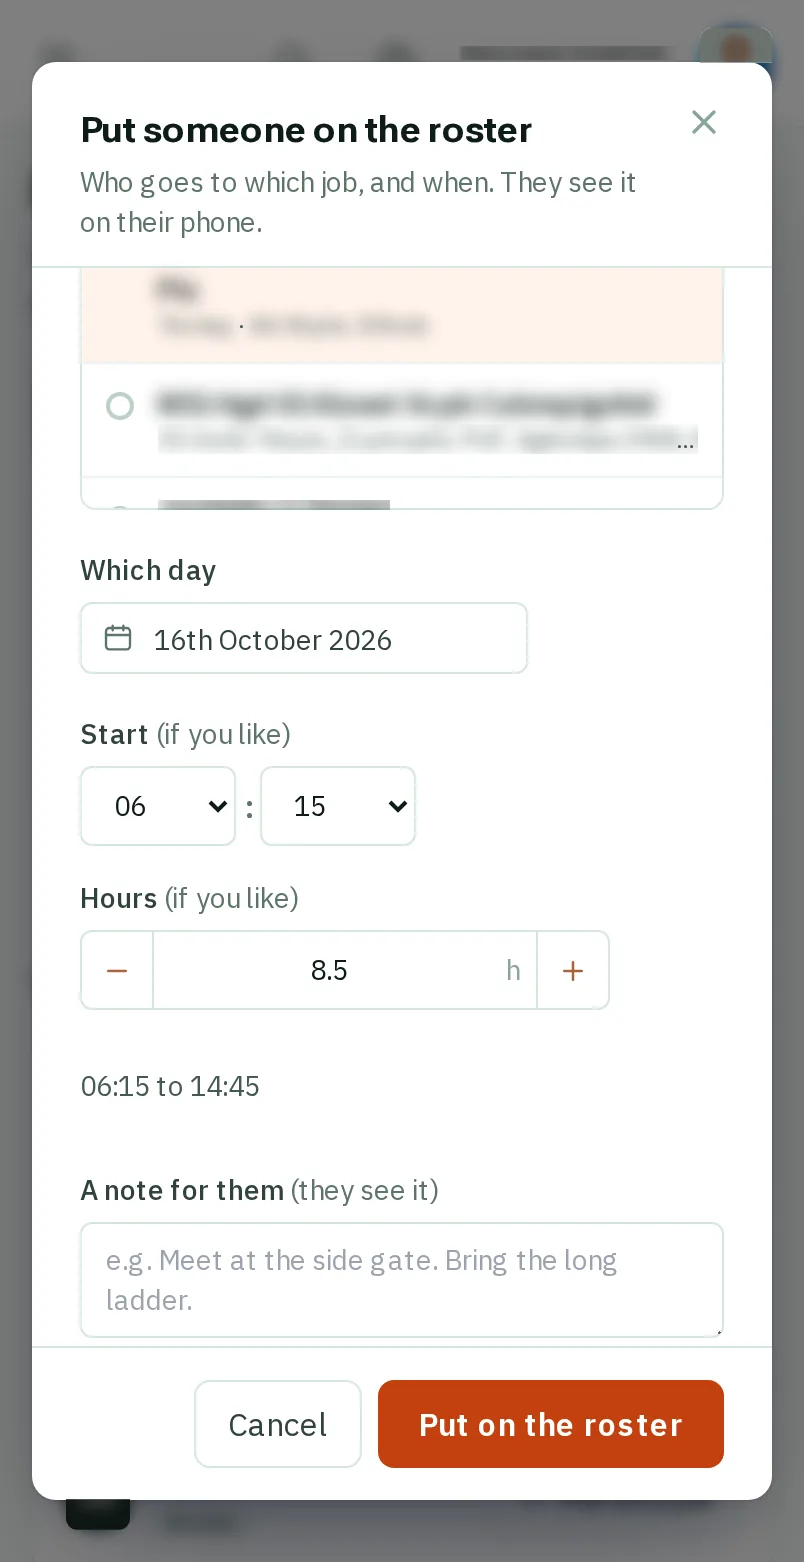
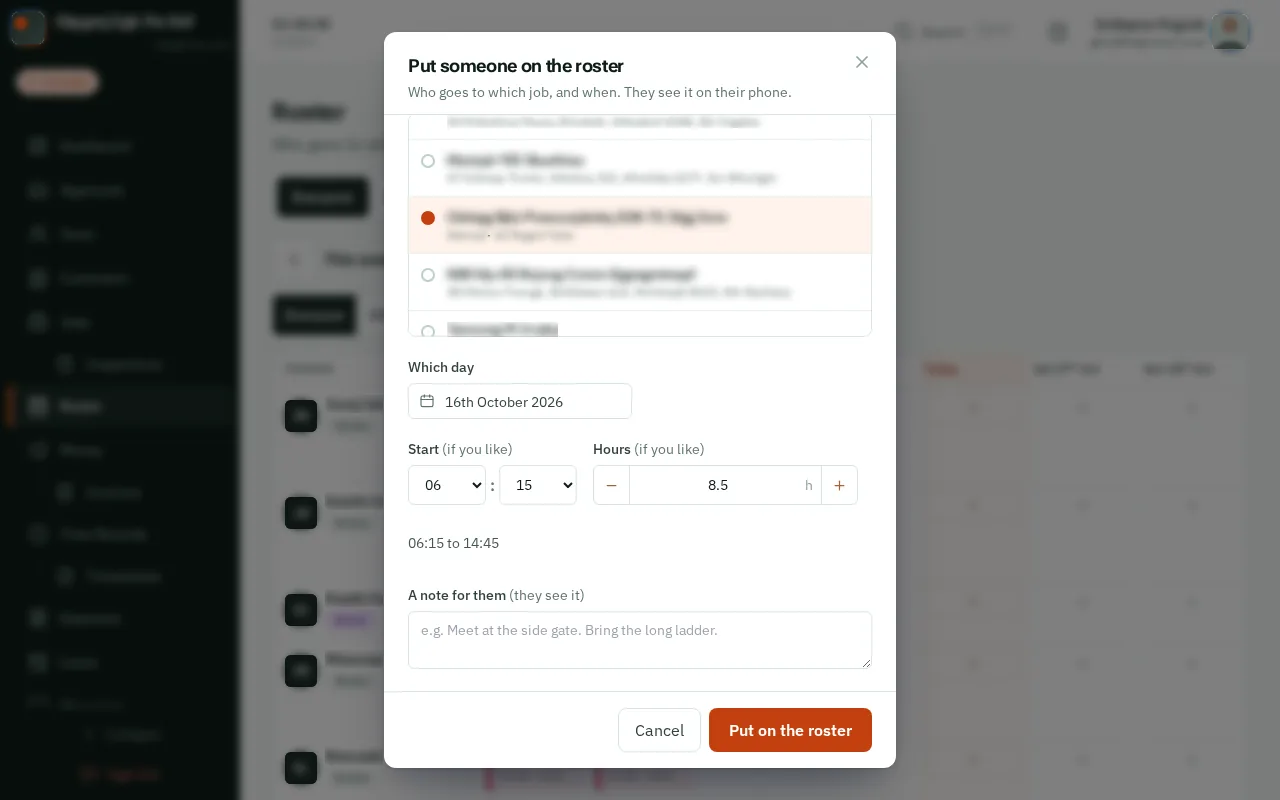
If you like, choose the Start time and the Hours, and write a note they will see, like where to meet.
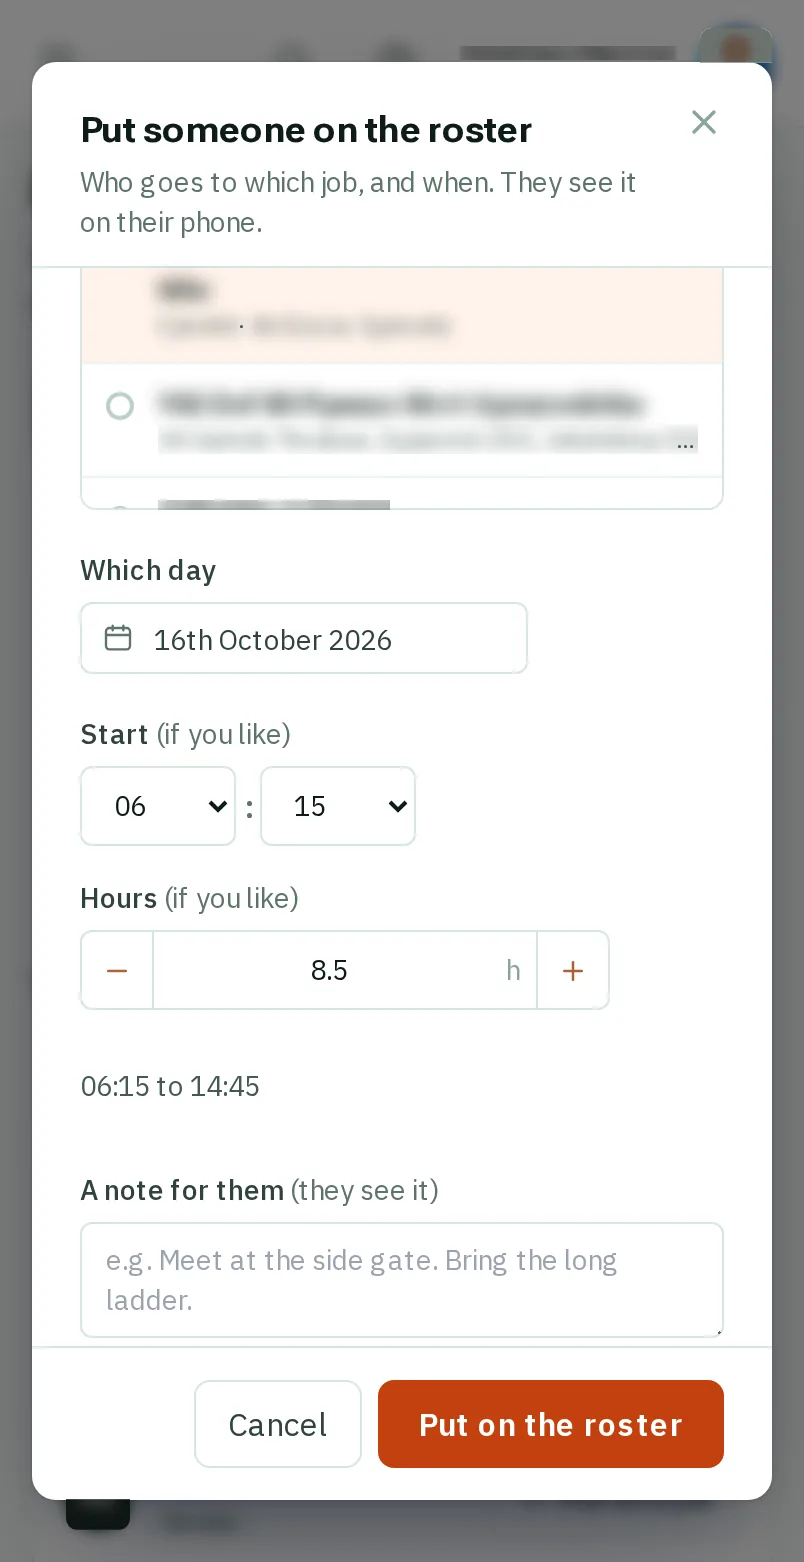
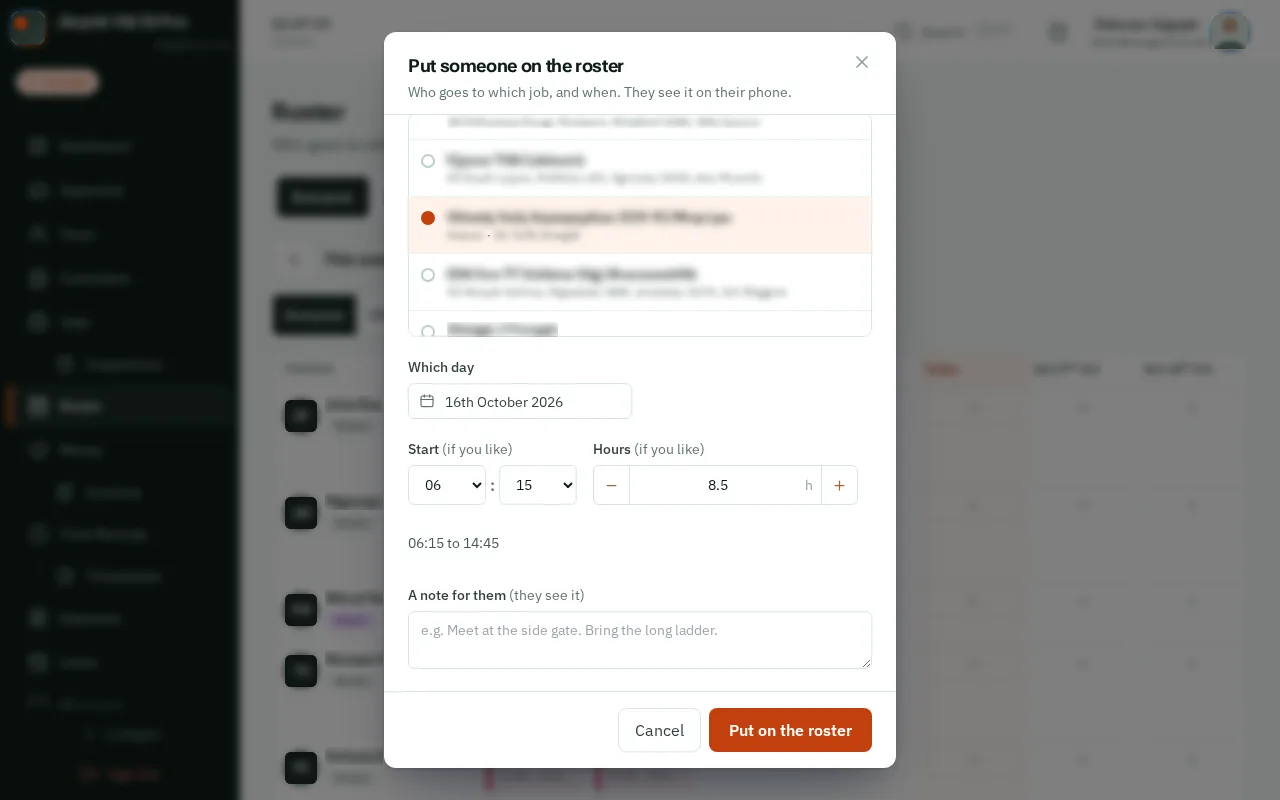
TapClick Put on the roster. If they are on leave that day, you are asked why first. If they already have a job at that time, tapclick Save anyway when both are right.
Good to know: They get one notification once you have finished. Changes you make at night reach them in the morning, an hour before their first job, between 5am and 7am.
TapClick a job on the roster to change its day, time or note. Take off the roster takes the day away, and they stay on the job.
Good to know: A day someone has already worked stays where it is: it is the record of what was planned, and the job’s hours say On the roster because of it. You can still change its time or note.
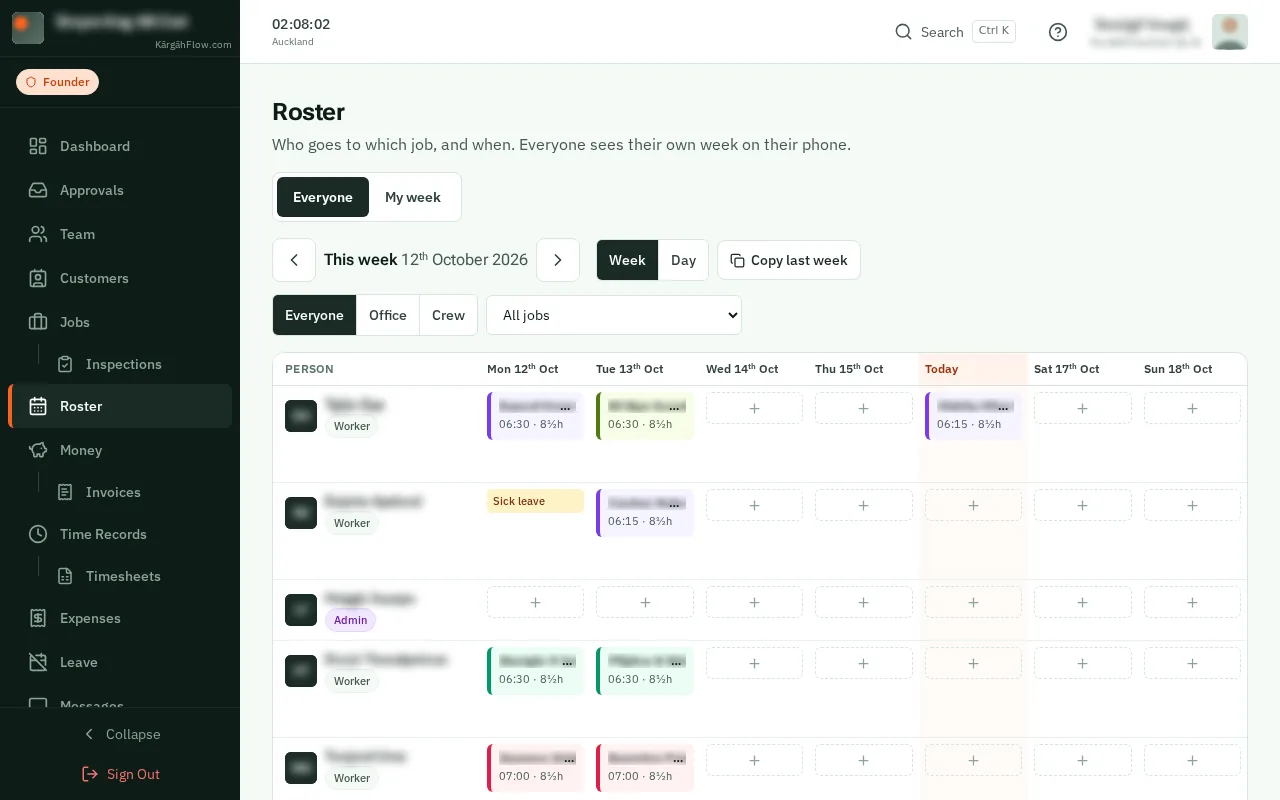
TapClick Copy last week to give everyone the same jobs on the same days as last week. Anyone on leave, and any closed job, is left out, and the page says who.
Good to know: Nobody gets a notification for a copied week: it is the same as last week.