Step 1: Open the finished job
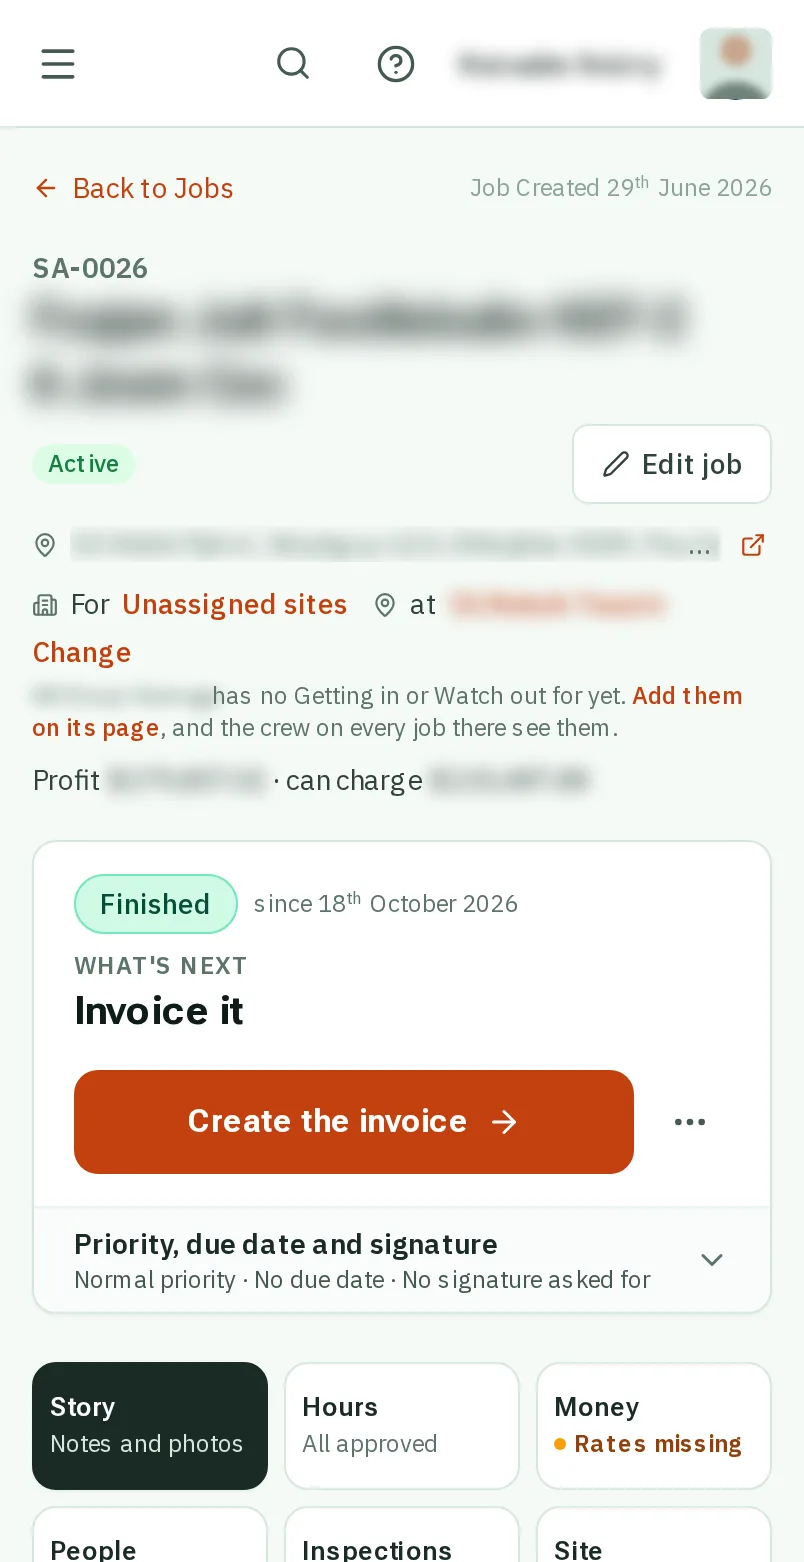
Open Jobs and tapclick the job. On the board, a finished job says Create the invoice under it.
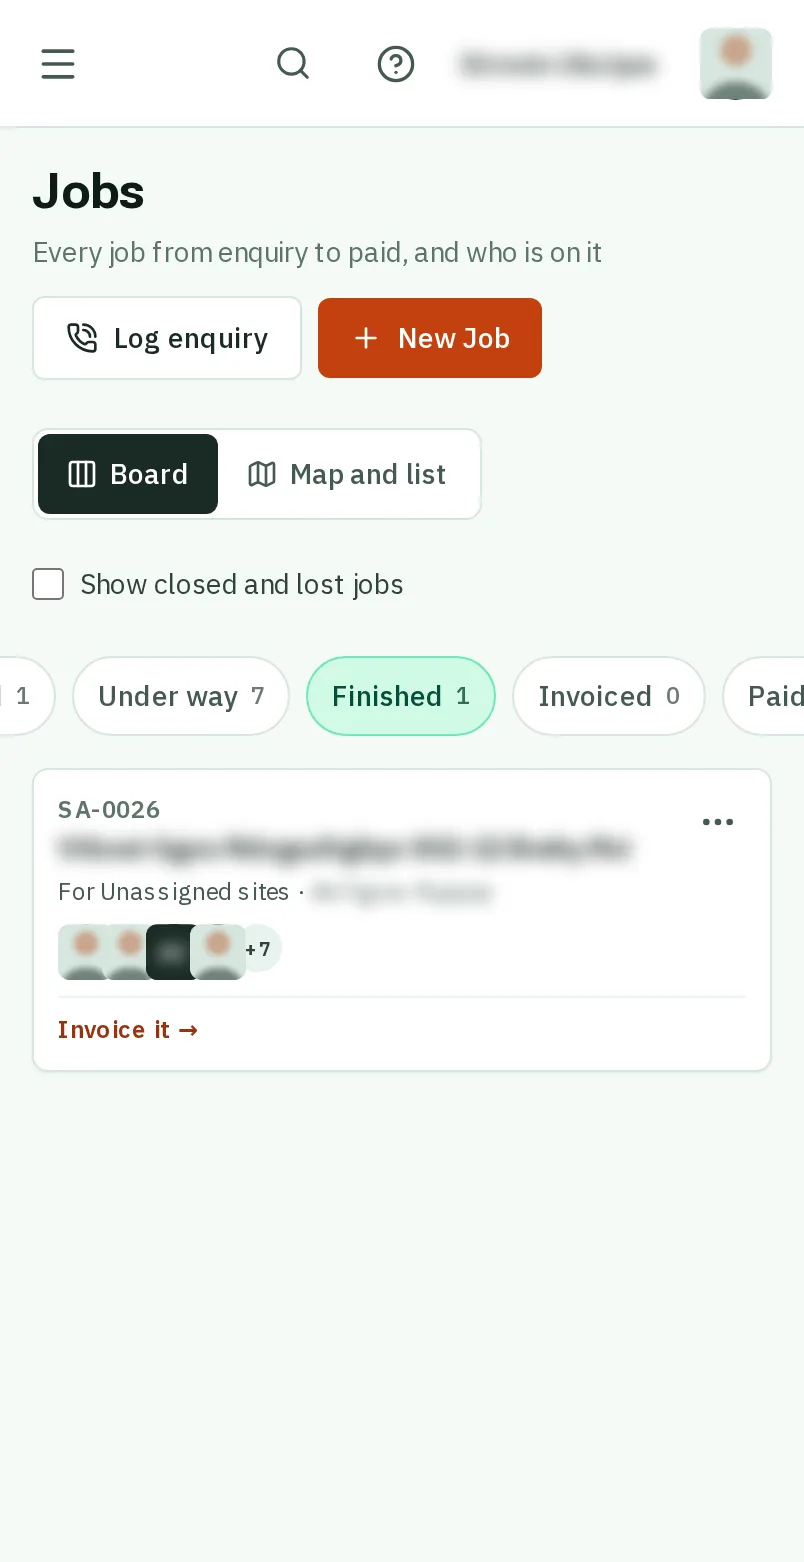
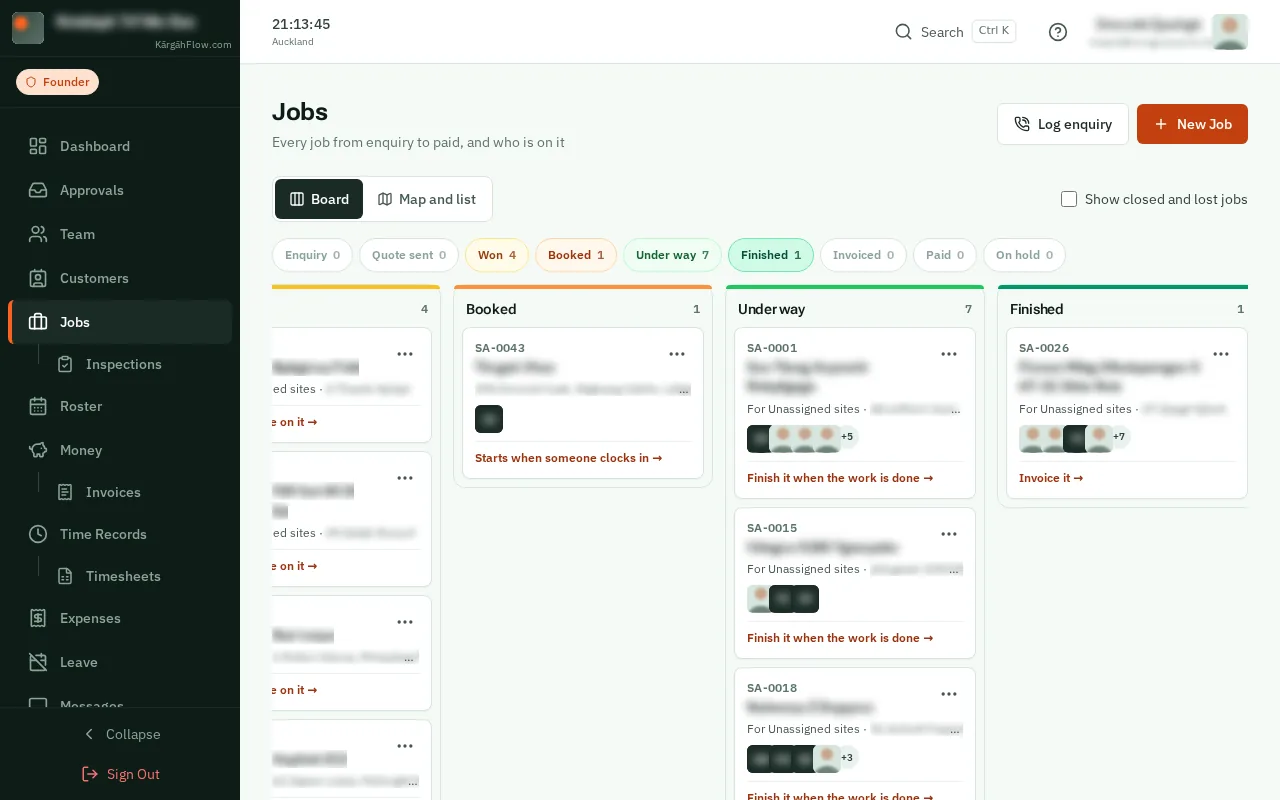
When a job is finished, its invoice is made for you: the approved hours at your rates, the costs that go on the customer’s bill, and any photos you choose.
You check it before it goes. Your customer gets it by email, with a link to see it online and how to pay, and the job moves to Invoiced by itself.
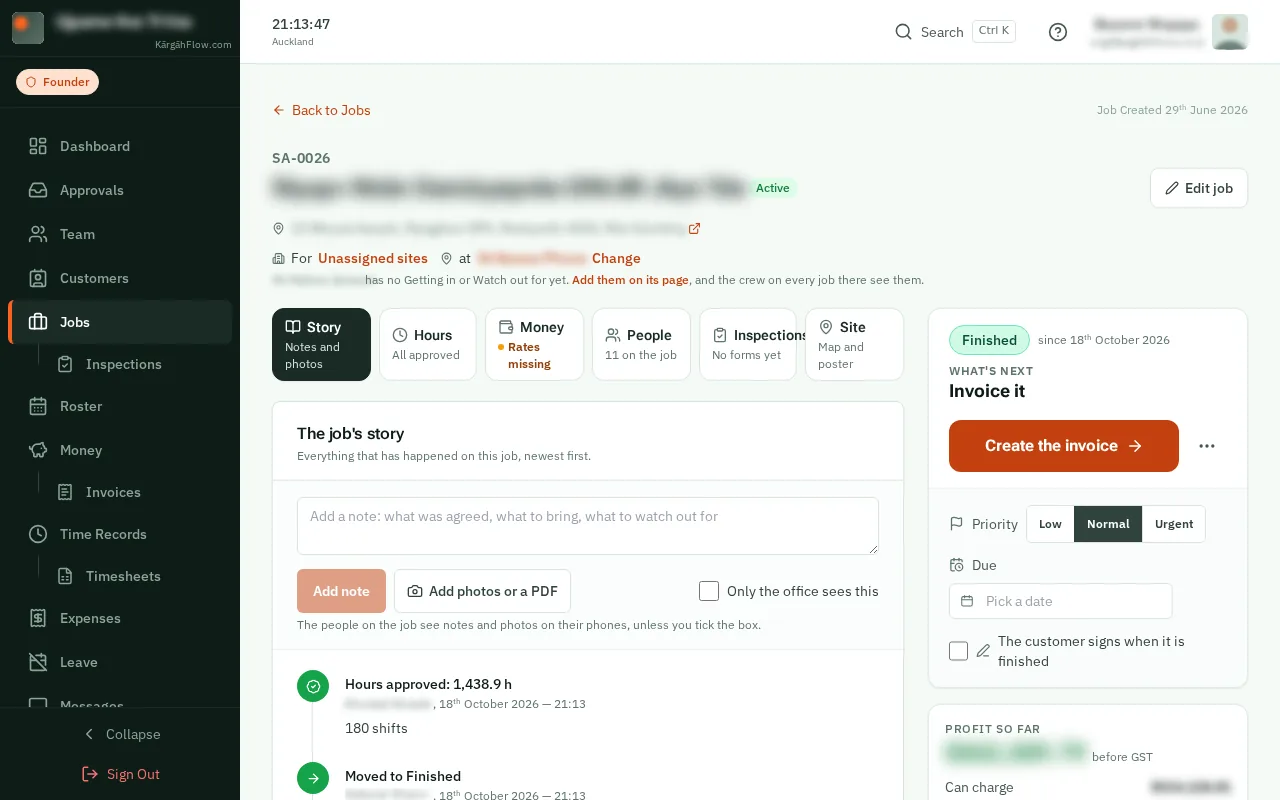
Open Jobs and tapclick the job. On the board, a finished job says Create the invoice under it.
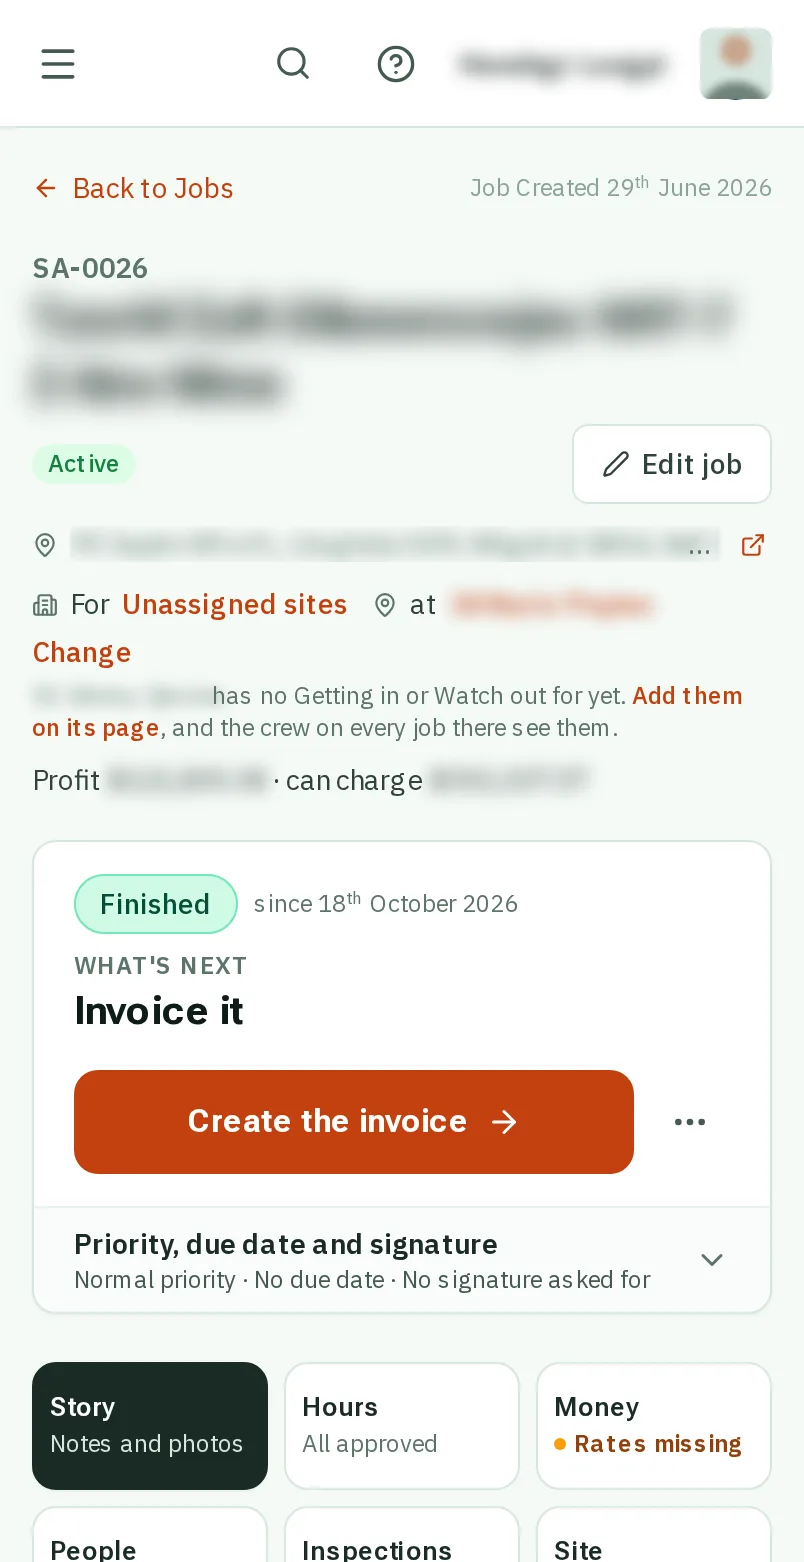
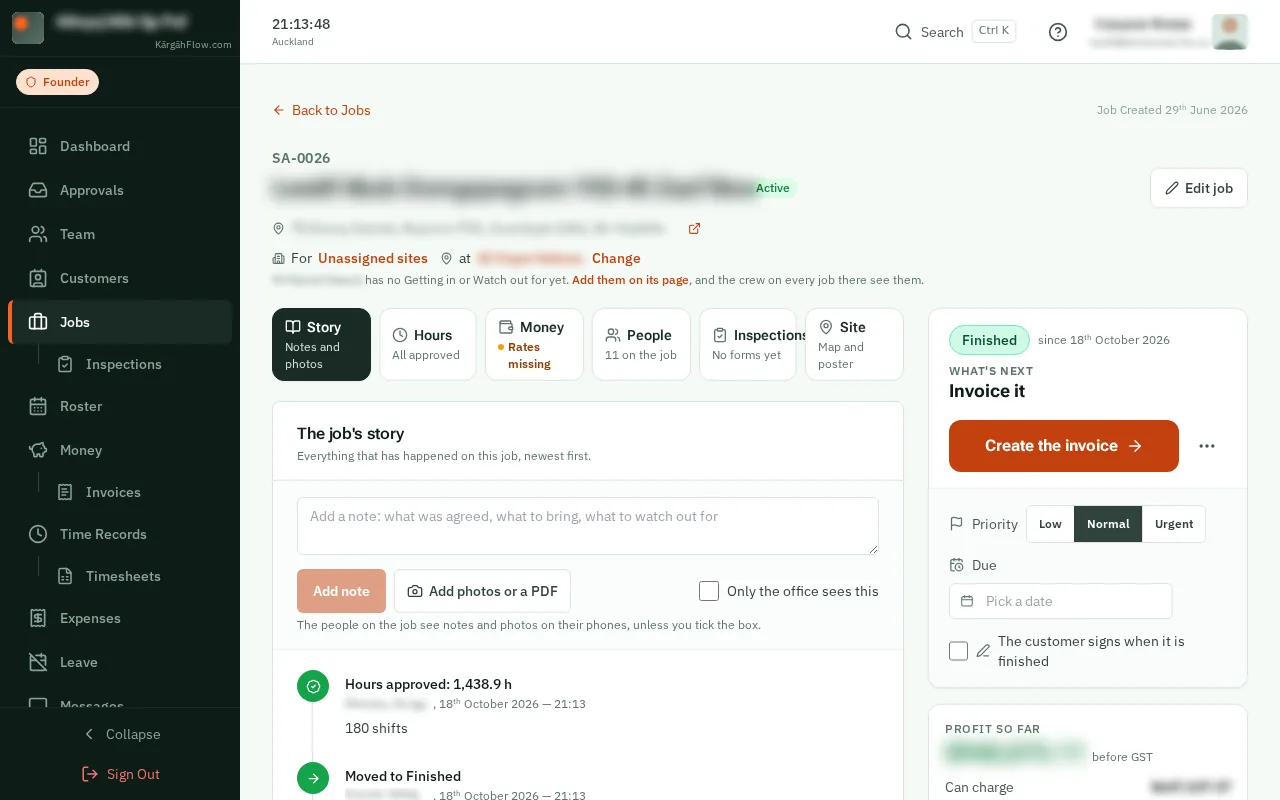
At the top of the job’s page, tapclick the big Create the invoice button.On the right of the job’s page, tapclick the big Create the invoice button.
Good to know: Any job can be invoiced from its Money tab with Make an invoice: a deposit before the work, or a part as it goes.
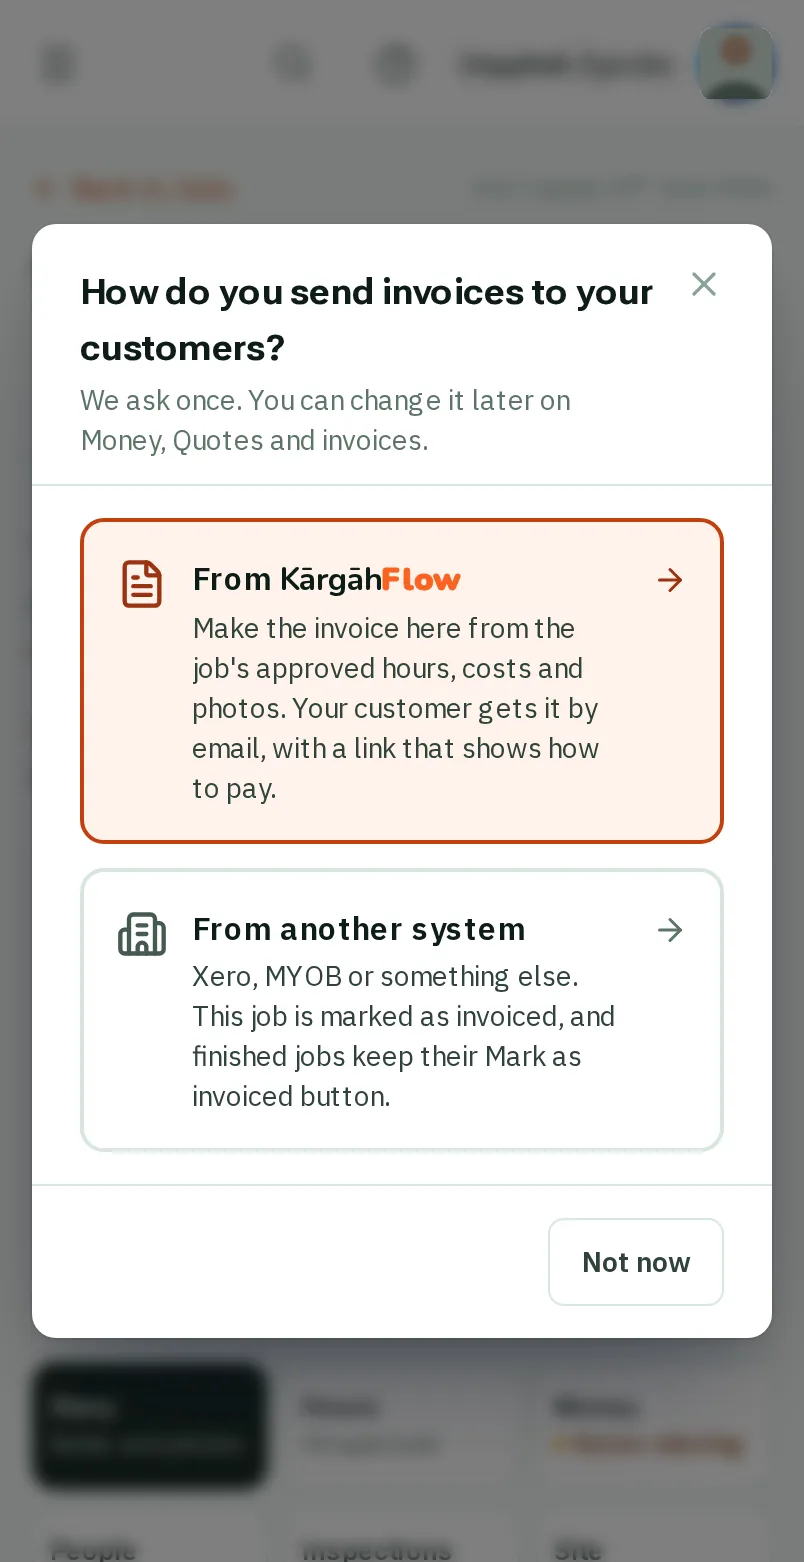
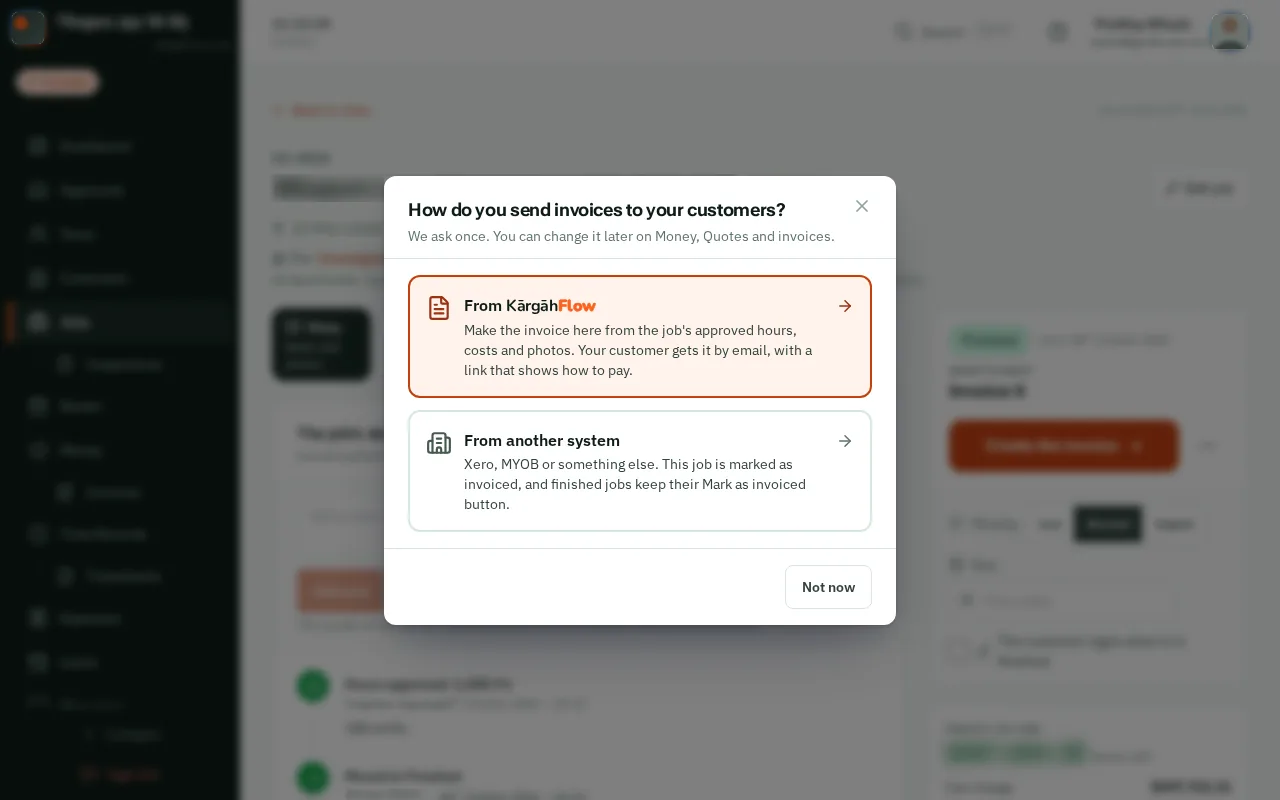
The first time anyone invoices a job, the app asks once how you send invoices. TapClick From KārgāhFlow.
Good to know: Your invoices go from Xero or MYOB? TapClick From another system instead: finished jobs keep their Mark as invoiced button, as they have now.
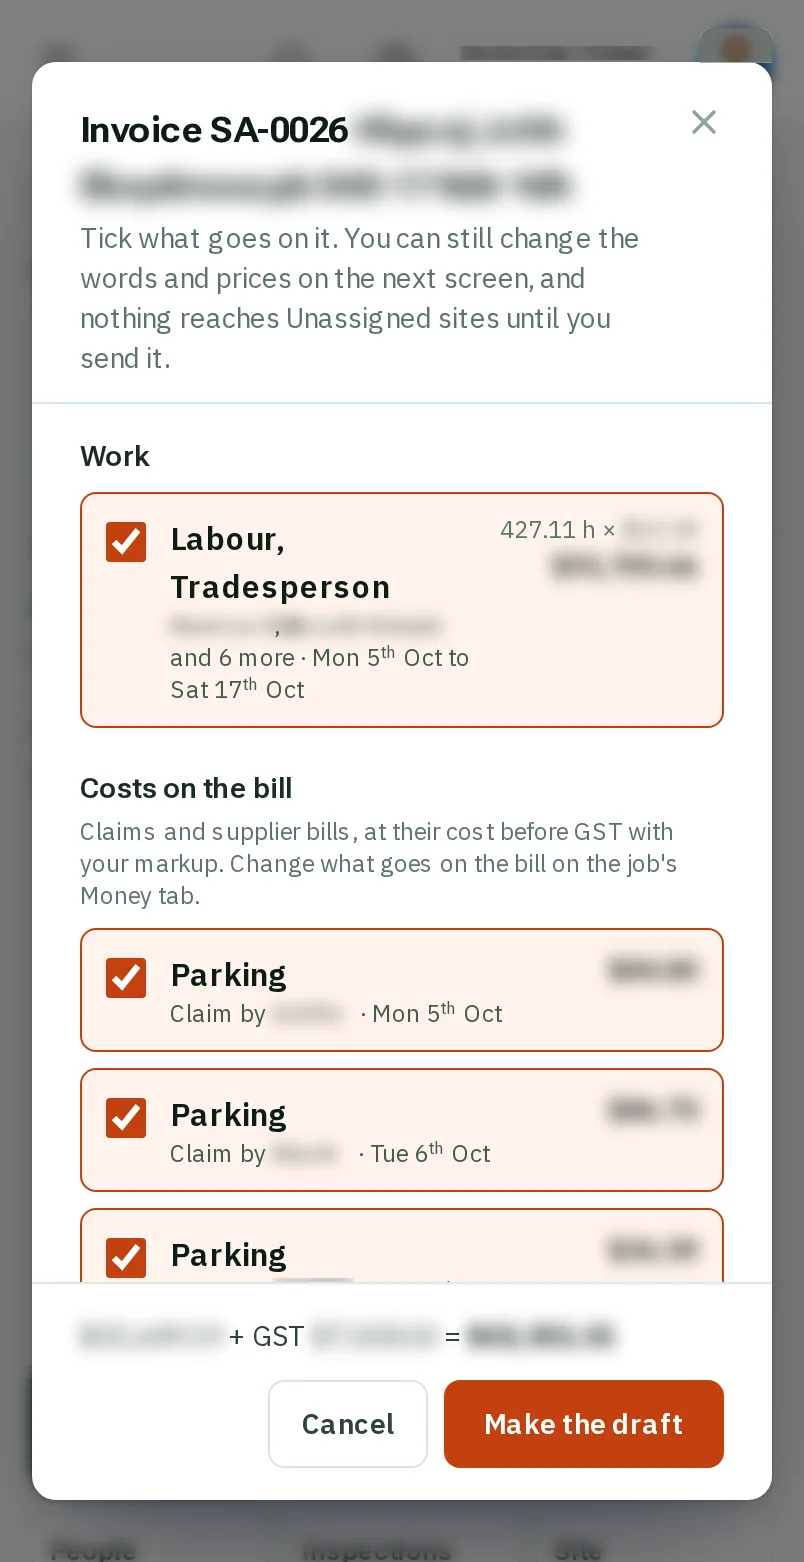
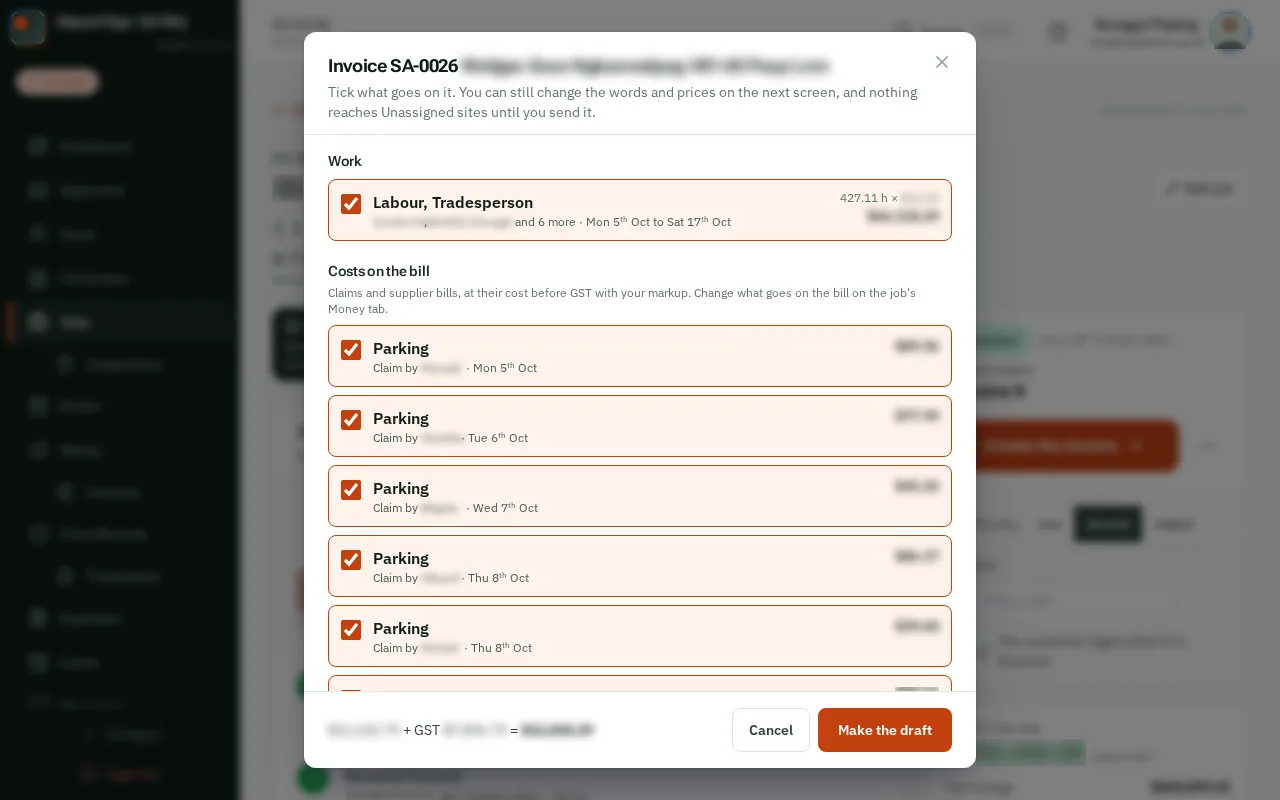
The approved hours are one line for each kind of work, with the costs that go on the bill, all ticked. Untick anything that should not go on it.
Good to know: Hours still waiting for approval are not on it: the window says how many, with Approve them first.
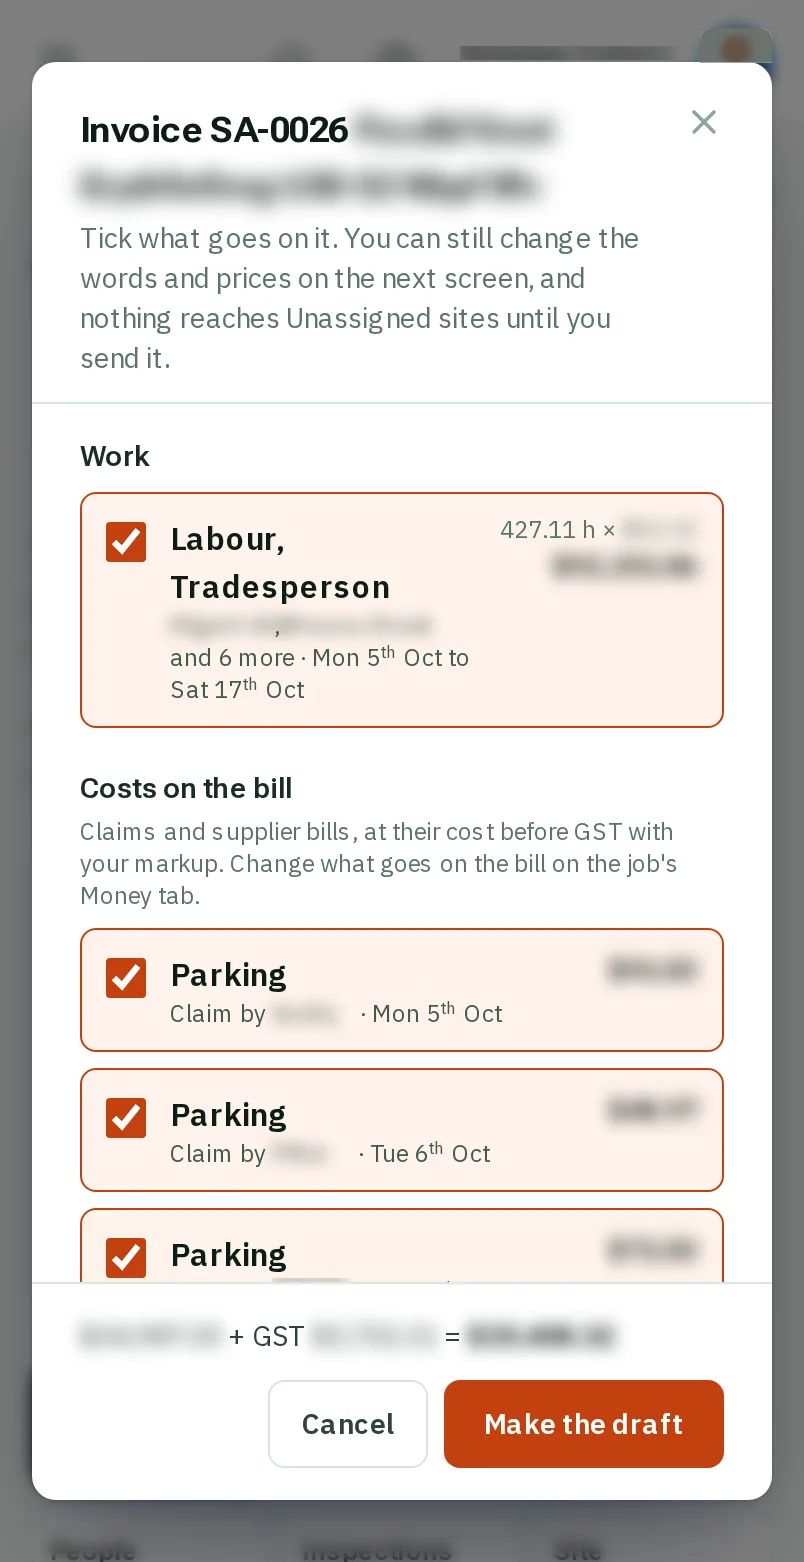
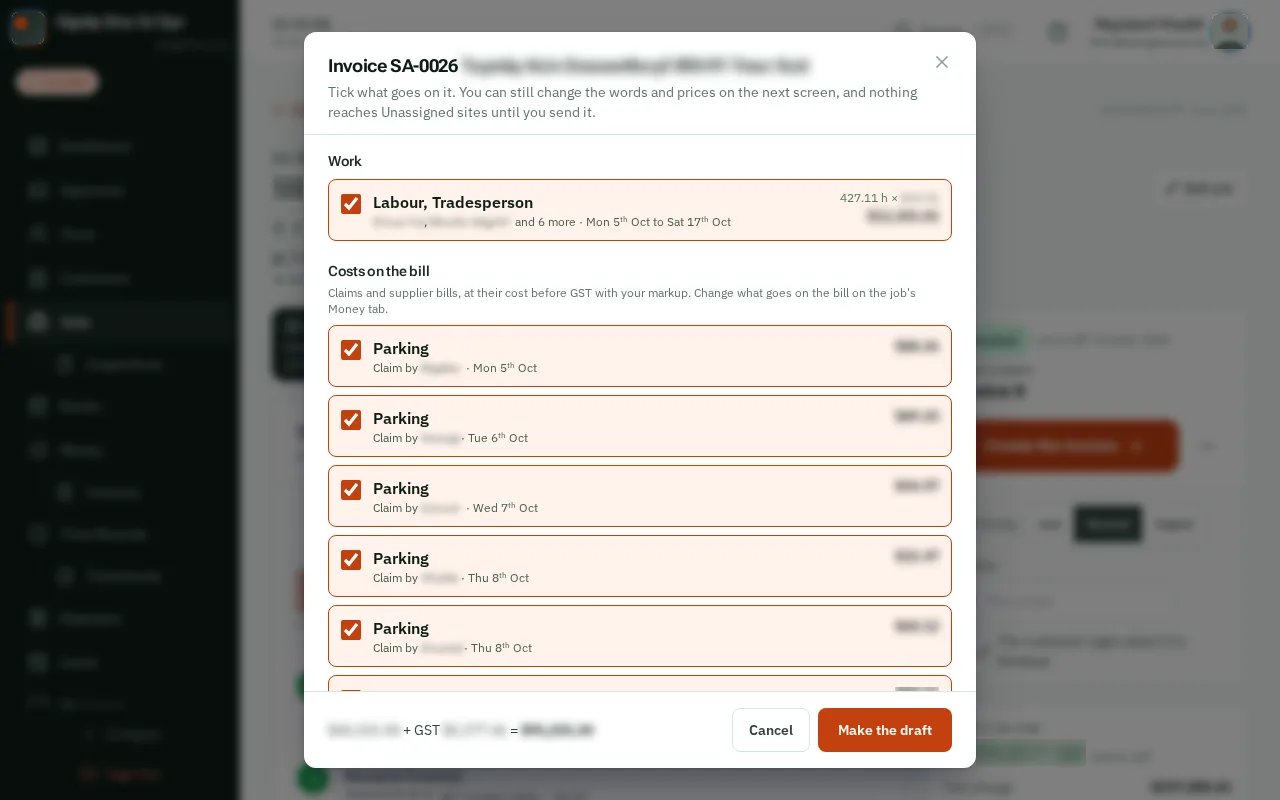
TapClick Make the draft. Nothing reaches your customer yet.
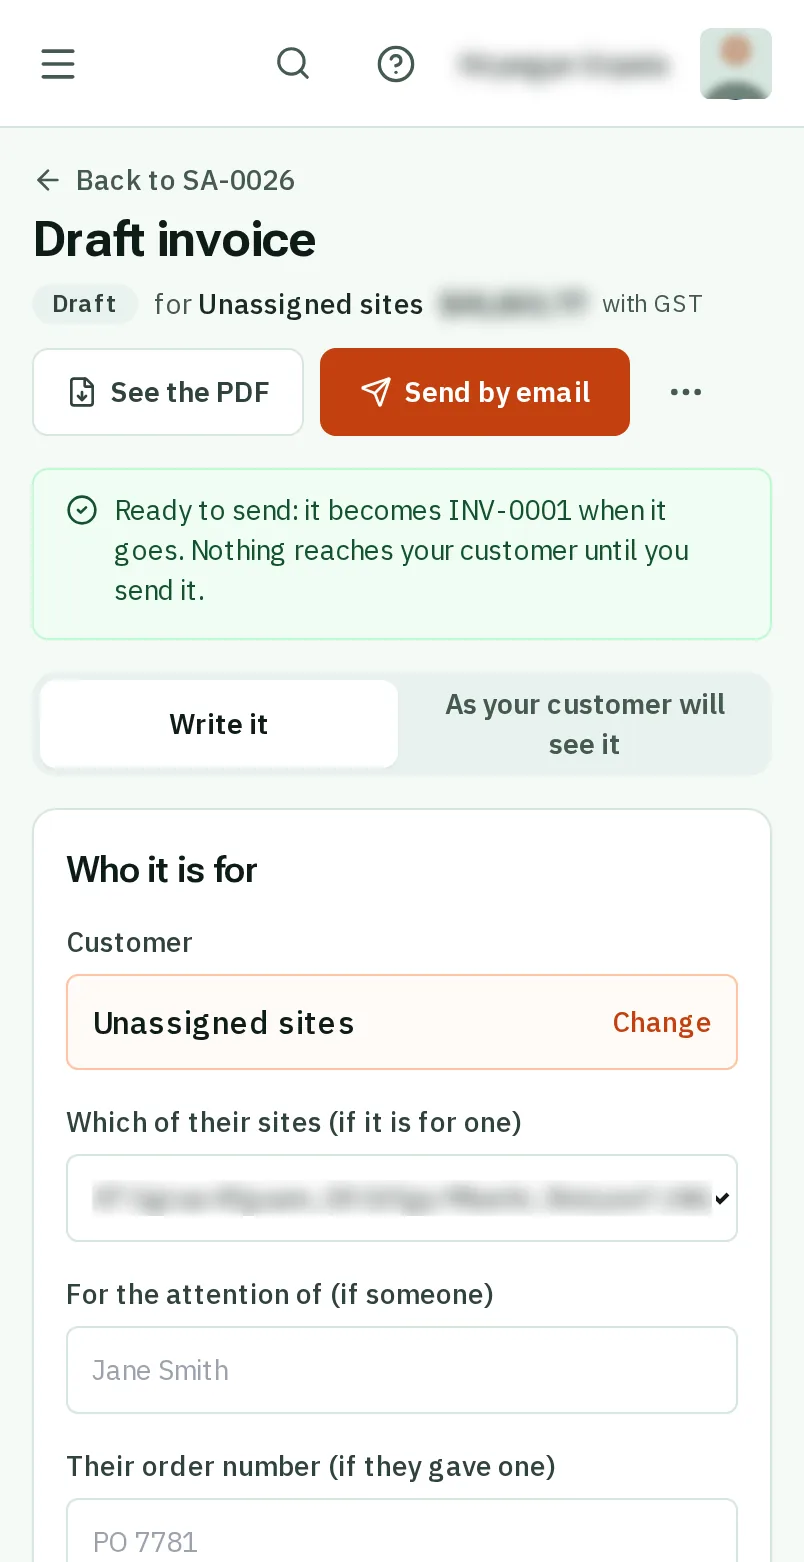
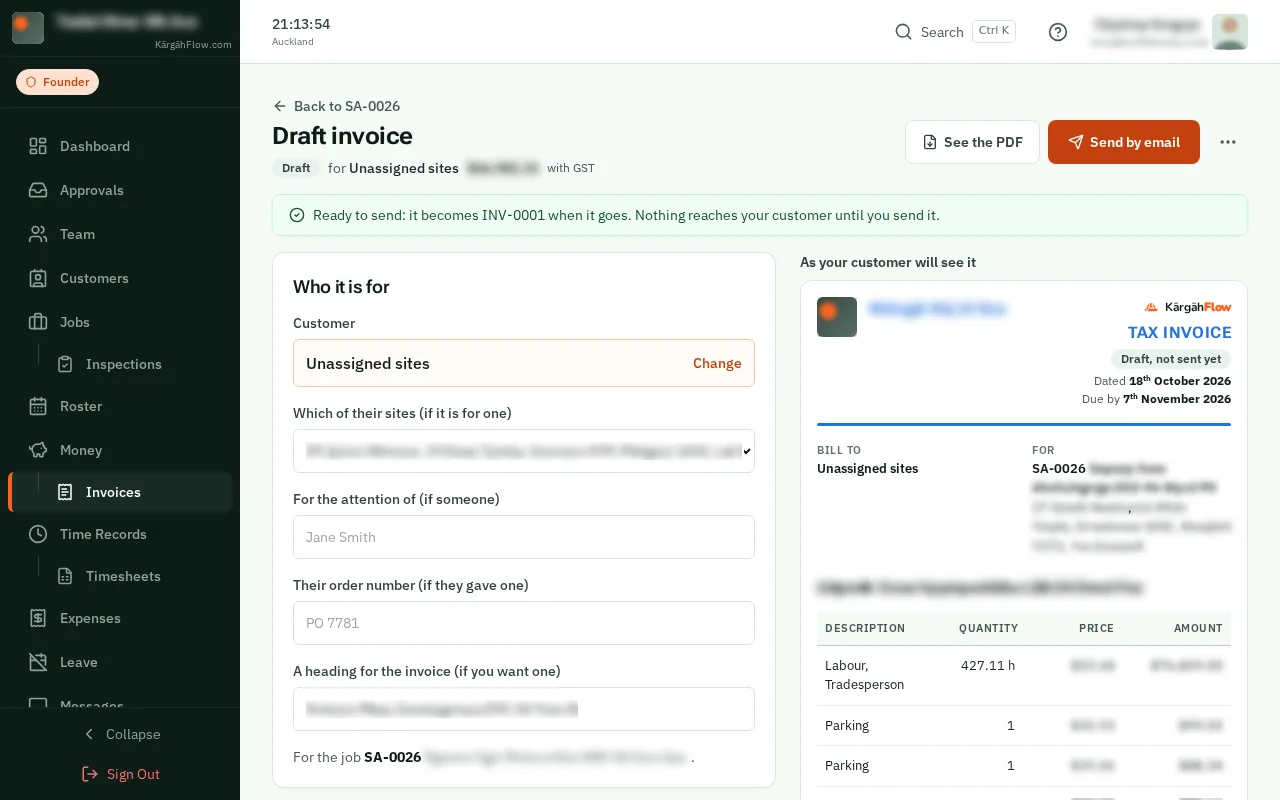
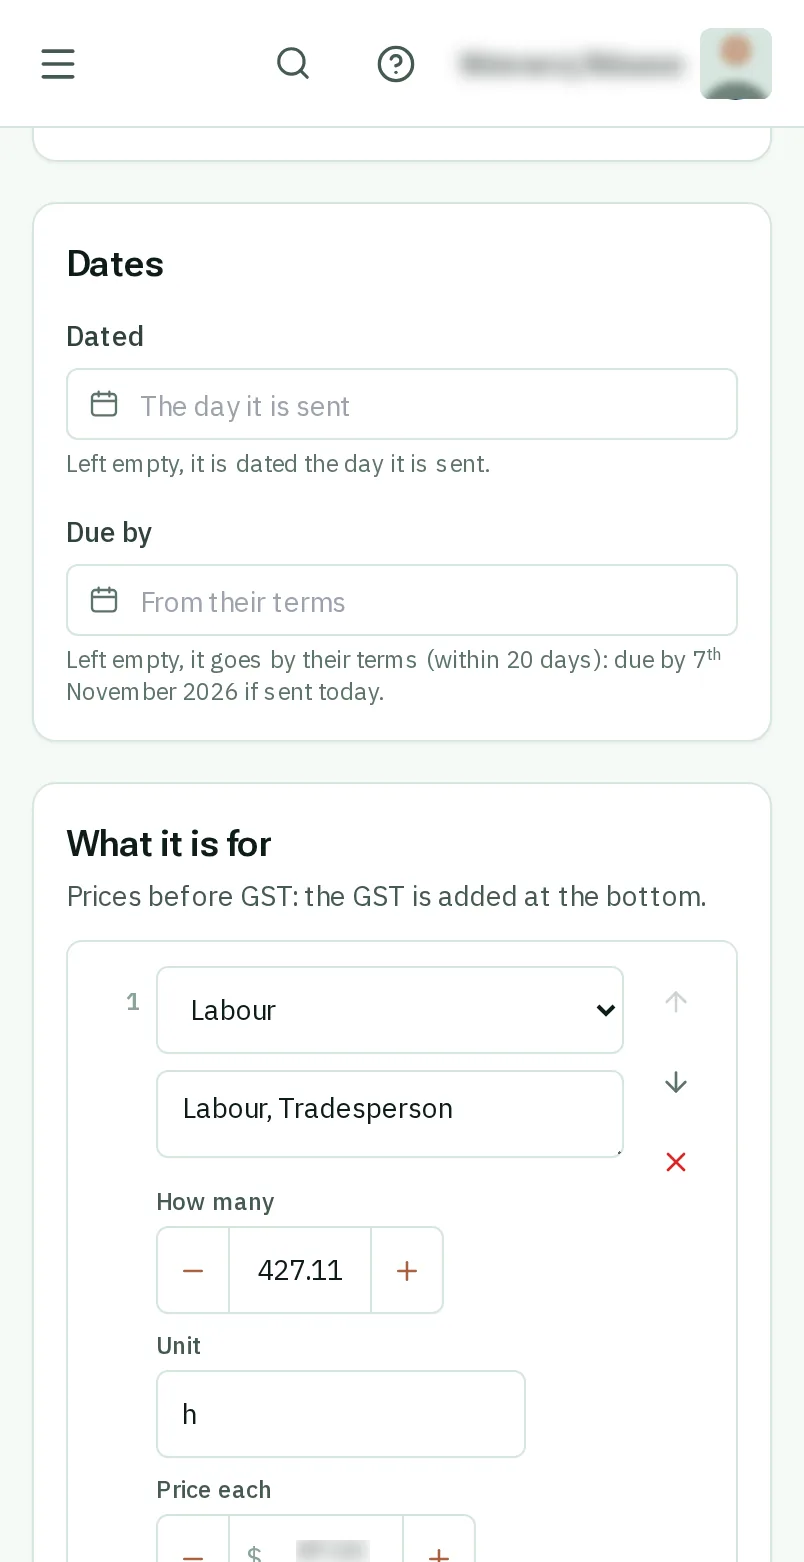
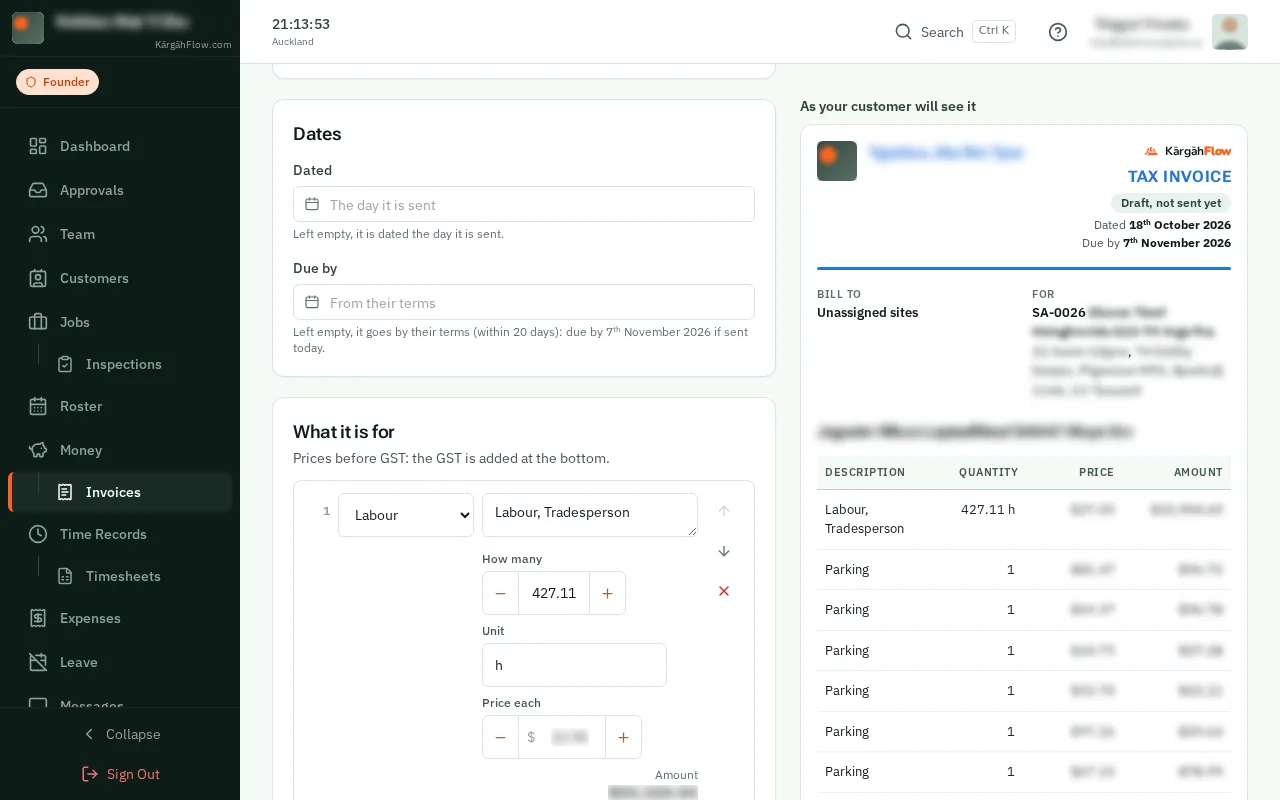
The draft opens. Change any words or prices, or add a line: it saves as you type. TapClick As your customer will see it to see the invoice itself.The draft opens, with the invoice beside it as your customer will see it. Change any words or prices, or add a line: it saves as you type.
TapClick Send by email, check the address it goes to, then tapclick Send it. It gets its number, and after that it cannot be changed.
Good to know: Before your first invoice, it asks for your GST number and how customers pay you. Only the owner can add those.