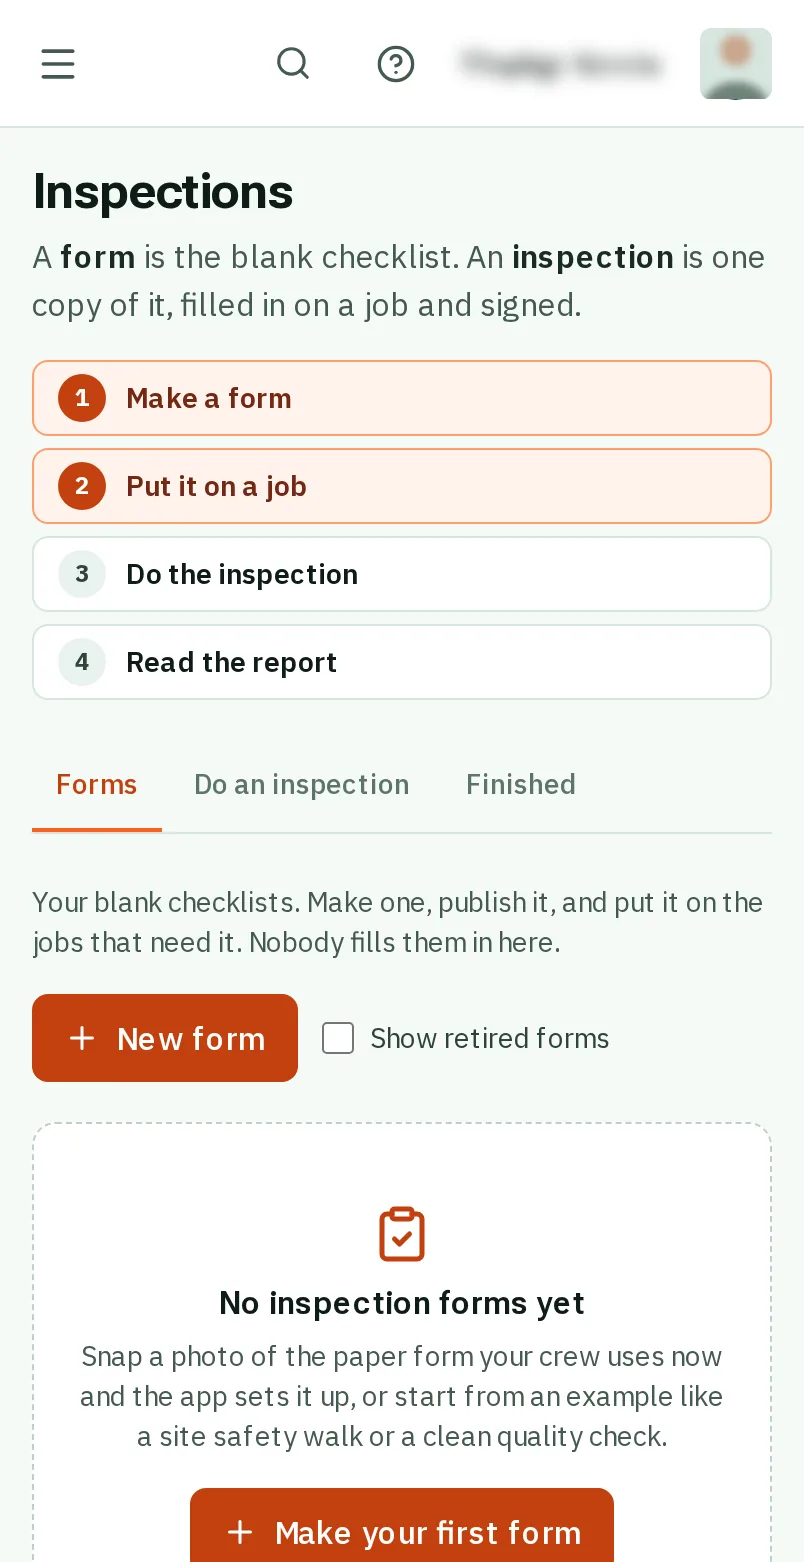
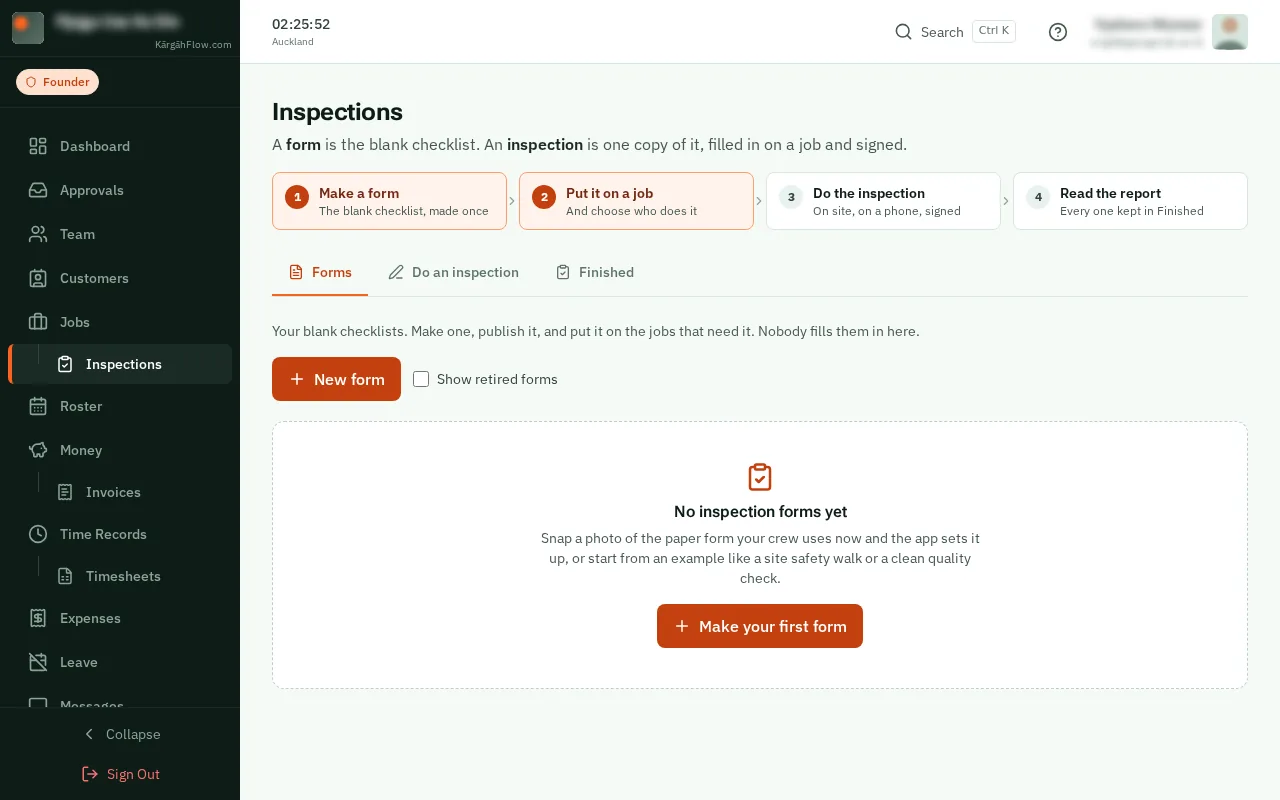
Step 1: Open Inspections
TapClick the menu button at the top left of the screen, then Inspections.TapClick Inspections in the menu on the left.
Look forthe Inspections item in the menu
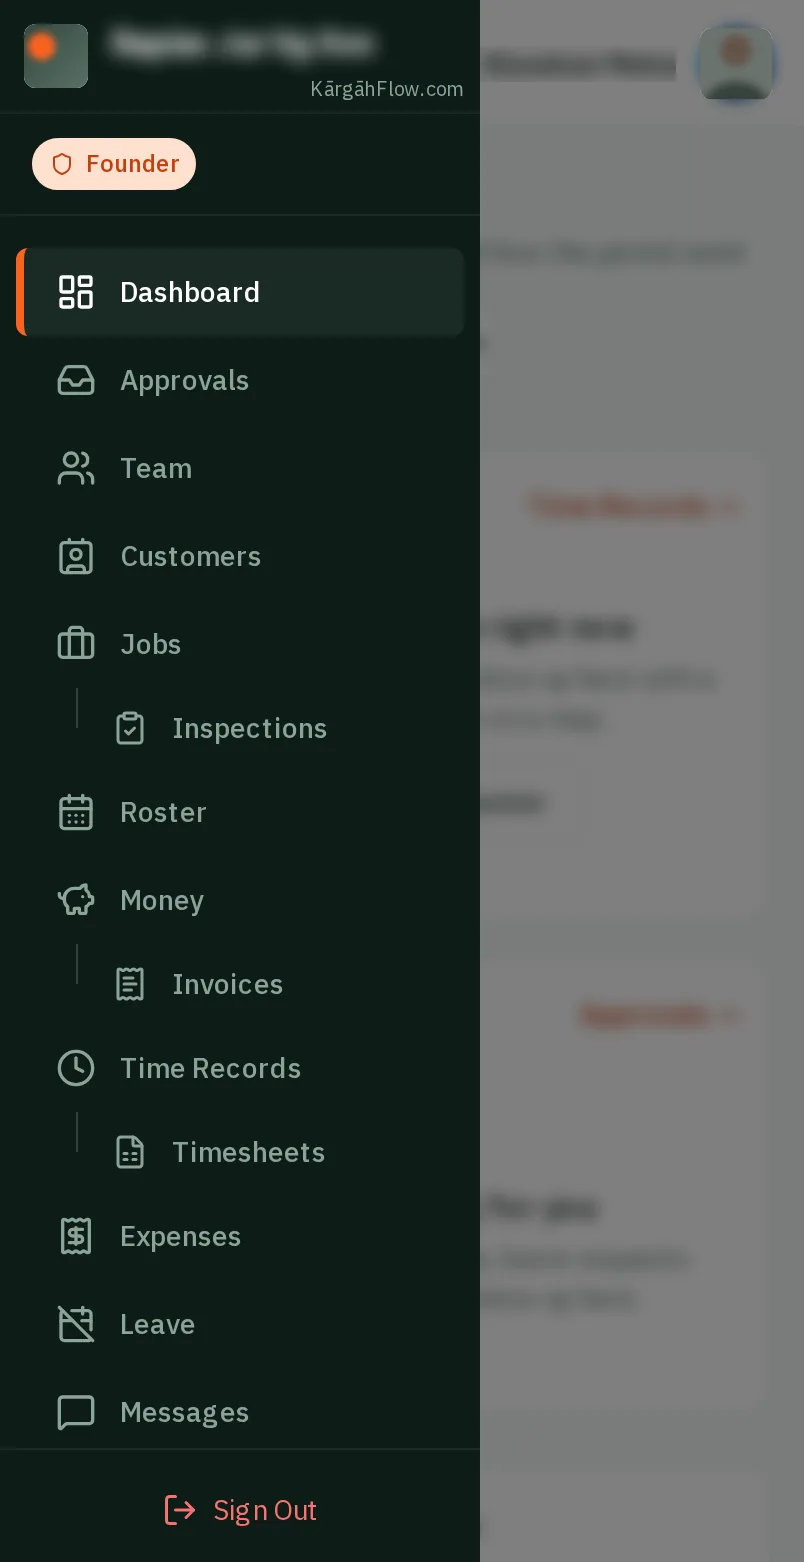
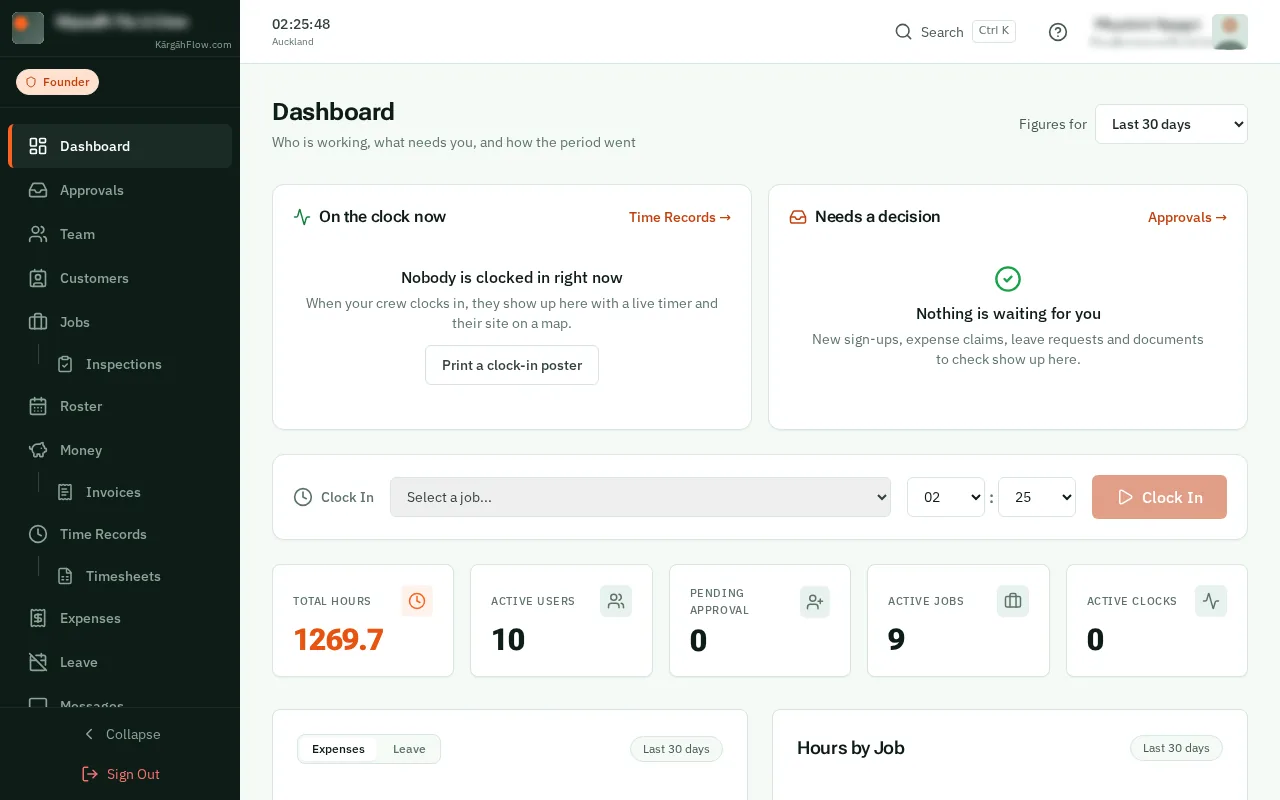
A form is the blank checklist. You make it once, from an example or a photo of your paper form, and put it on the jobs it is for. Each time someone fills it in on a job and signs it, that is an inspection.
Everyone you ask sees it on their phone, ready to start, and every one they finish comes back to you signed, as a PDF report.
TapClick the menu button at the top left of the screen, then Inspections.TapClick Inspections in the menu on the left.
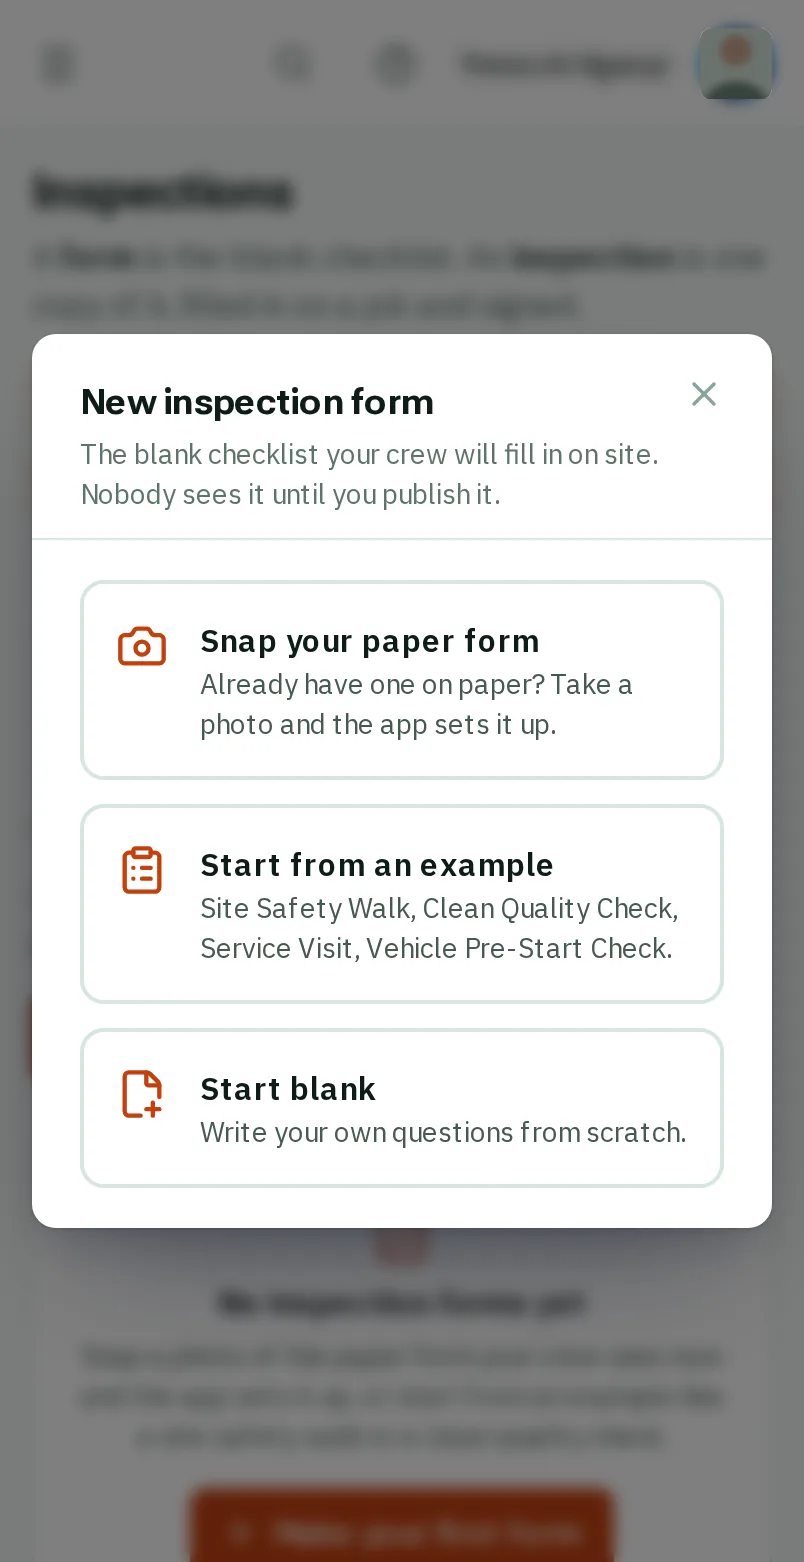
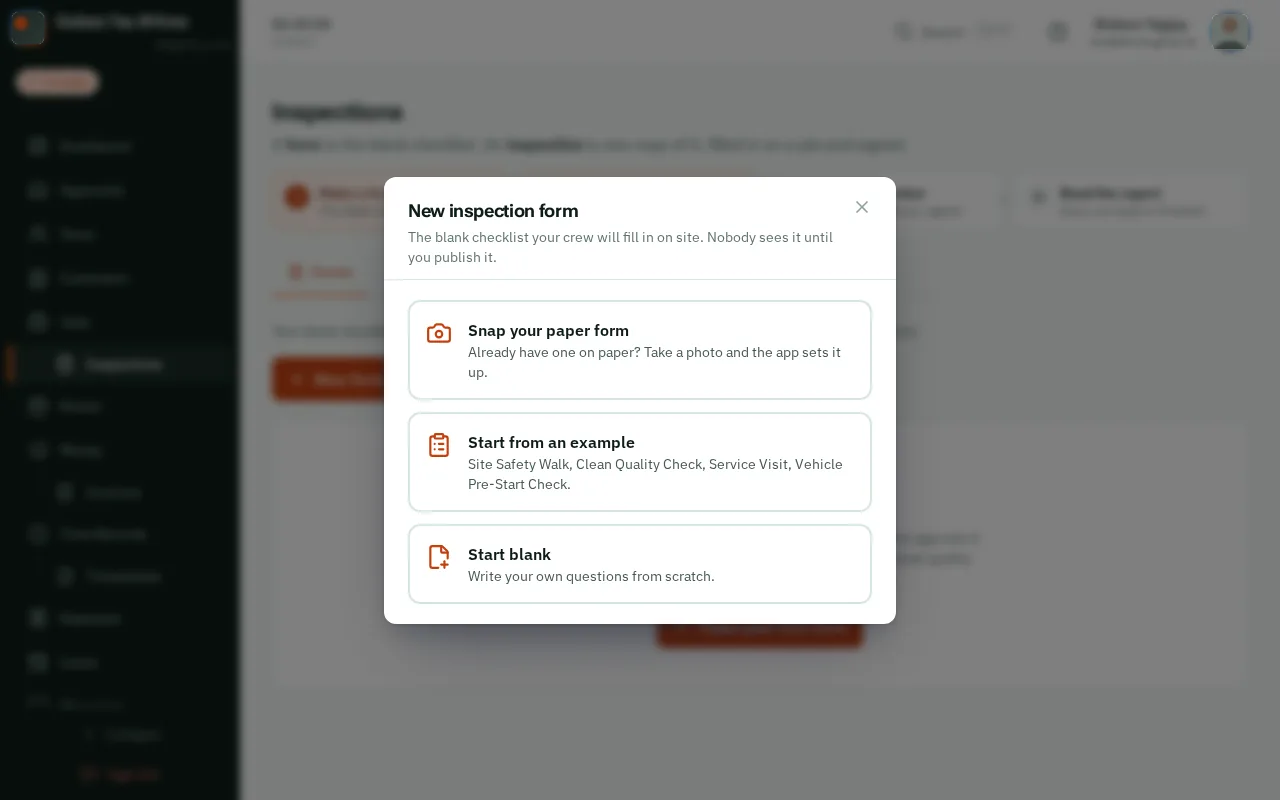
On the Forms tab, tapclick the orange New form button.
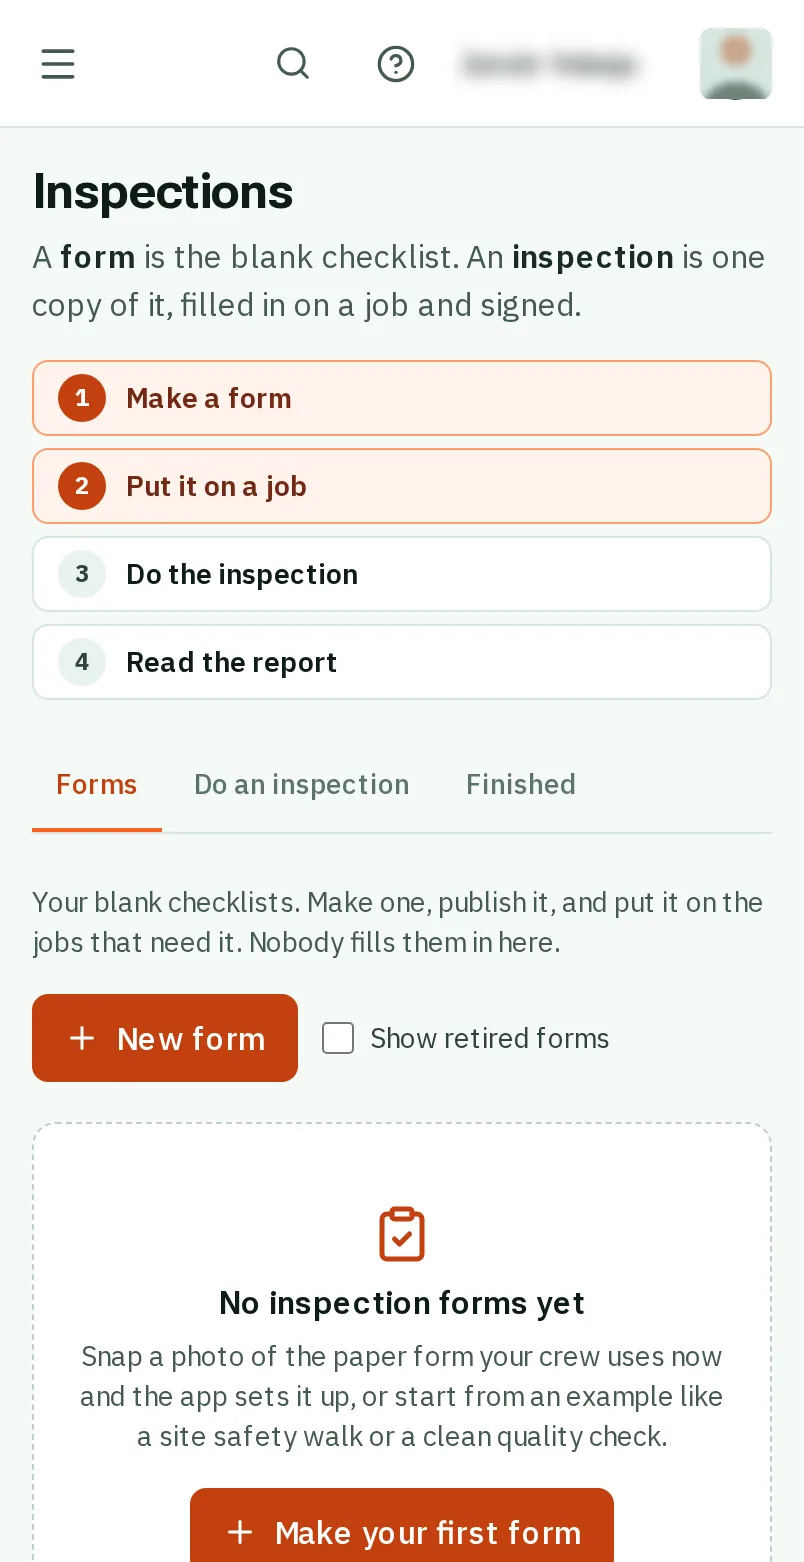
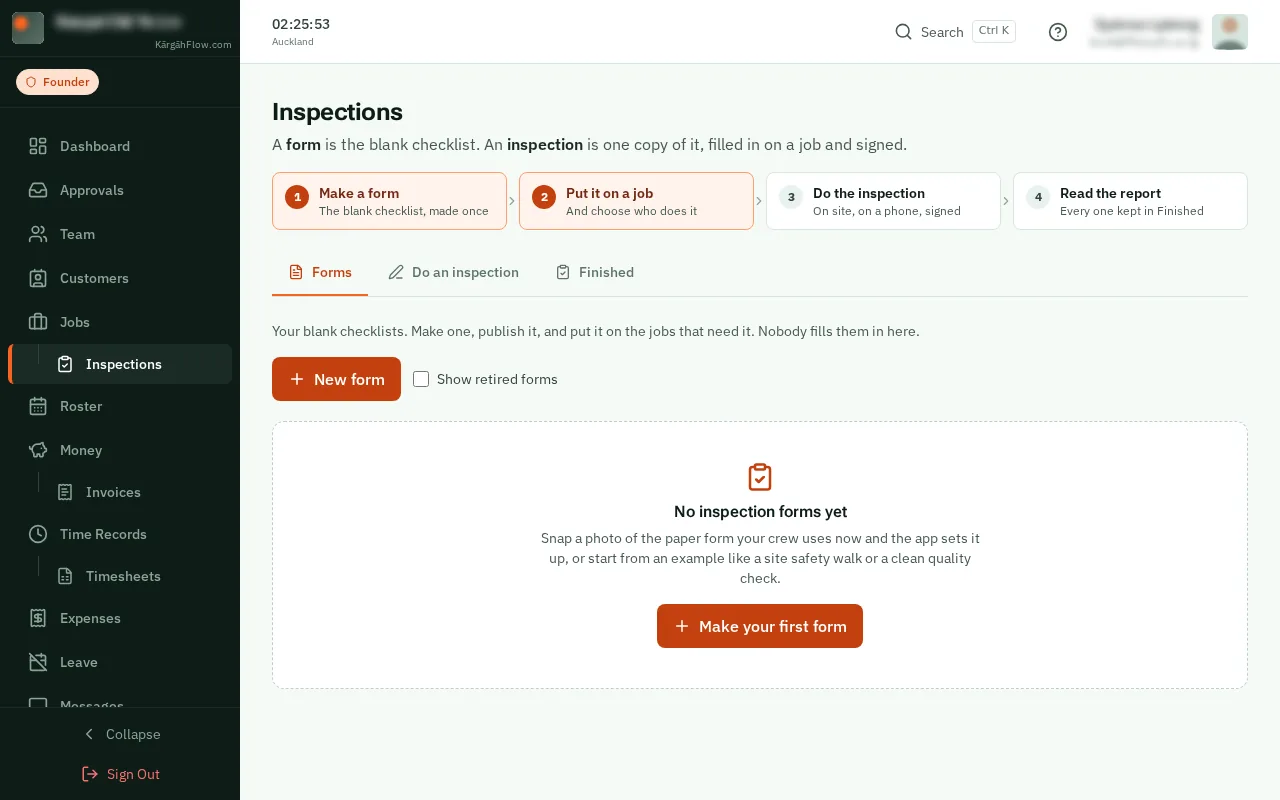
TapClick Start from an example and pick the one closest to your work: a site safety walk, a clean quality check, a service visit or a vehicle check. It opens ready to change, with its score already set up.
Good to know: Already have one on paper? TapClick Snap your paper form and take a clear photo of it: the app sets up its questions for you to check.
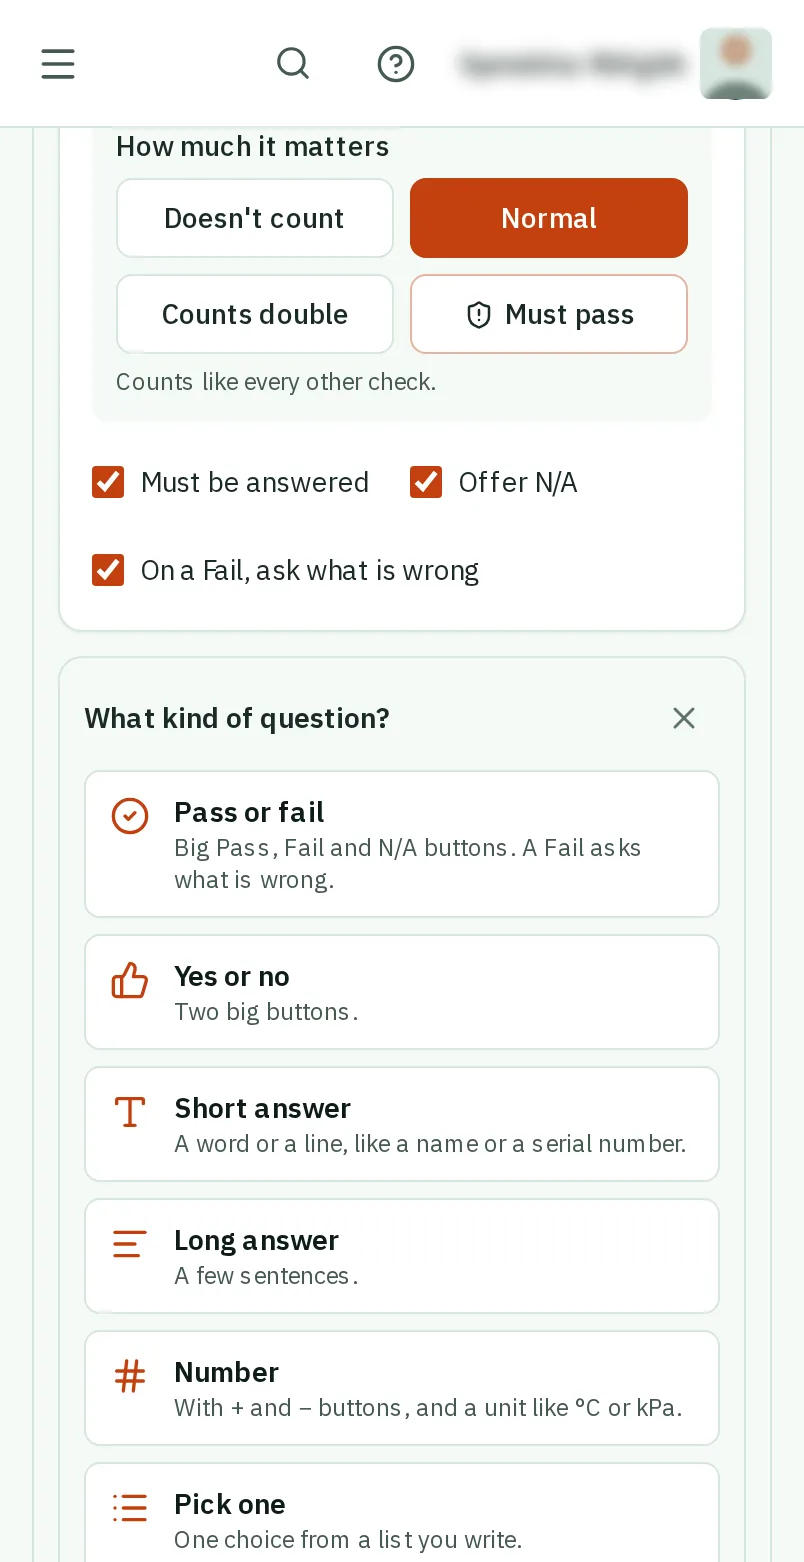
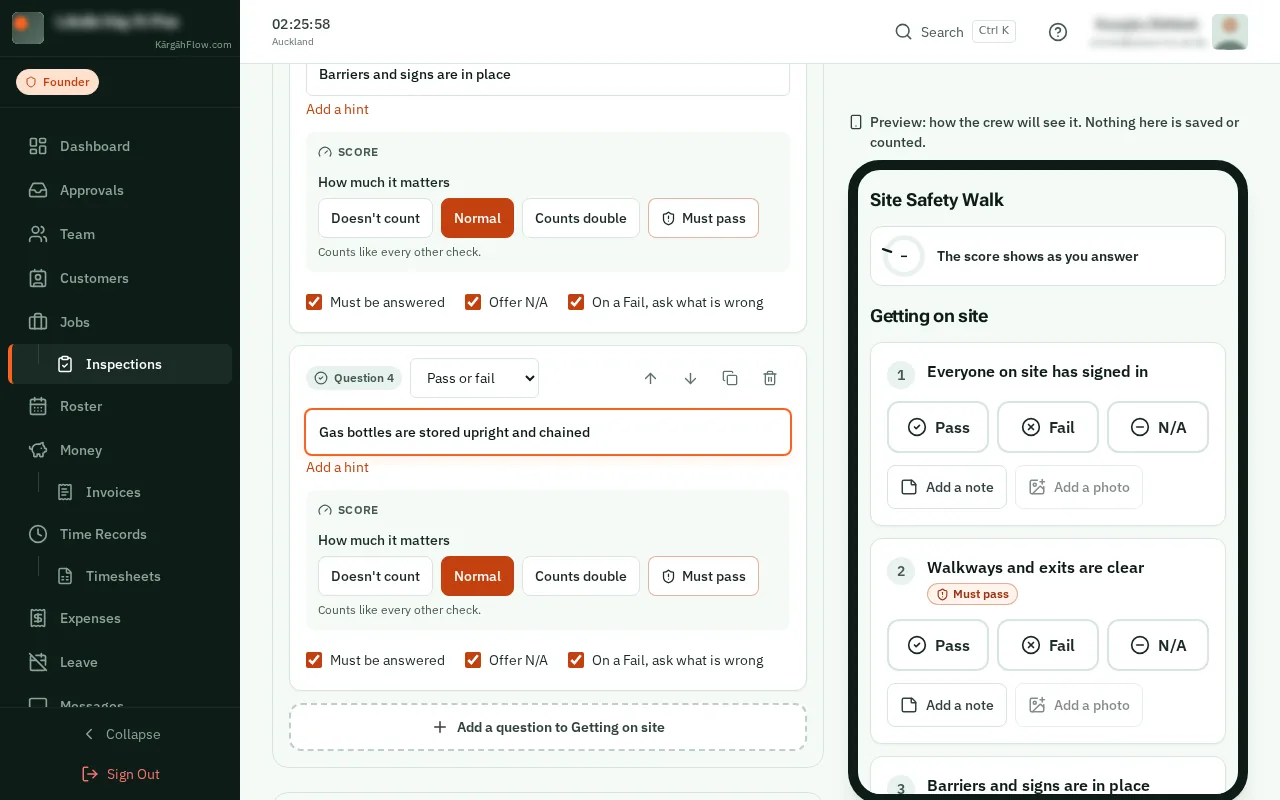
Change the words of any question in its box. To add one, tapclick Add a question, choose what kind it is (Pass or fail, Yes or no, a Number, a Photo and more), and type the question.
Good to know: Your changes save as you go. Nobody on site sees the form until you publish it.
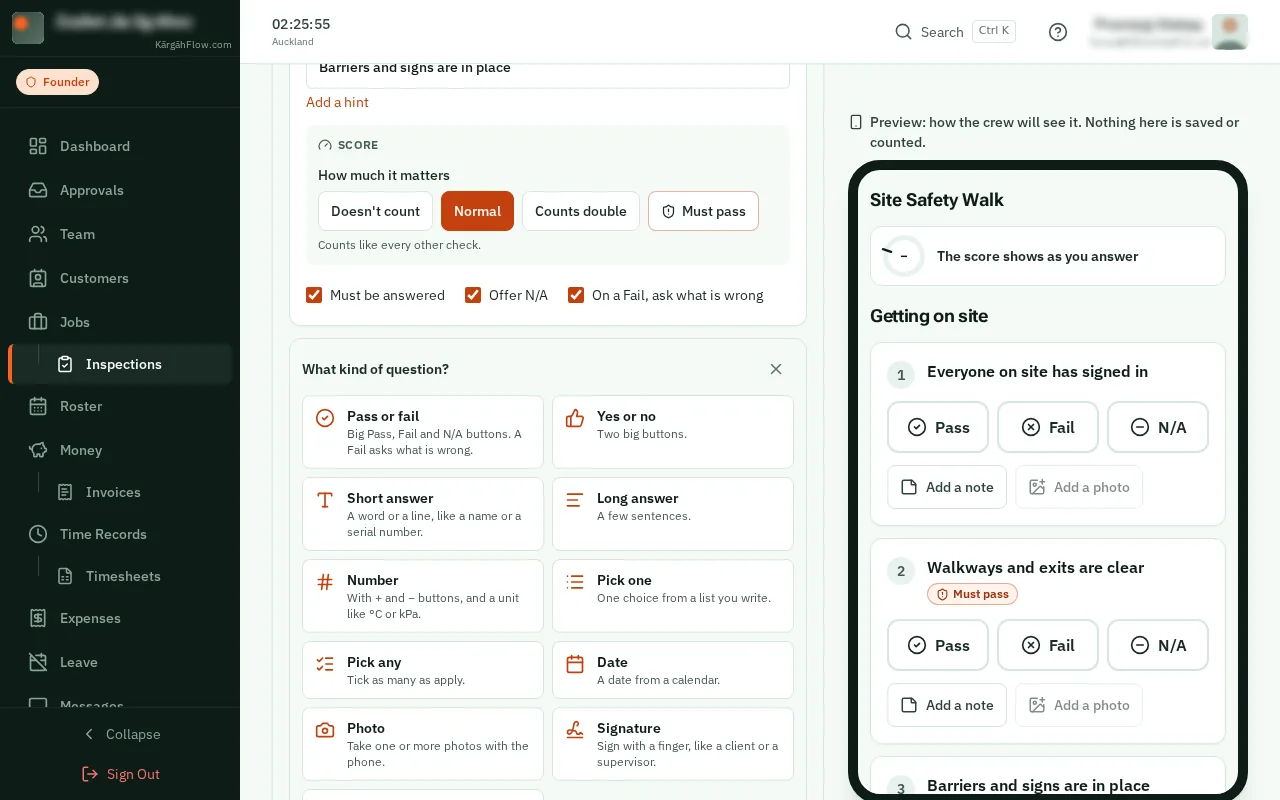
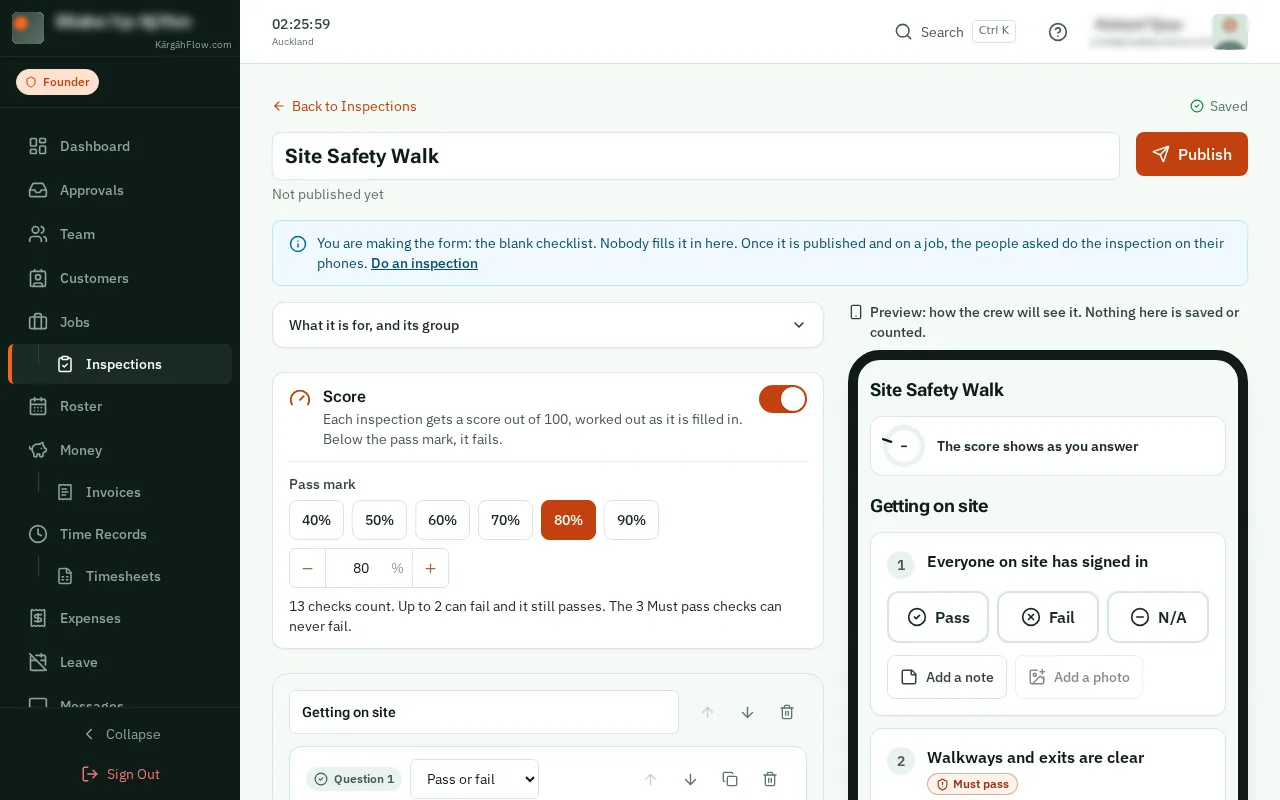
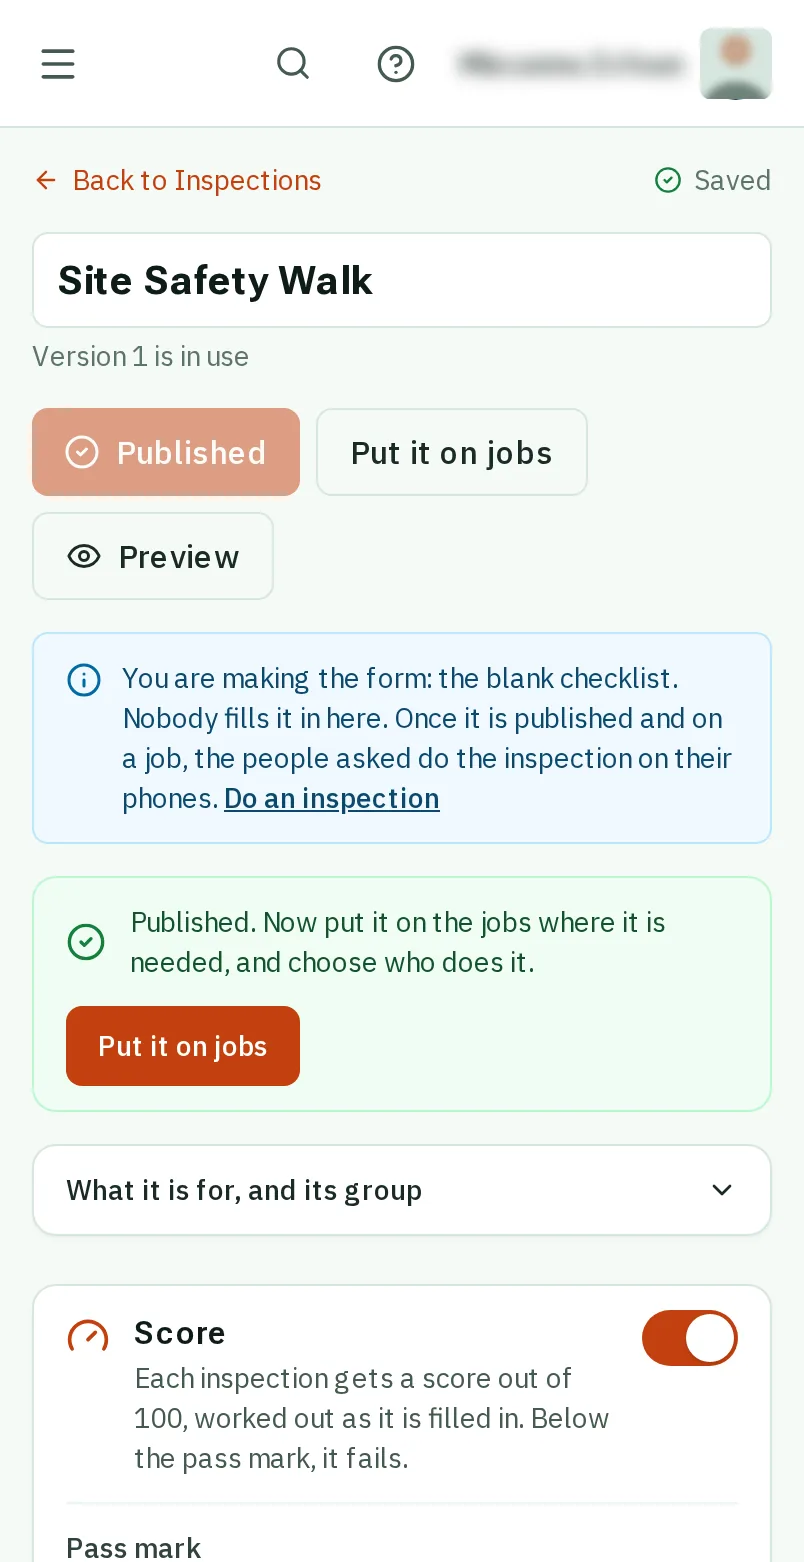
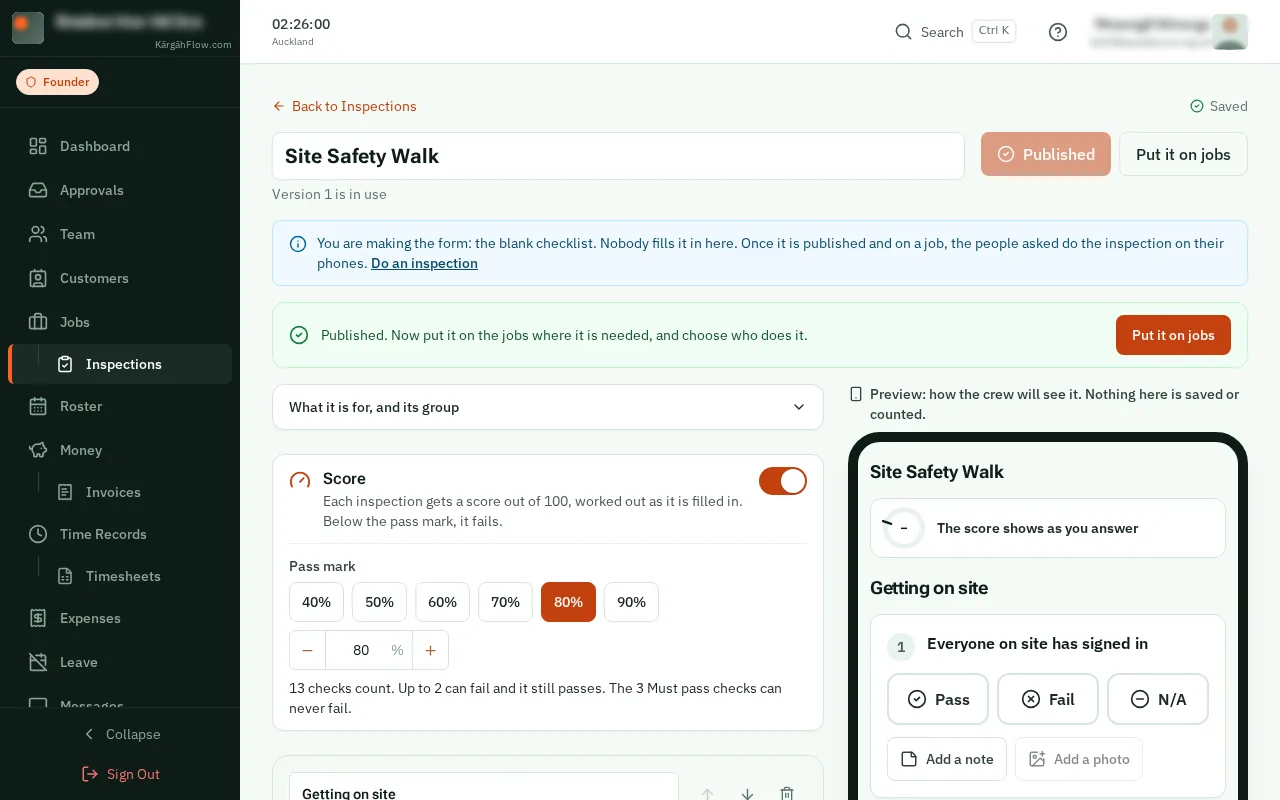
TapClick Preview to see the form as your crew will see it on site. It is only a preview: nothing is saved or counted.The phone beside your questions shows the form as your crew will see it on site. It is only a preview: nothing is saved or counted.
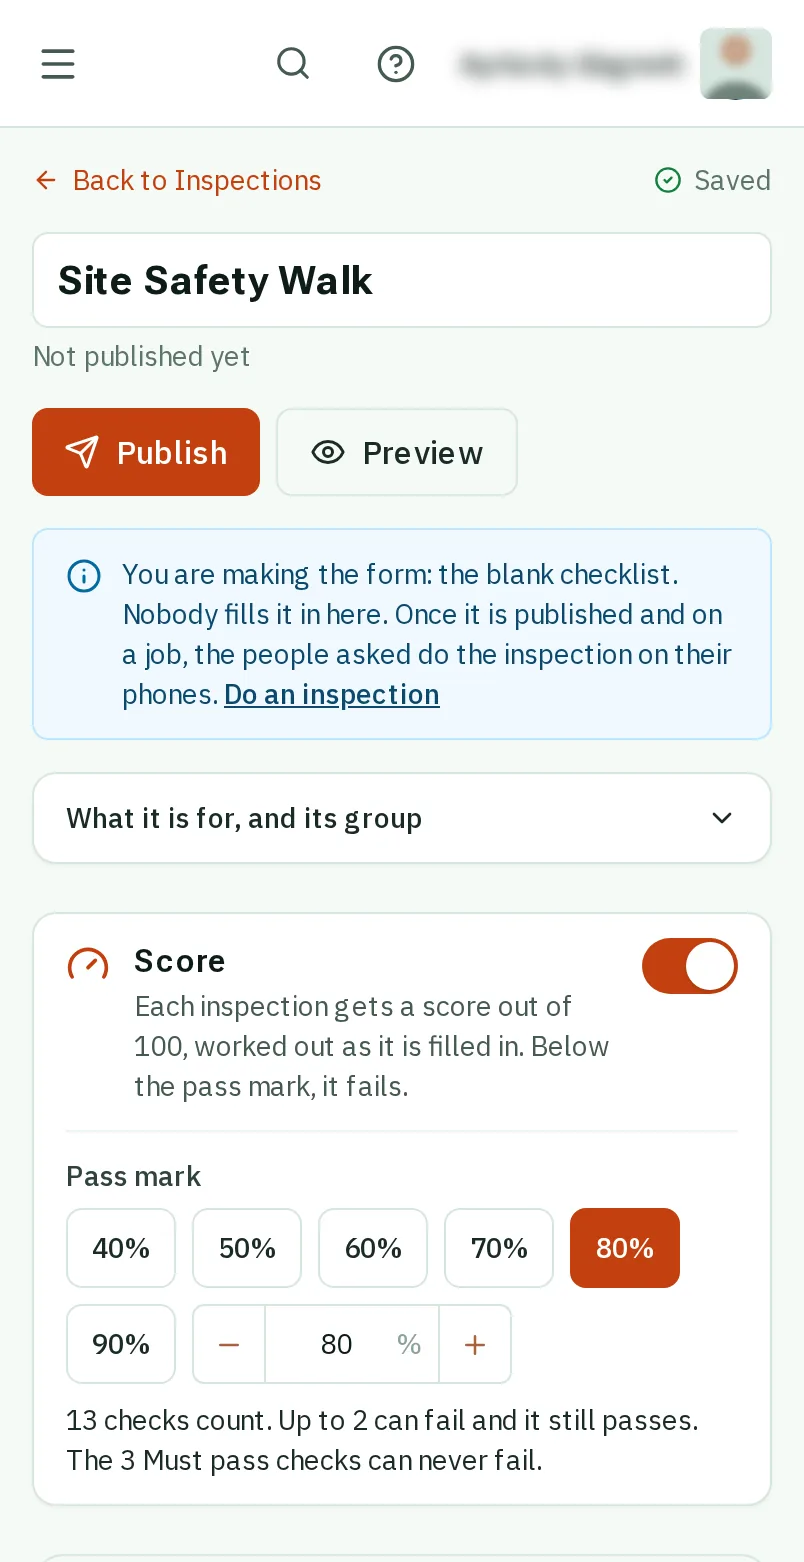
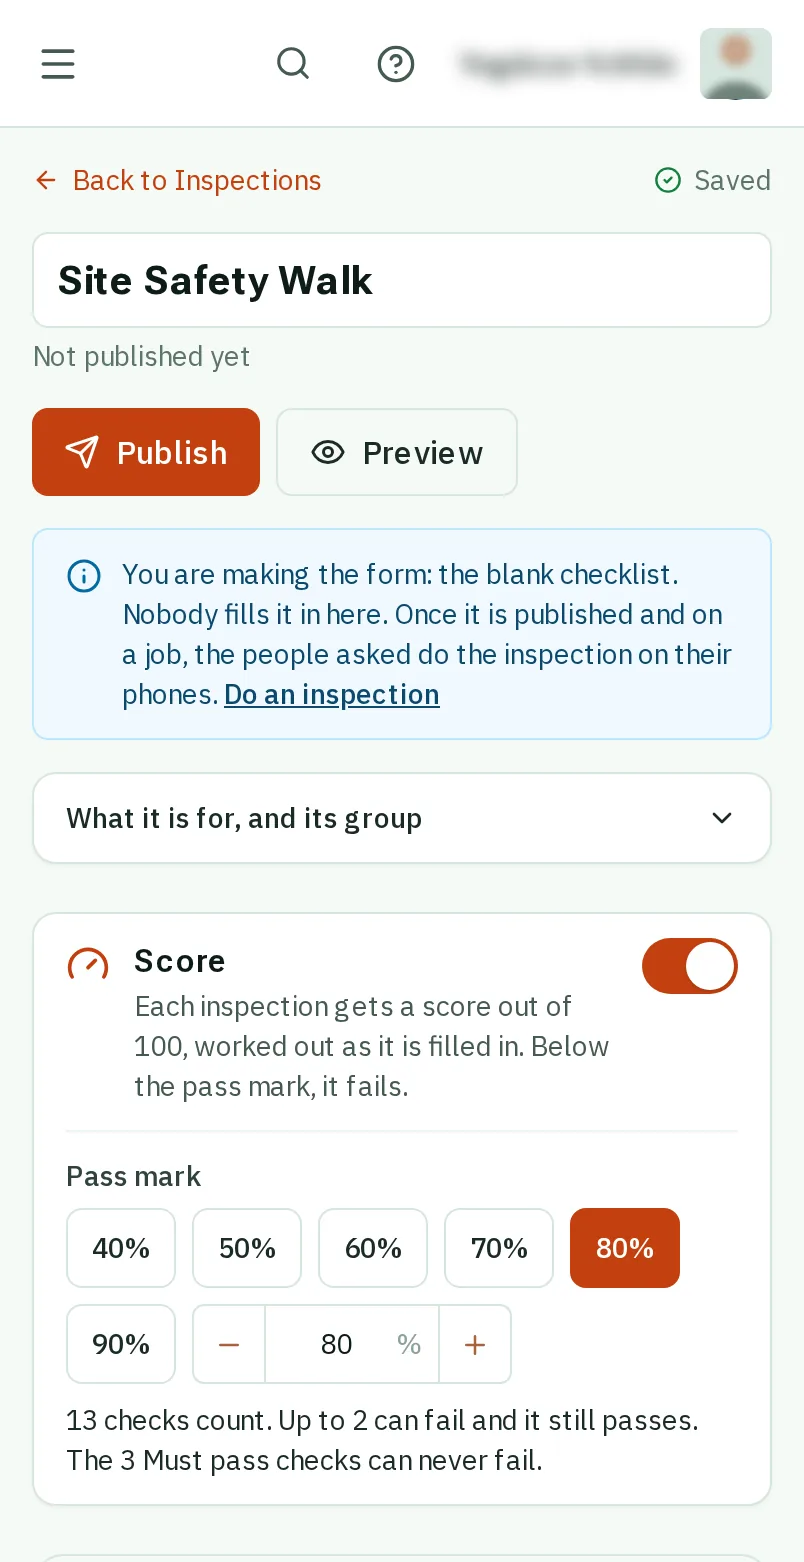
TapClick Publish. The form is ready to use.
Good to know: Change it any time and publish again. An inspection already started keeps the version it started on.
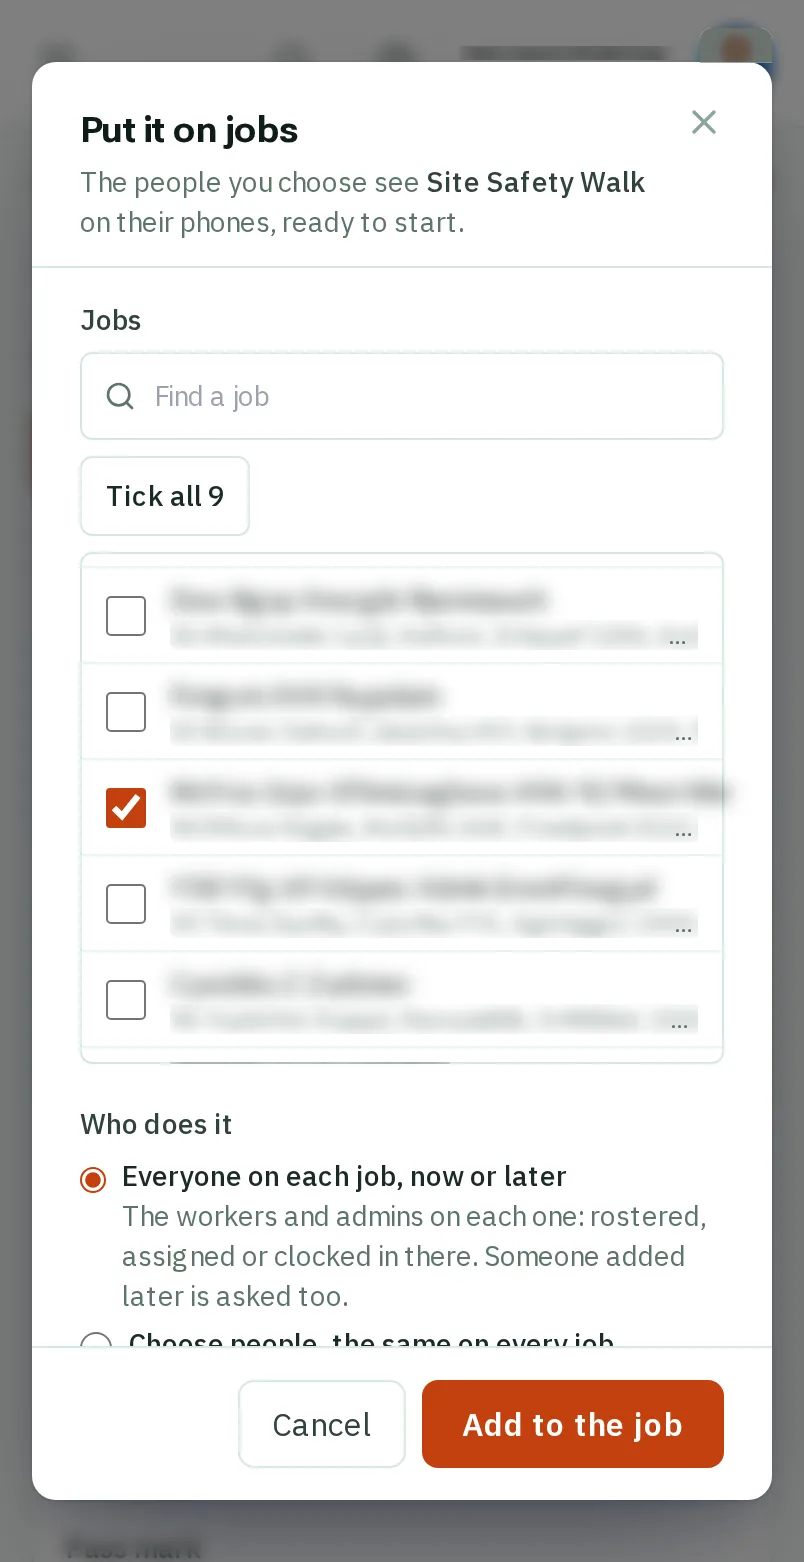
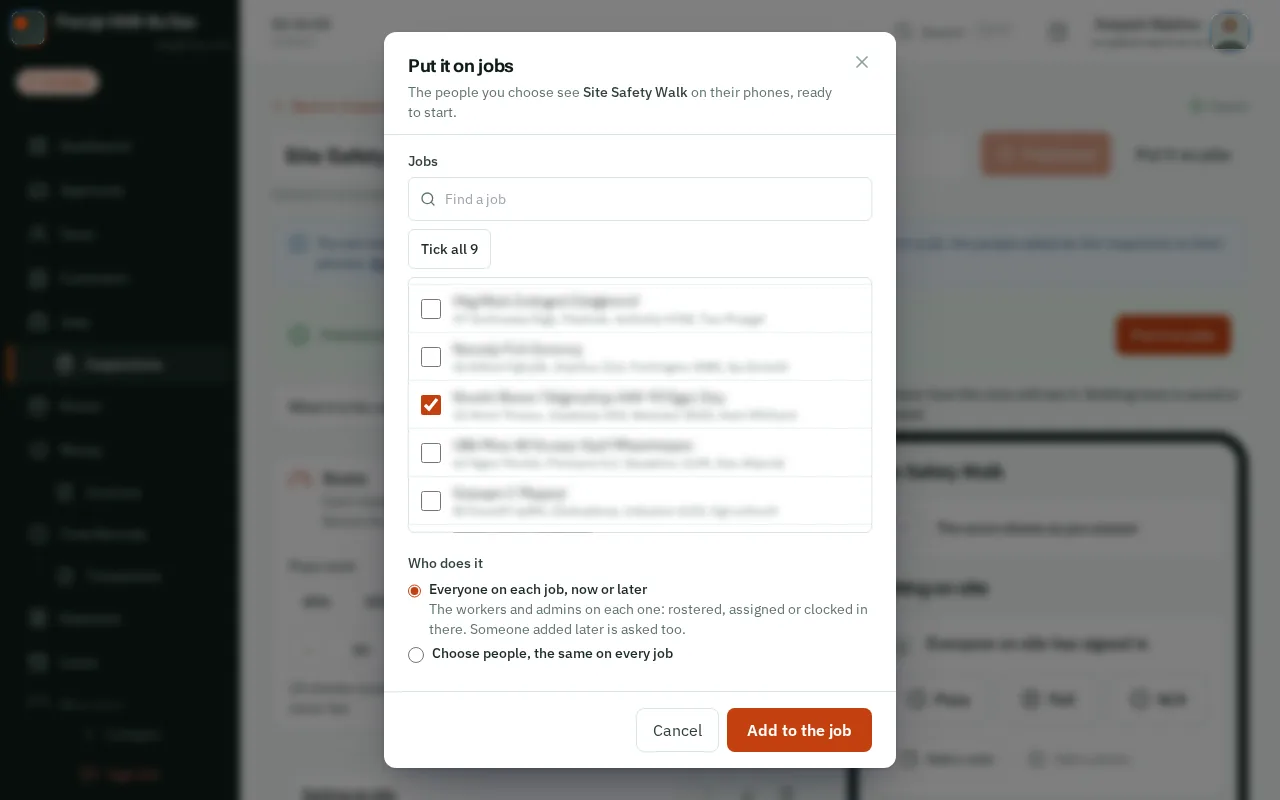
TapClick Put it on jobs and tick the jobs it is for.
Leave Everyone on each job, now or later chosen, or tapclick Choose people. Then tapclick Add to the job (it says Add to 2 jobs when you ticked two). They see it on their phones, ready to start.
Good to know: Everyone on the job means whoever is rostered, put on or clocked in there, people added later too. The owner can ask anyone and do any inspection; an admin can ask workers and themselves.