Step 1: Open Customers
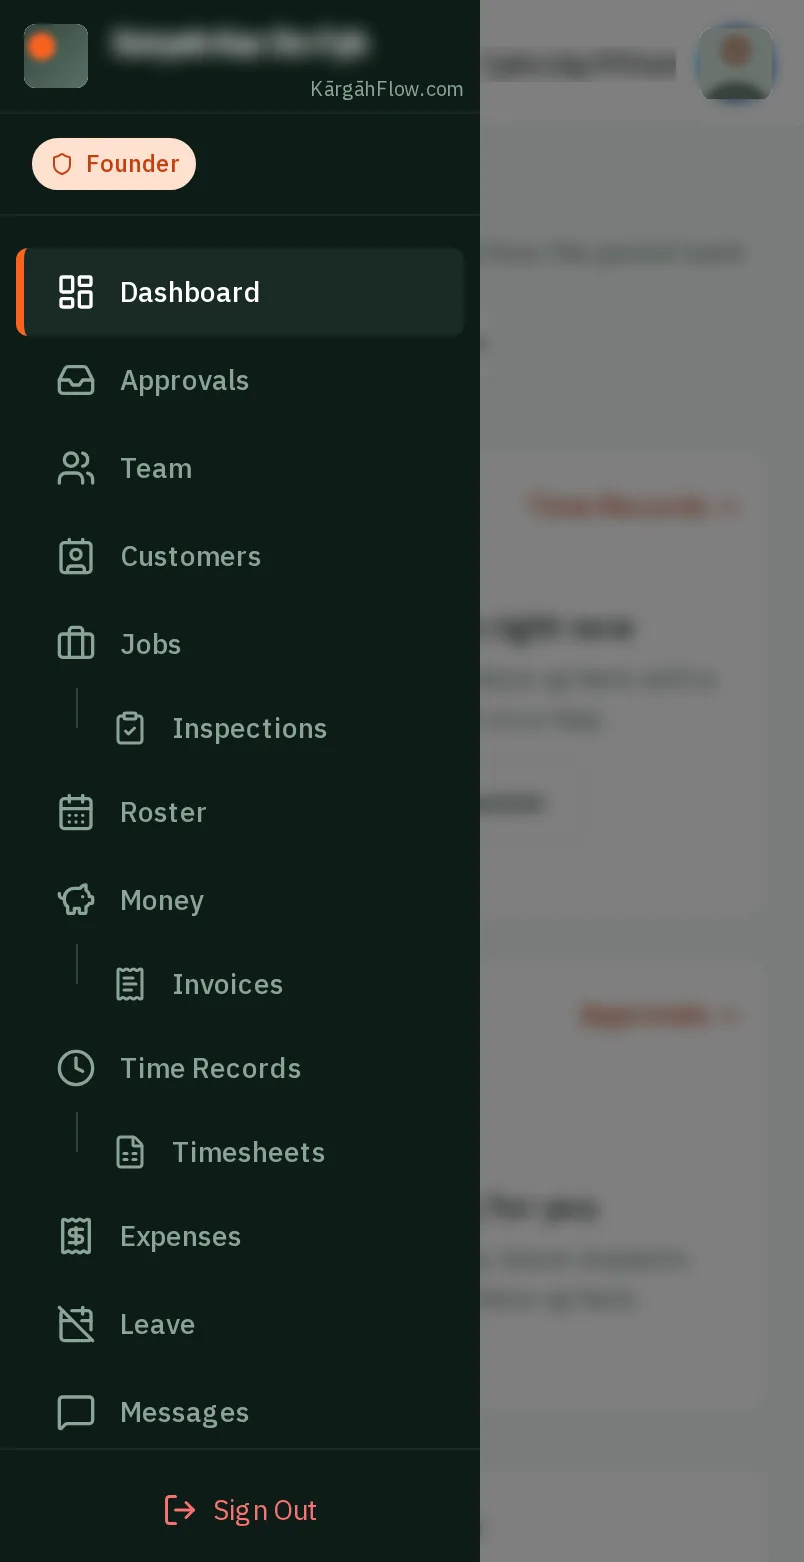
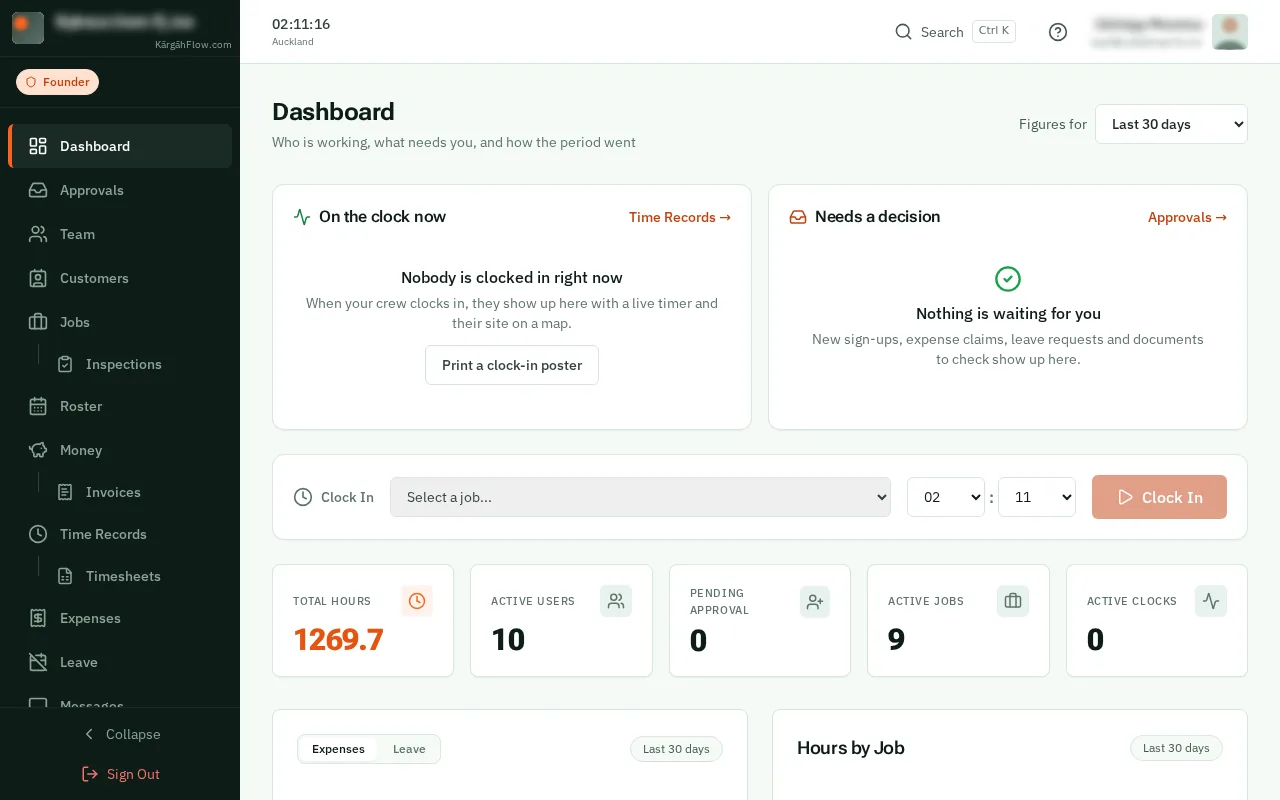
TapClick the menu button at the top left of the screen, then Customers.TapClick Customers in the menu on the left.
Look forthe Customers item in the menu
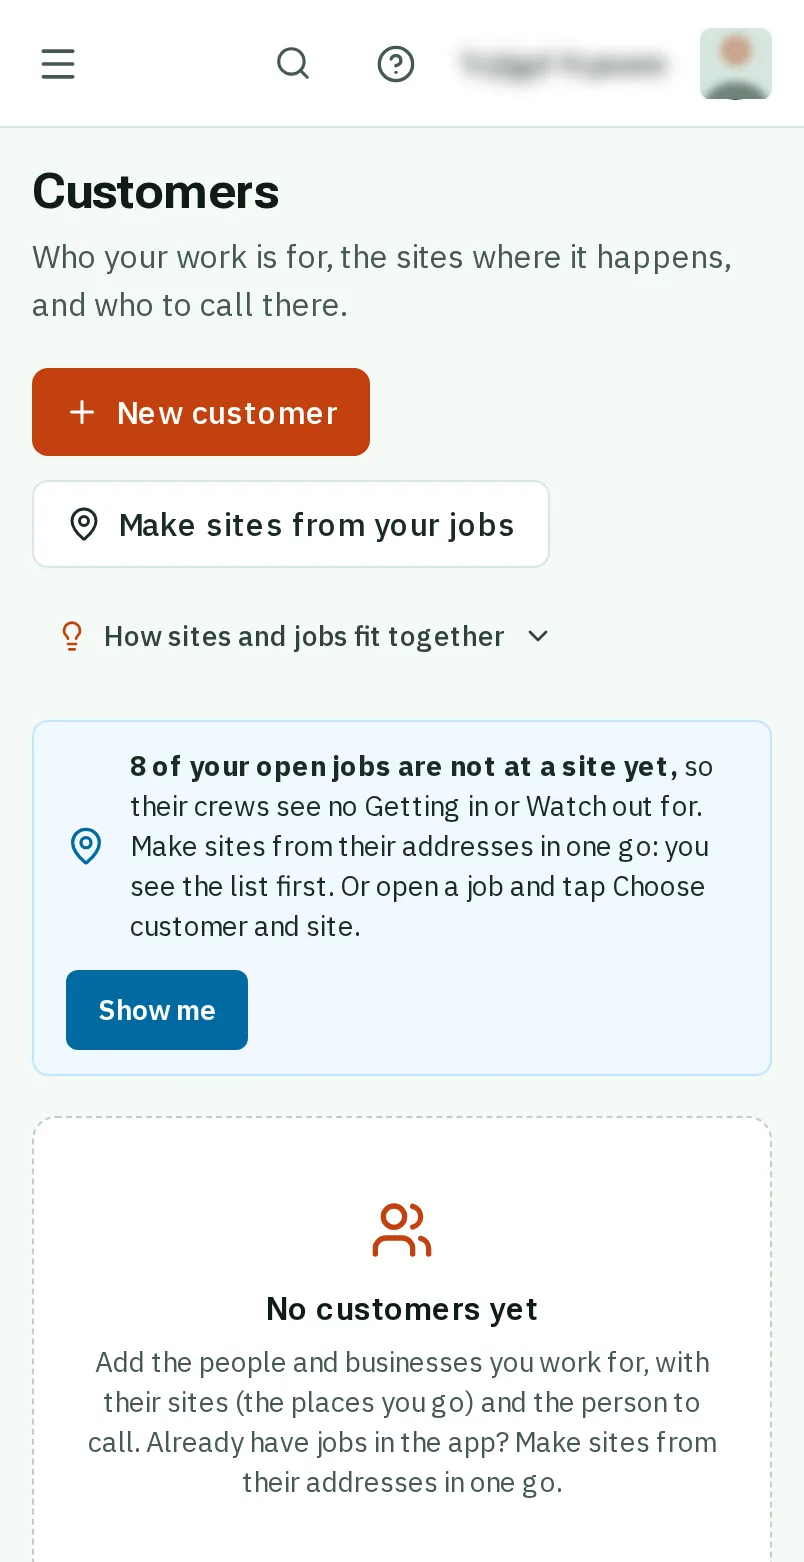
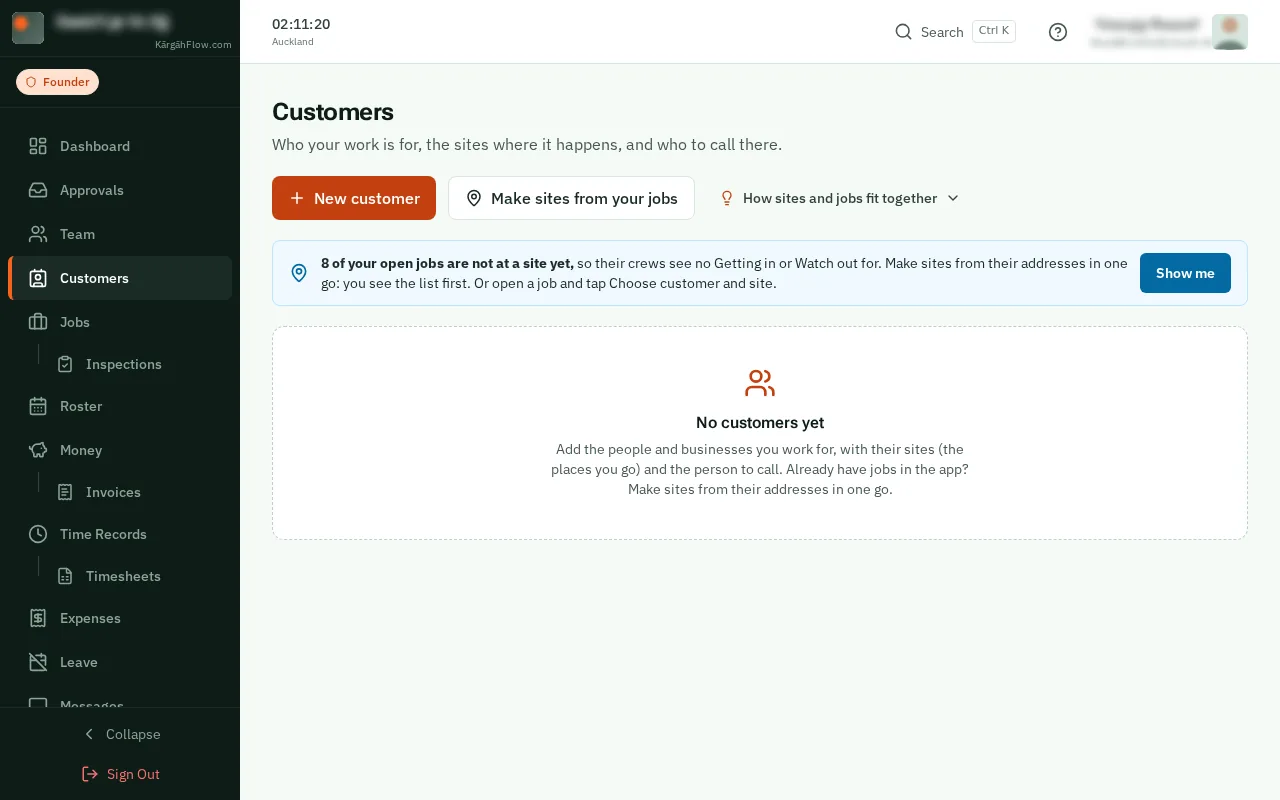
A site is a place you go, and a job is the work you do there. If your jobs already have addresses, the app can make your sites for you: jobs at the same place become one site.
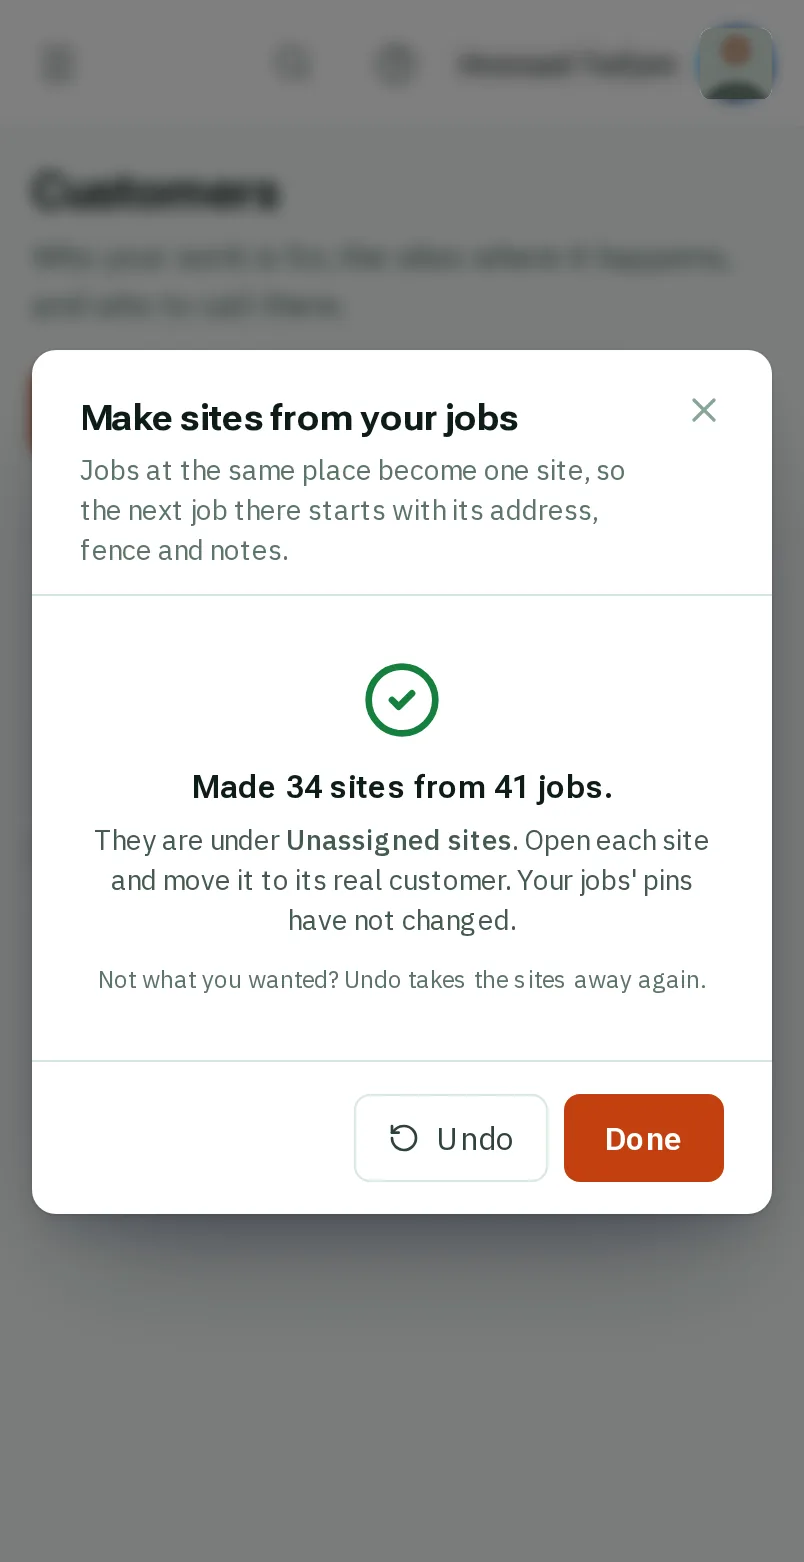
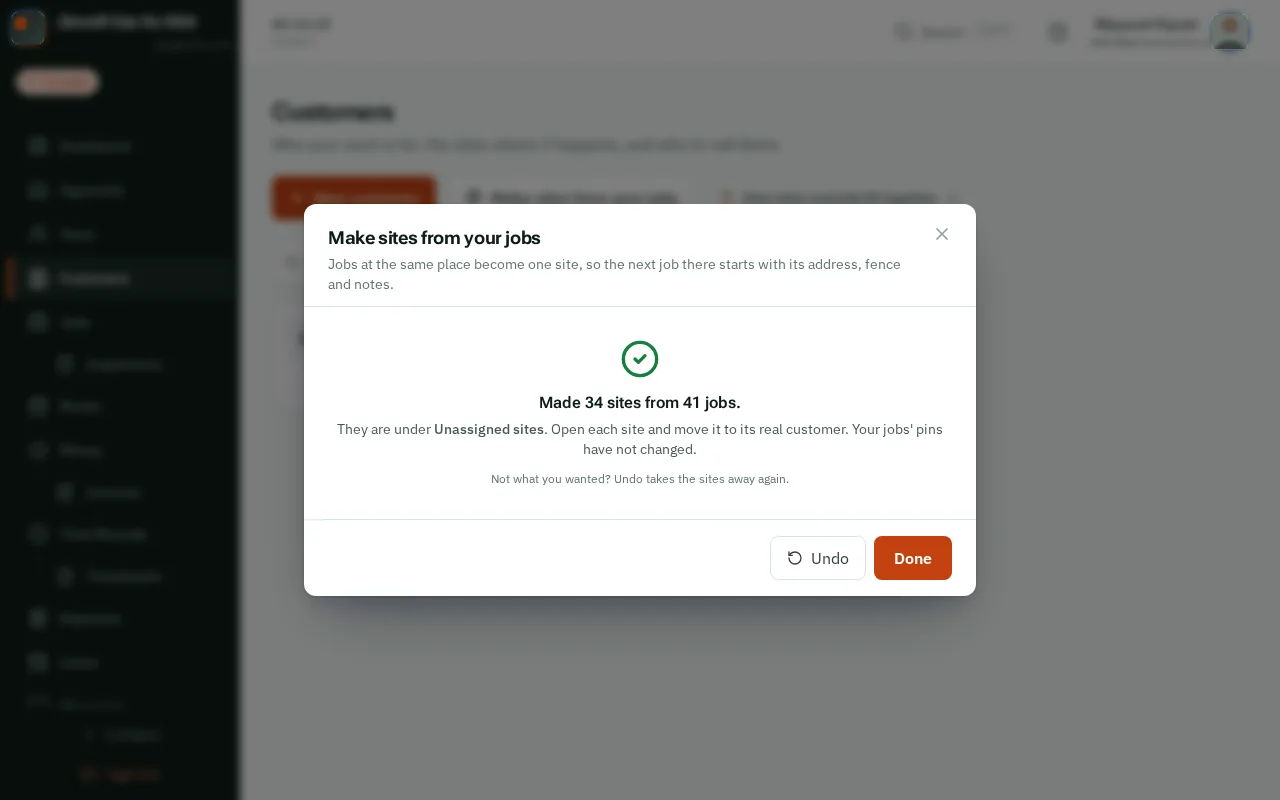
You check the list first, and Undo takes it back straight after. Clocking in does not change: each job keeps its own pin and fence.
TapClick the menu button at the top left of the screen, then Customers.TapClick Customers in the menu on the left.
TapClick Make sites from your jobs. It puts your jobs at the same place together, and each group becomes one site.
Untick any group you do not want. Then tapclick the orange button, which says how many sites it makes.
Good to know: Your jobs keep their own pins and fences, so clocking in works just as it did. Changed your mind? TapClick Undo straight after.
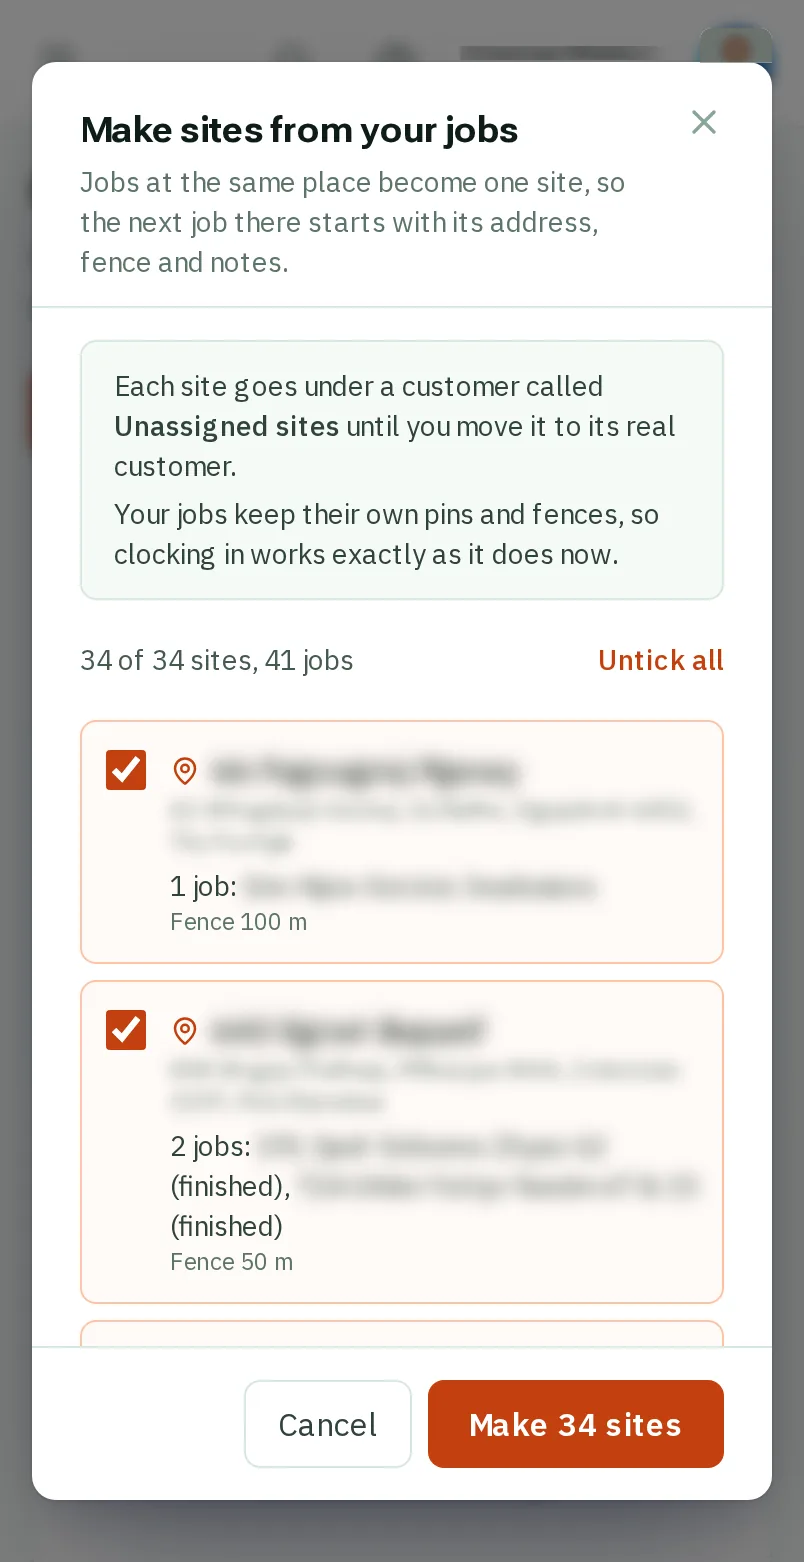
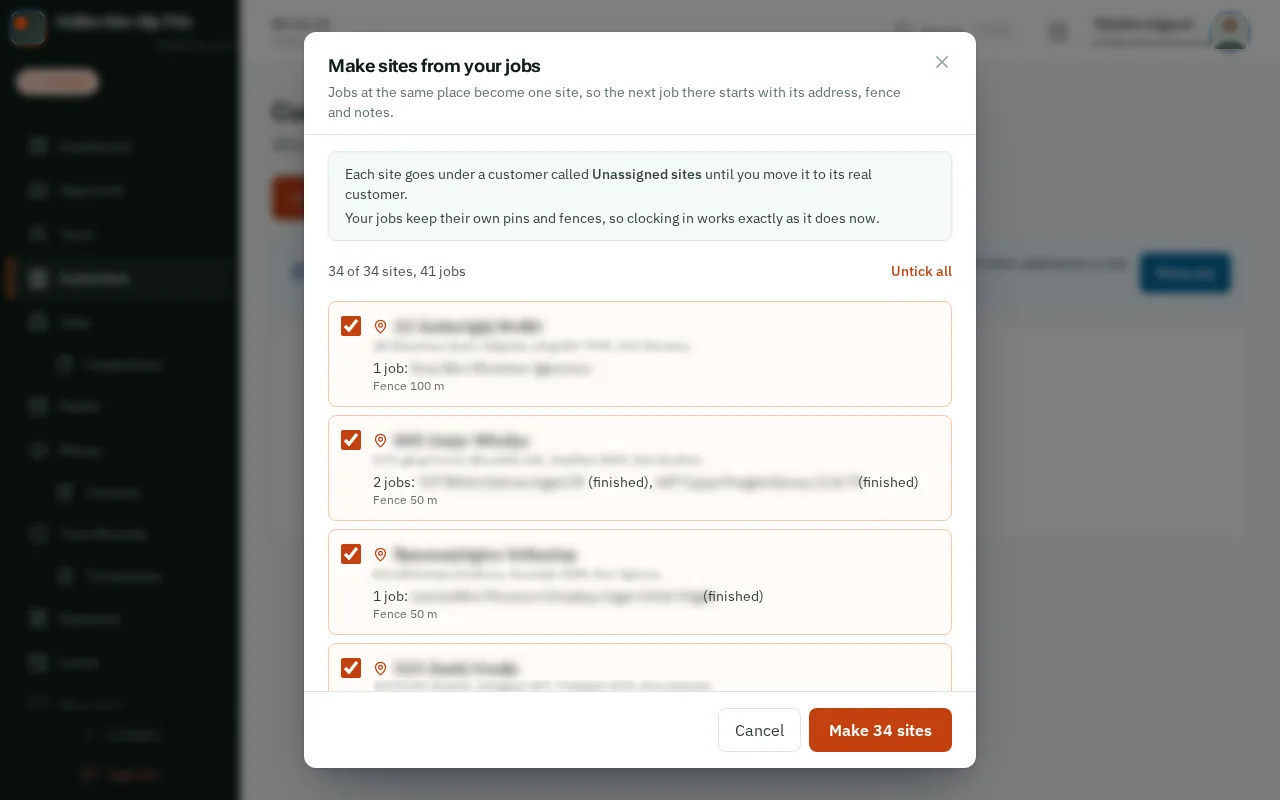
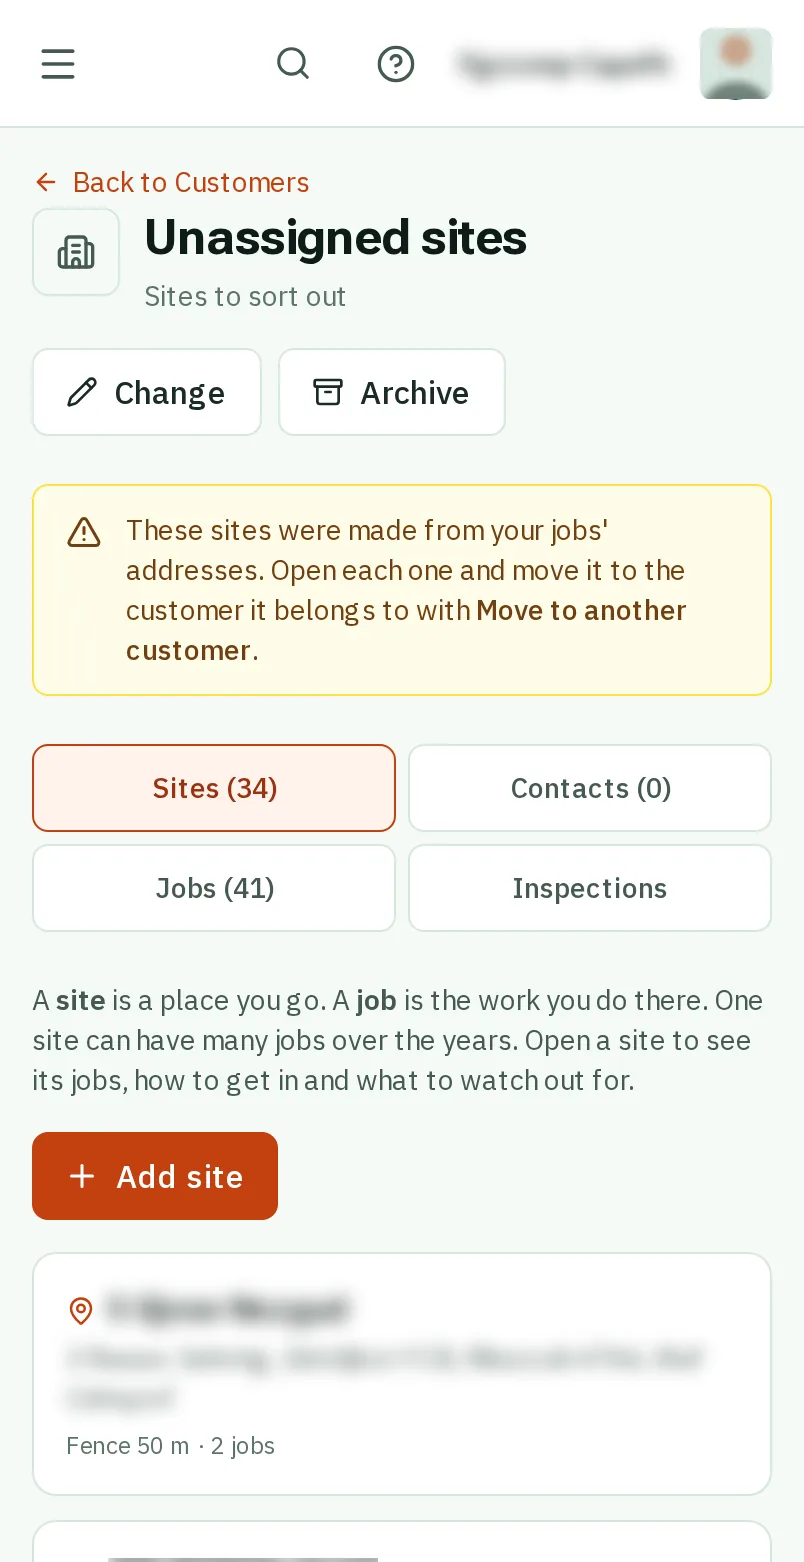
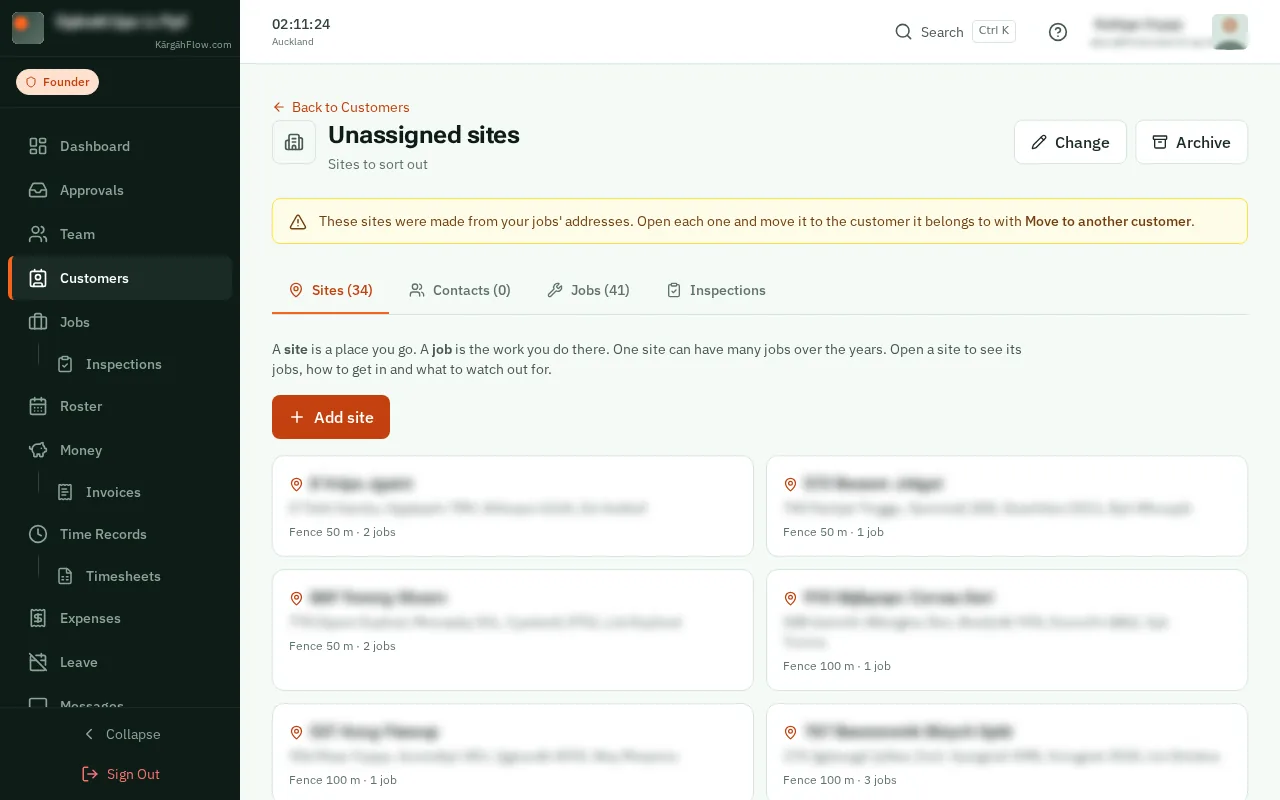
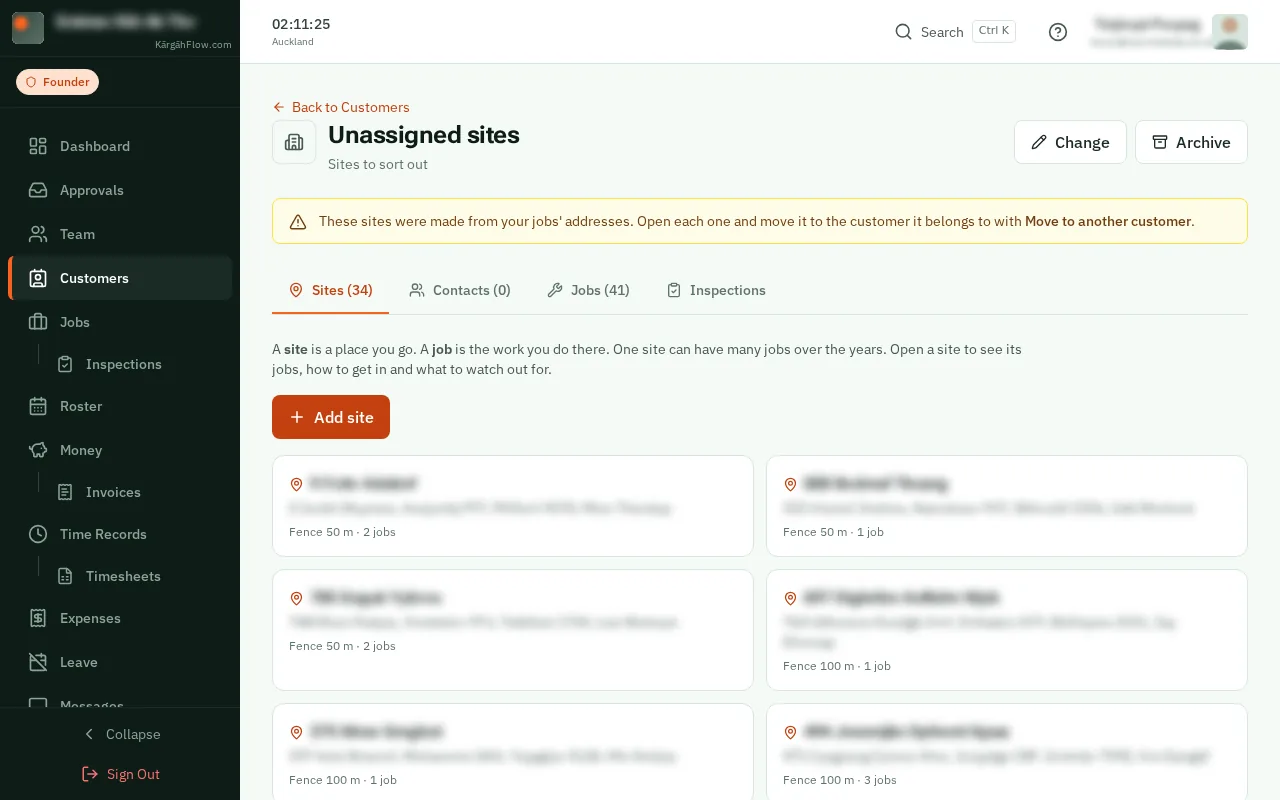
The new sites are under a customer called Unassigned sites for now. TapClick Unassigned sites to open it.
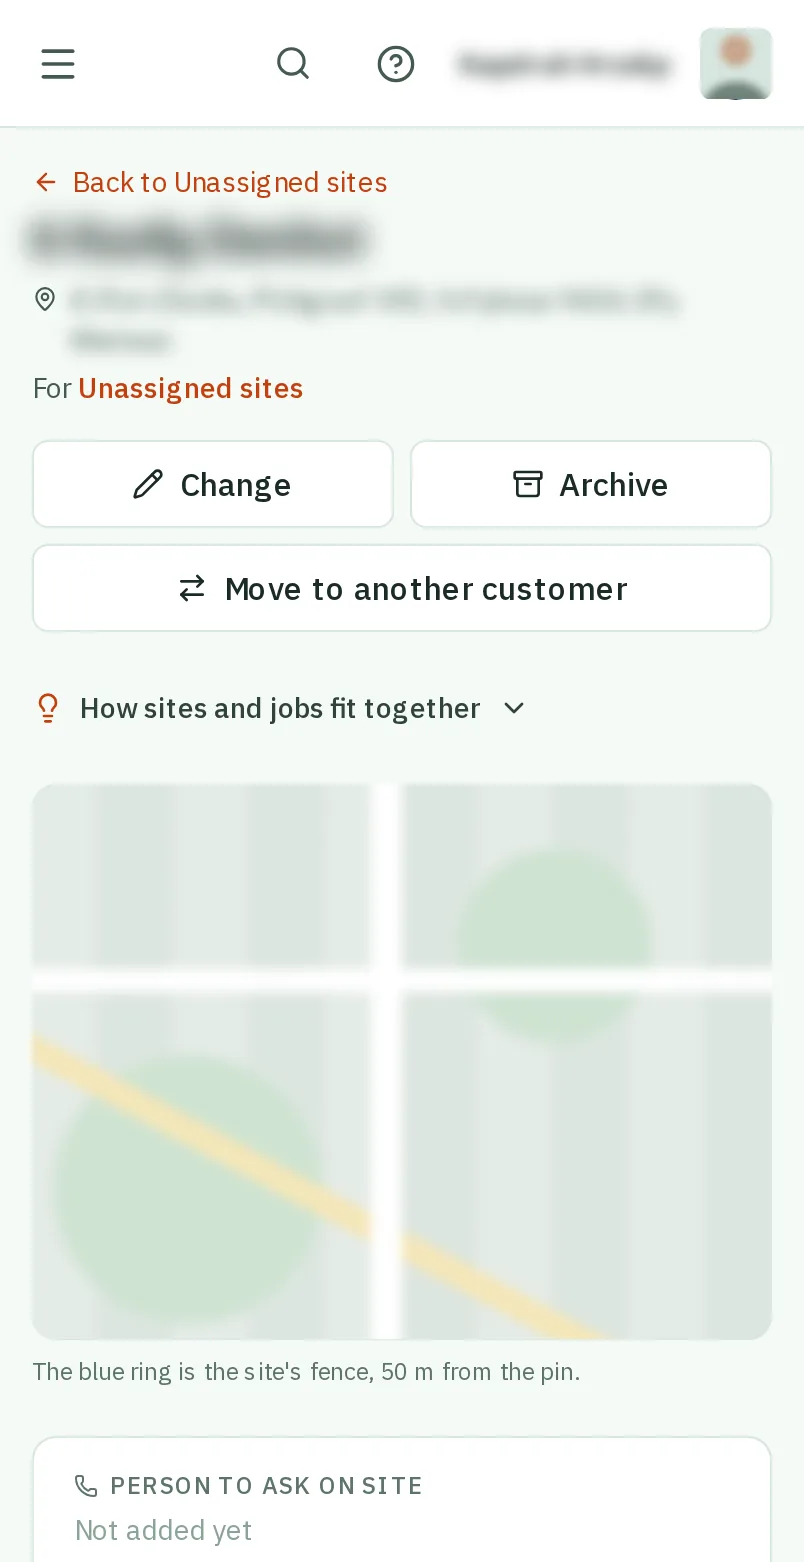
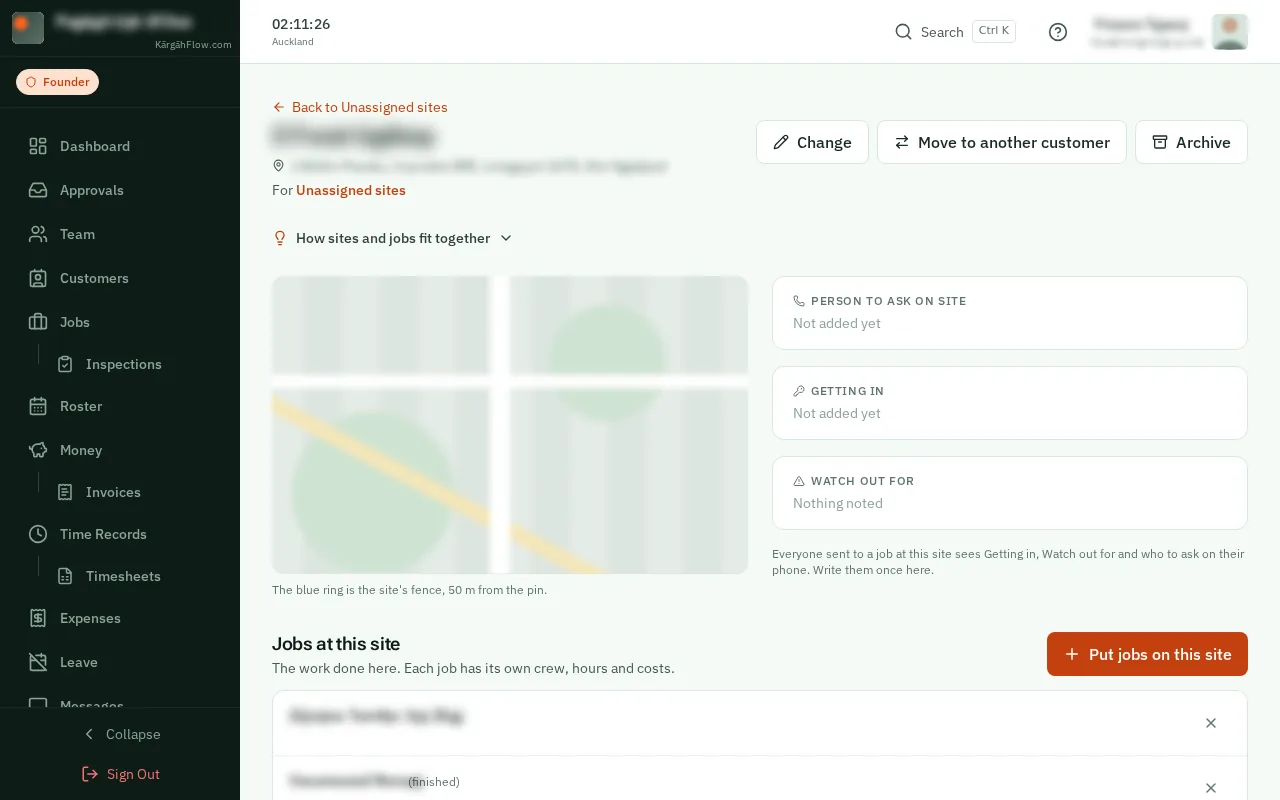
TapClick one of the sites. Its page shows the place from above, its fence and its jobs.
Good to know: To put another job on a site, tapclick Put jobs on this site. The jobs nearest it come first. A job whose own pin is far from the site says so: tapclick Use this site’s place to give it the site’s address, pin and fence.
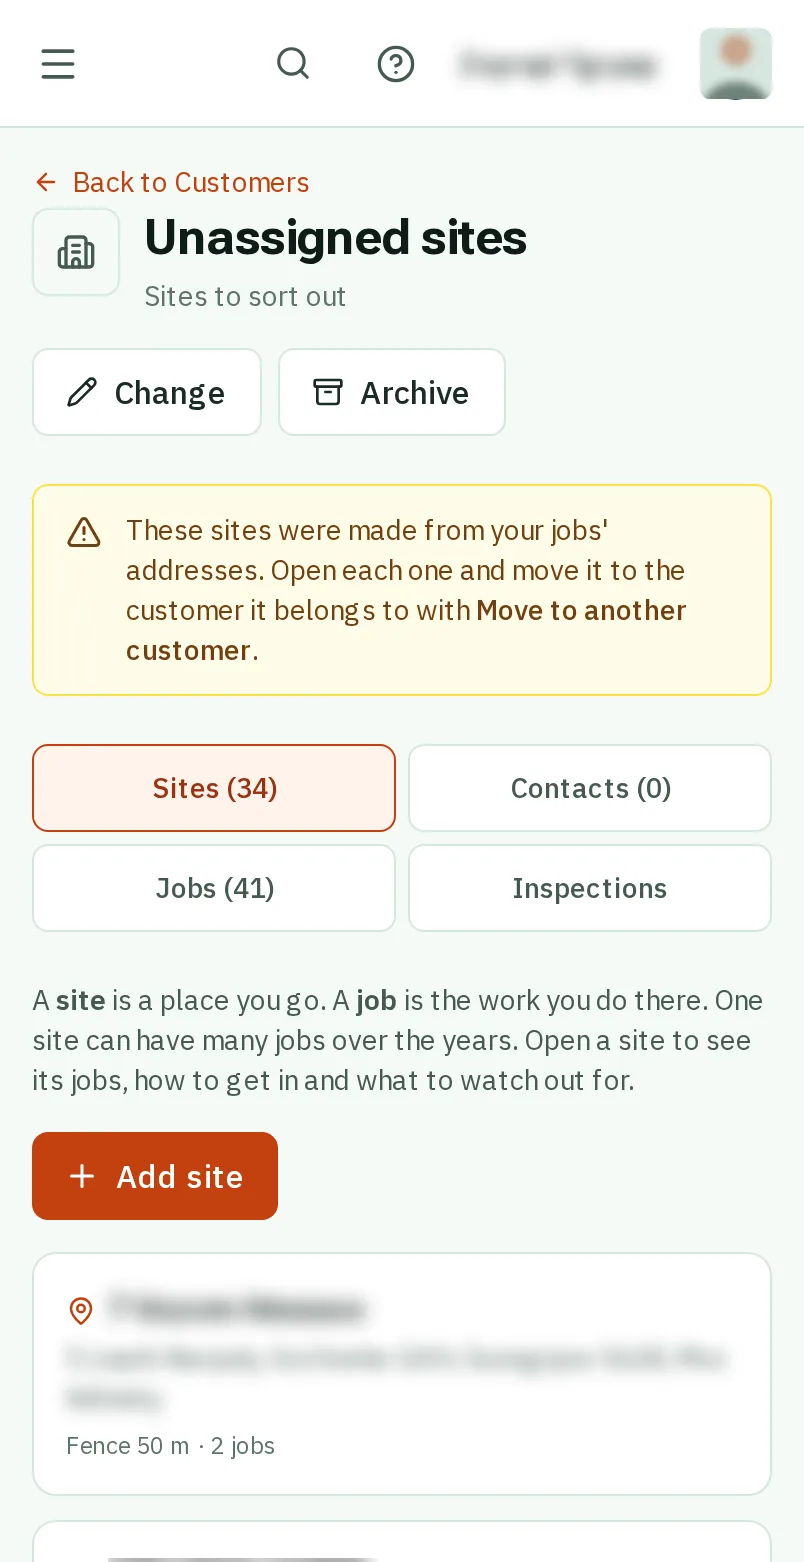
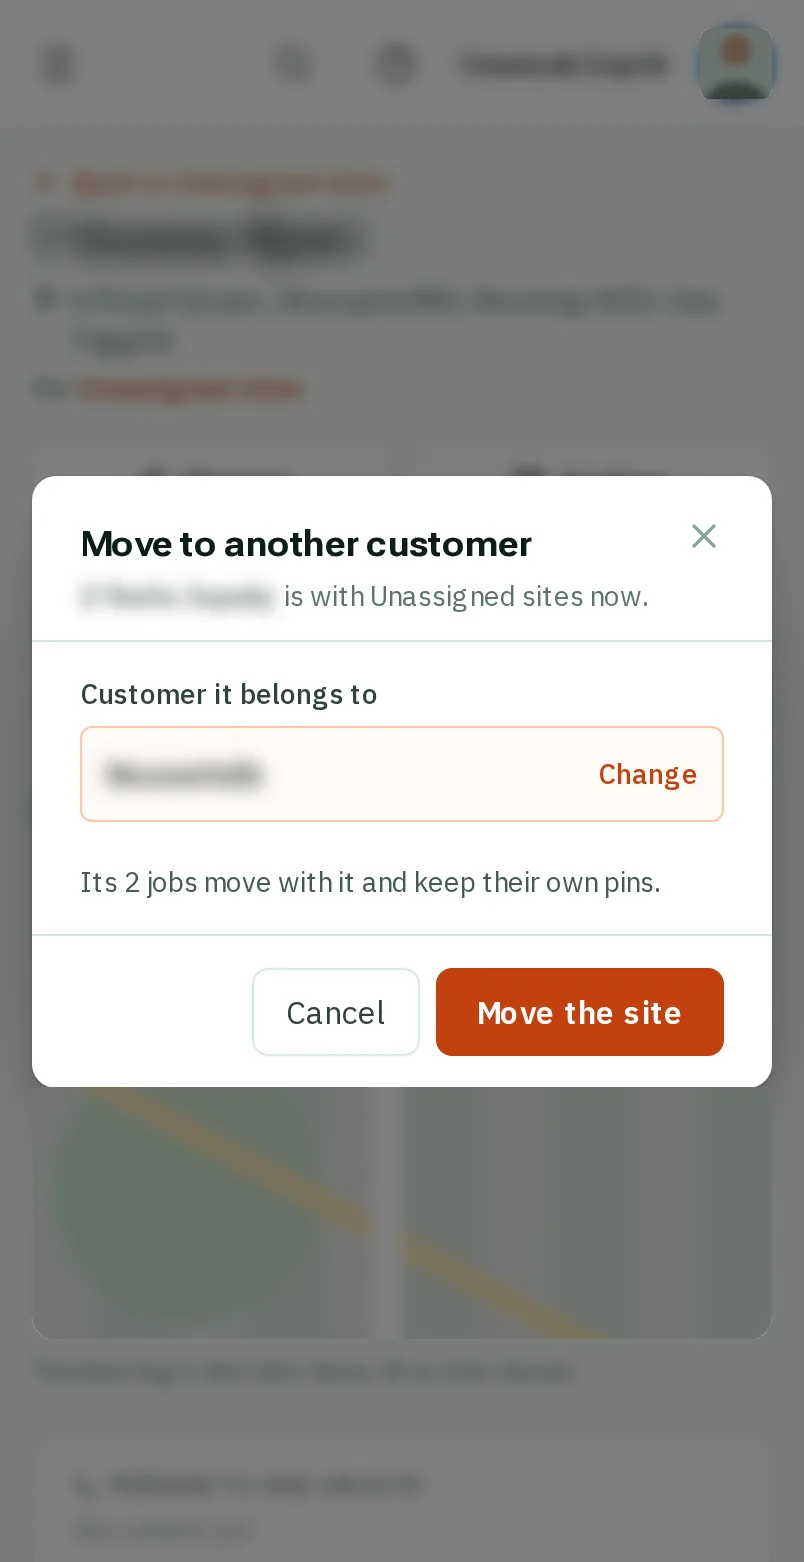
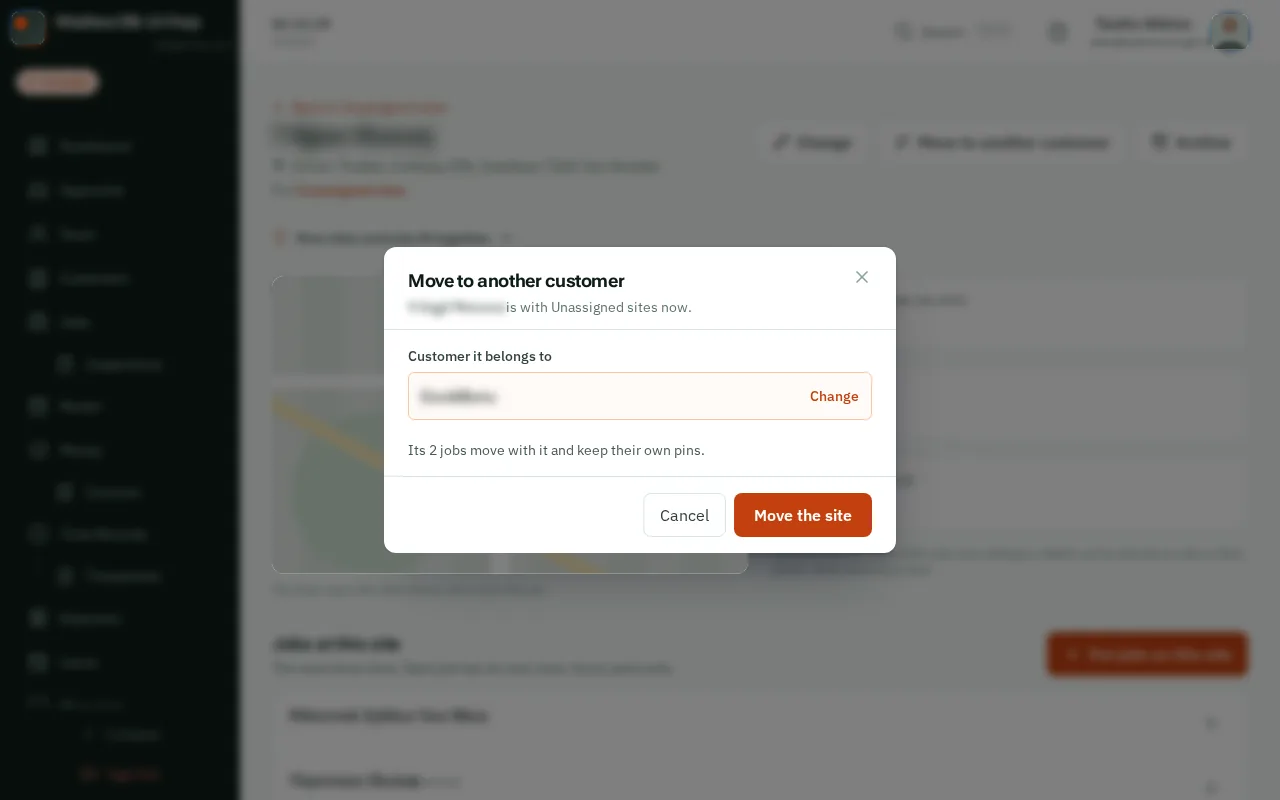
TapClick Move to another customer.
Type the customer’s name and tapclick them in the list. Not added yet? TapClick New customer with their name to add them now.
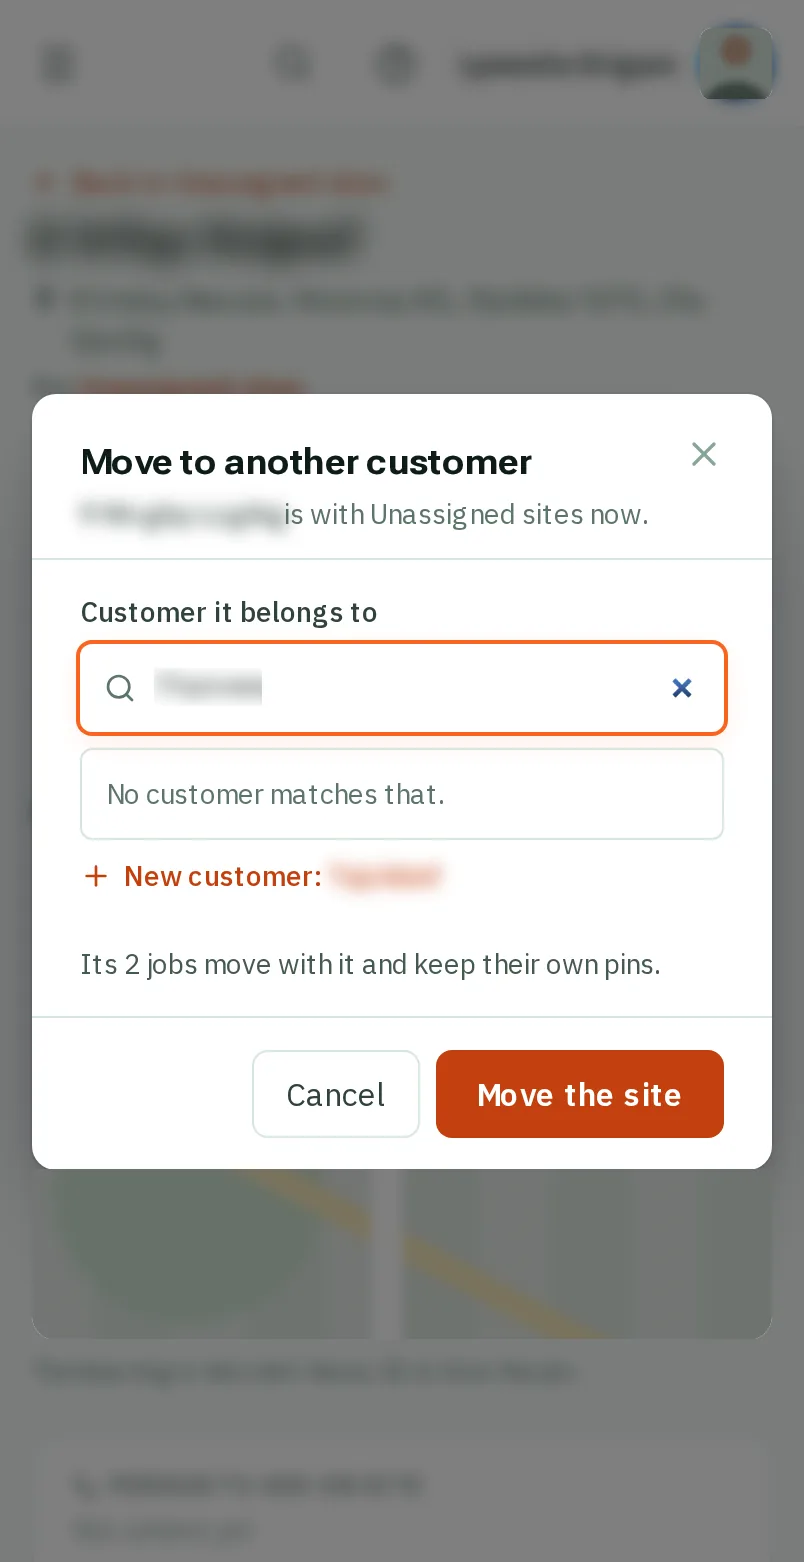
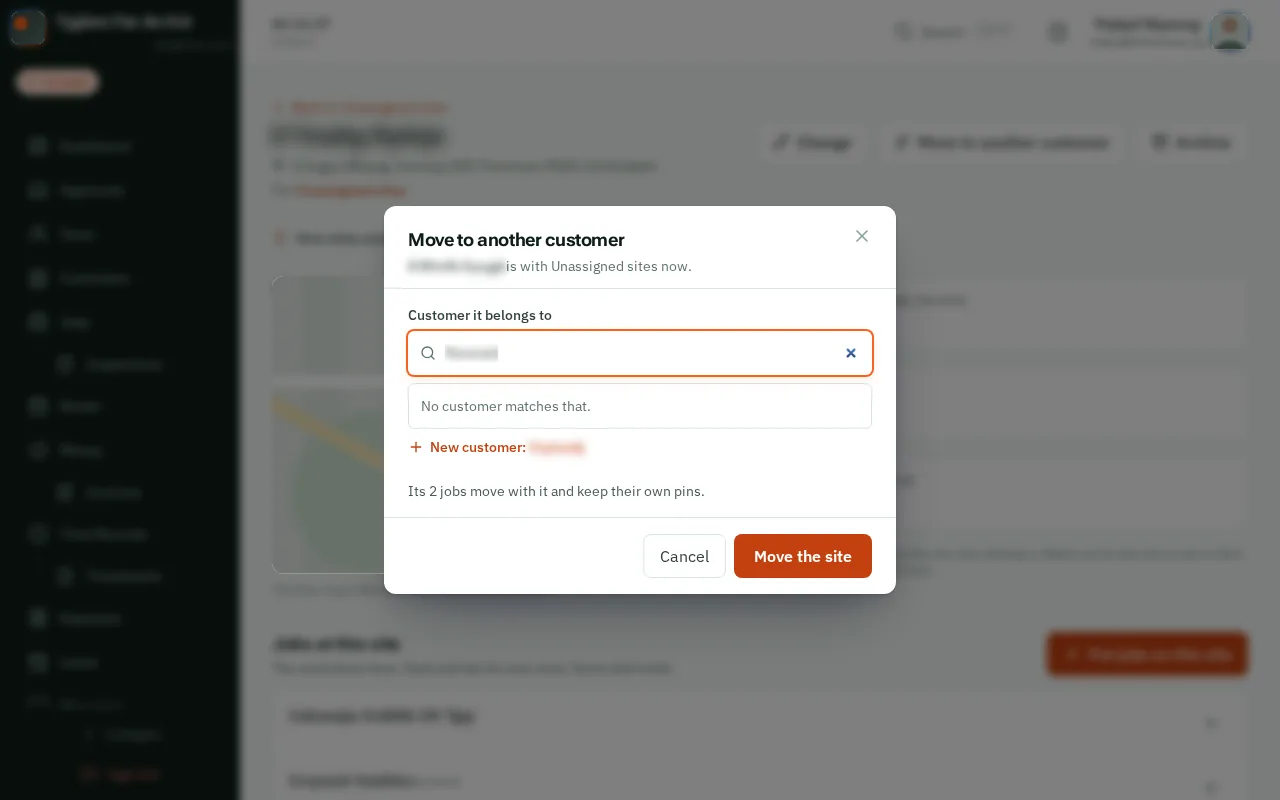
TapClick Move the site. The site and its jobs are with that customer now. Do the same for each site.
Good to know: Each job keeps its own pin, and its own page says who it is for and where.