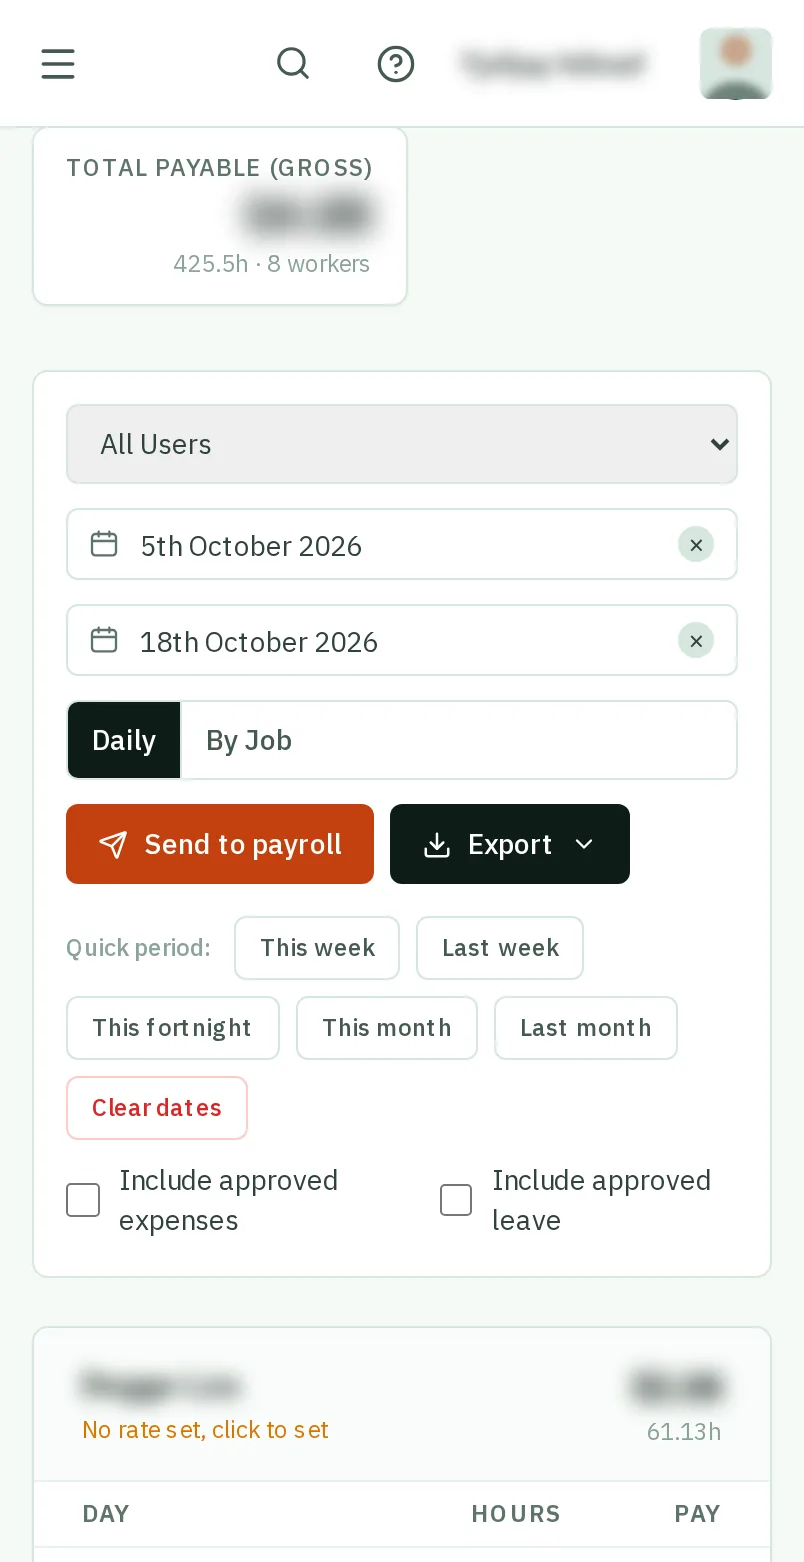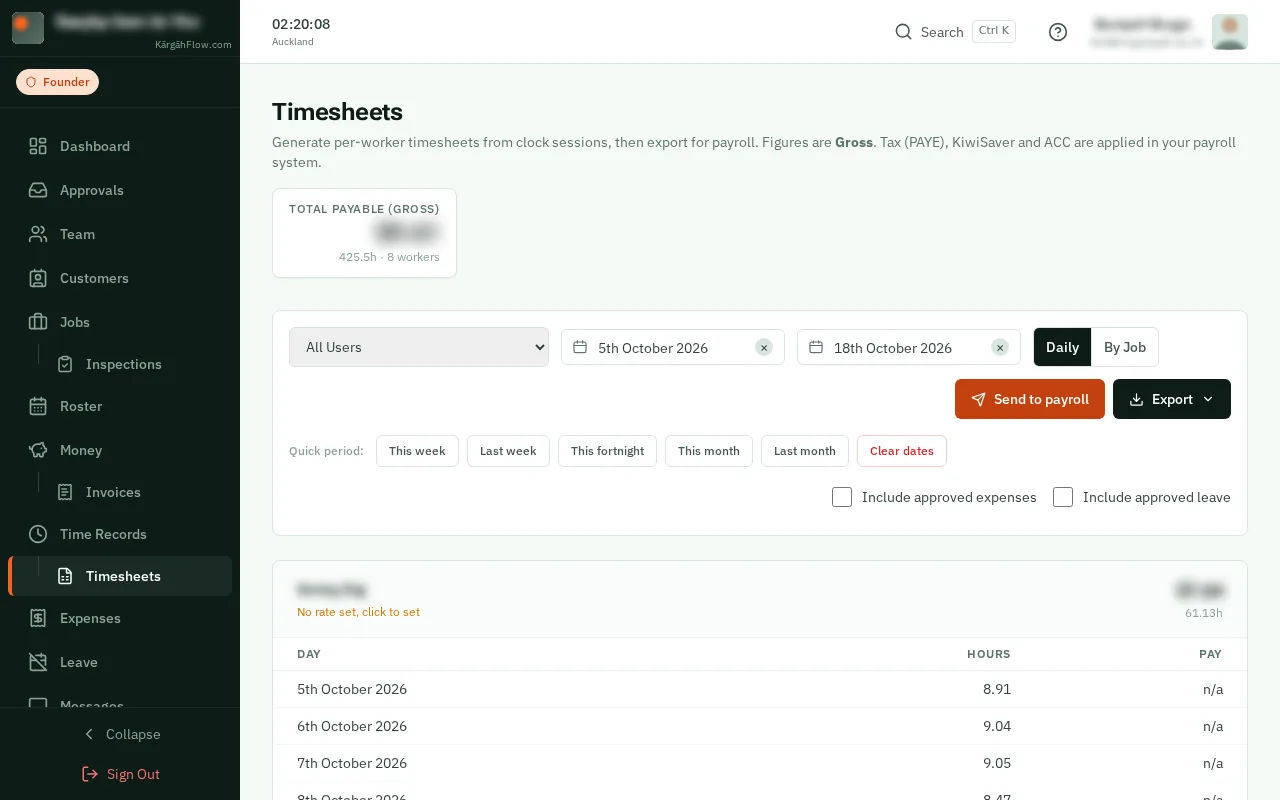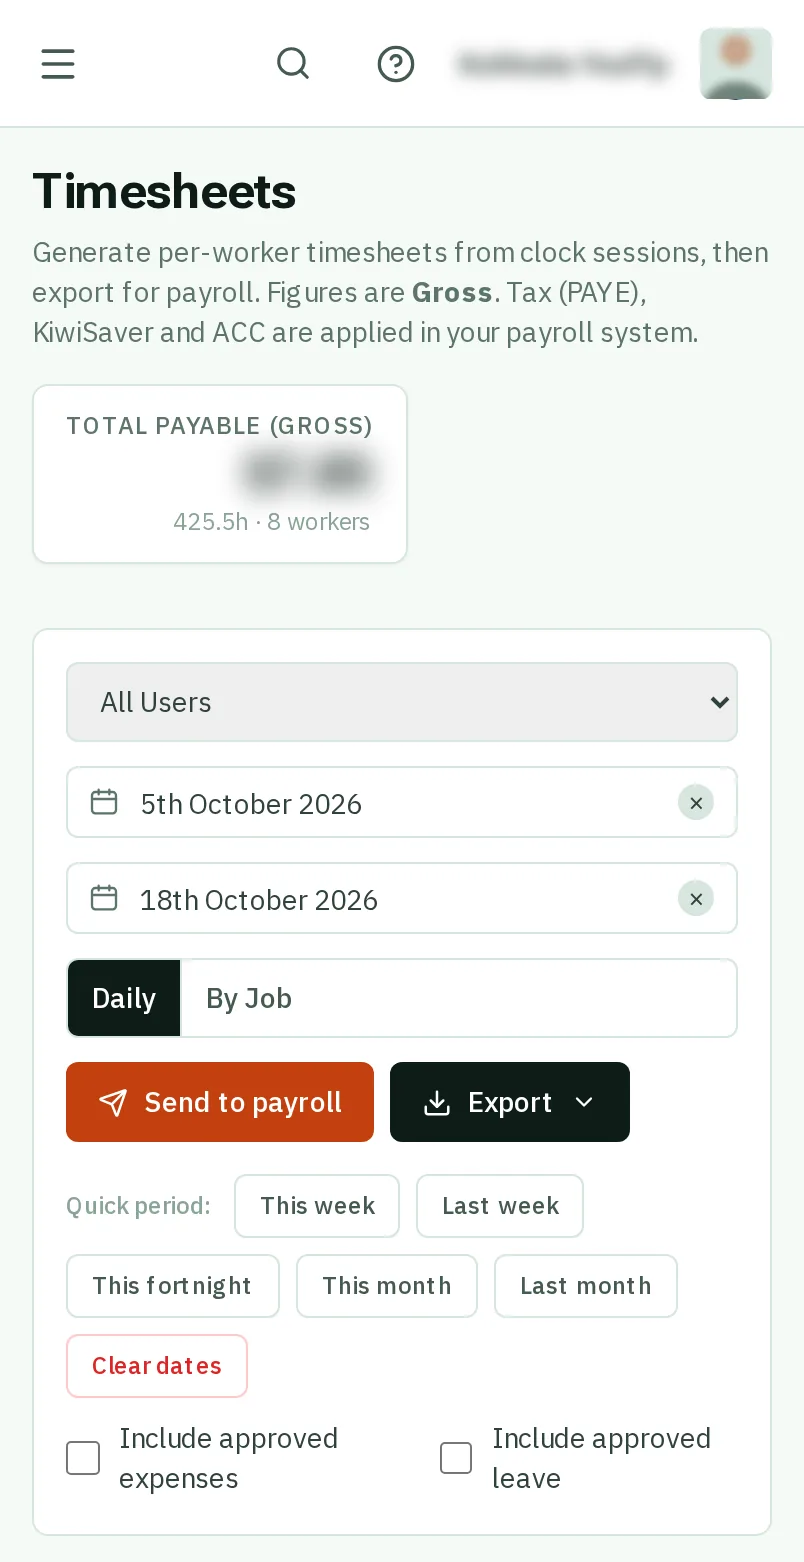
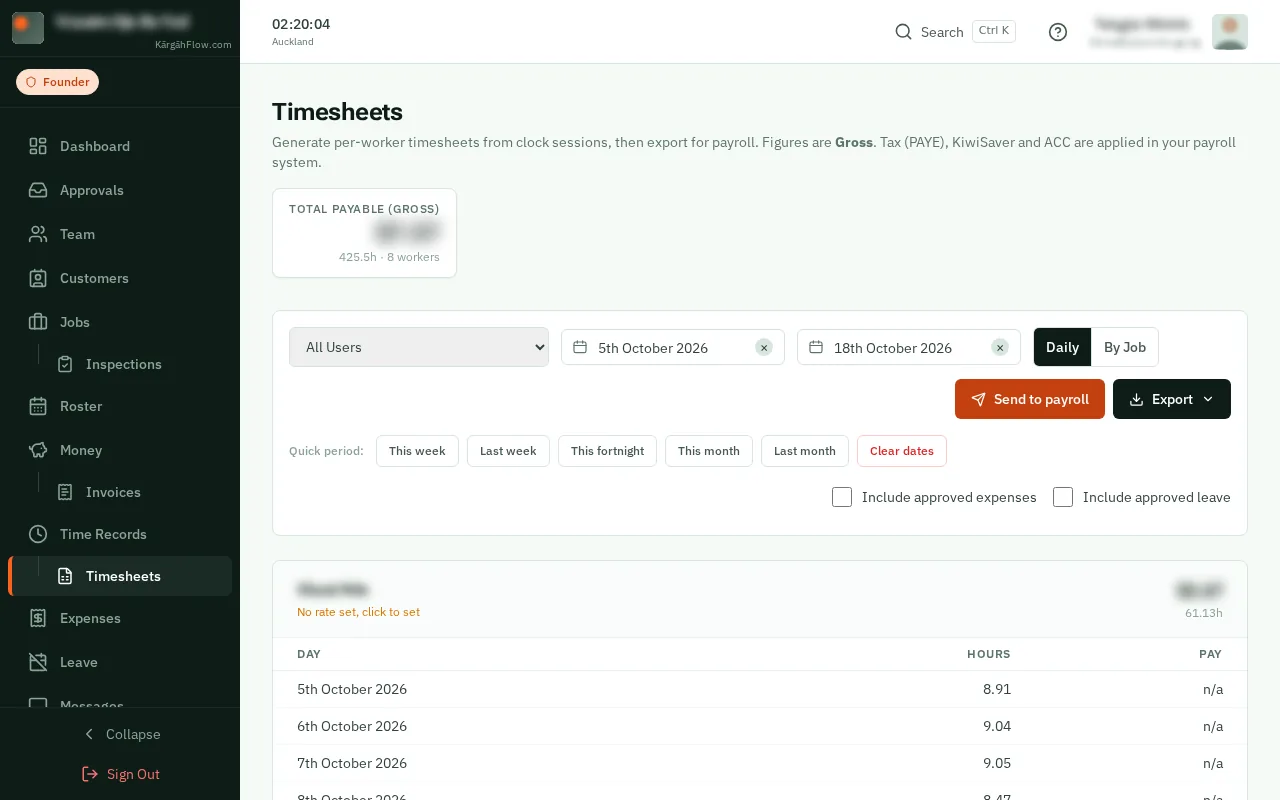
Step 1: Open Timesheets
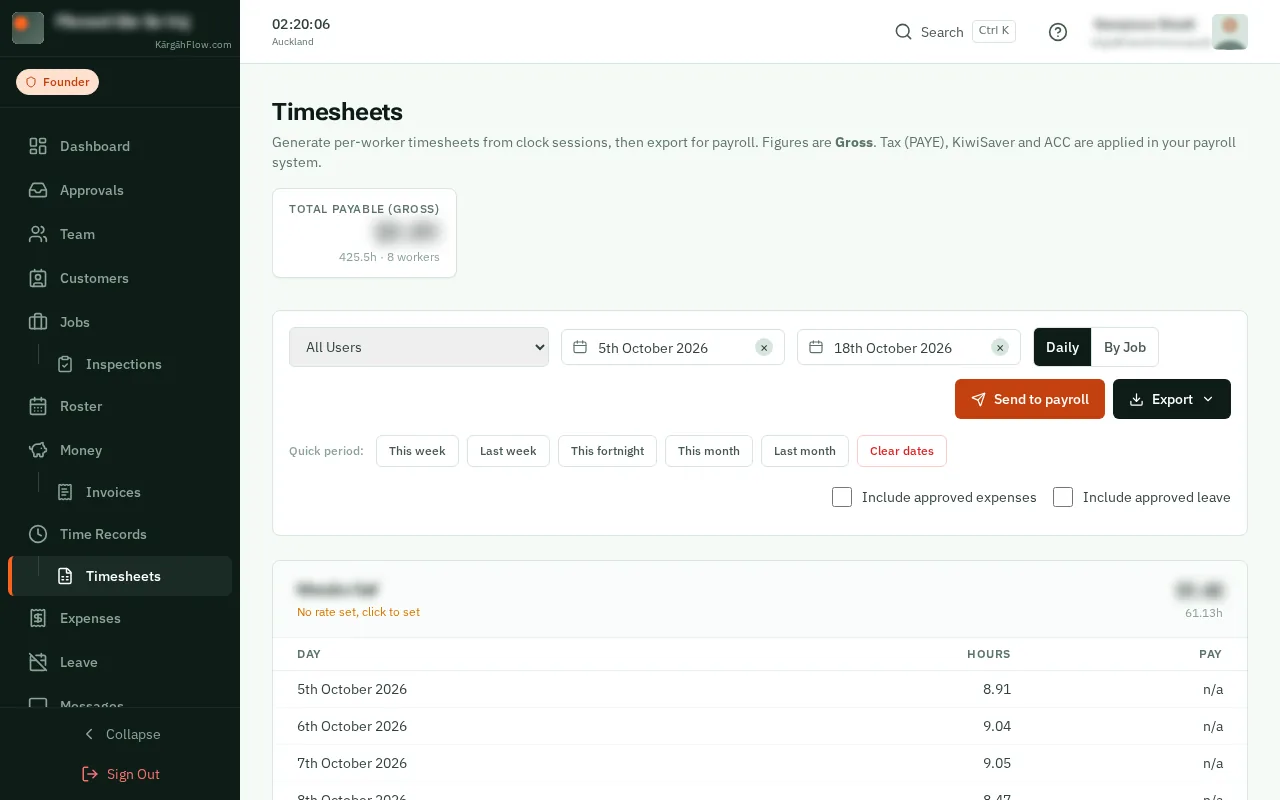
TapClick the menu button at the top left of the screen, then Timesheets.TapClick Timesheets in the menu on the left.
Look forthe Timesheets item in the menu
Good to know: Timesheets sits under Time Records in the menu.
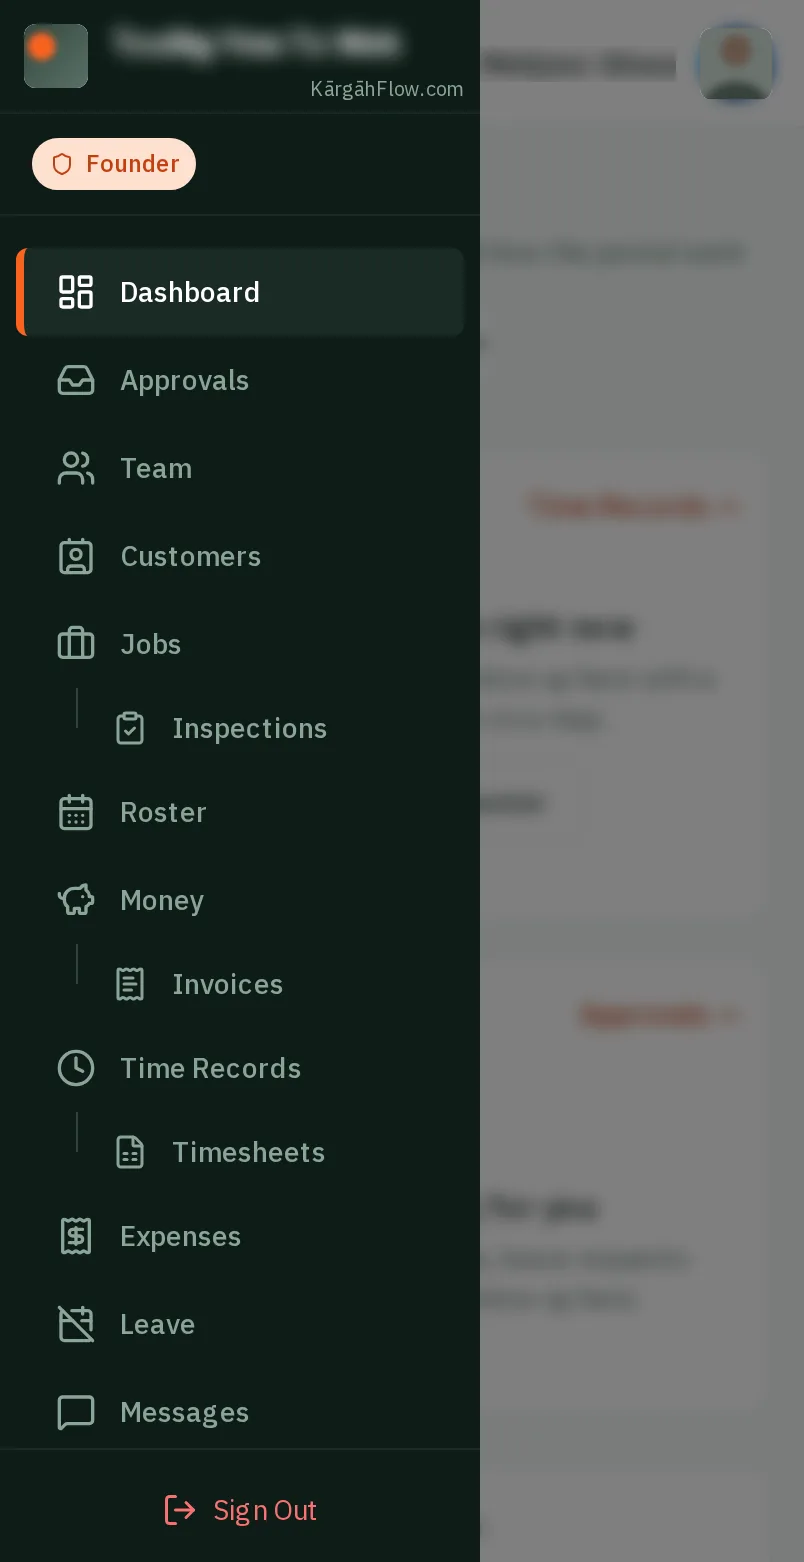
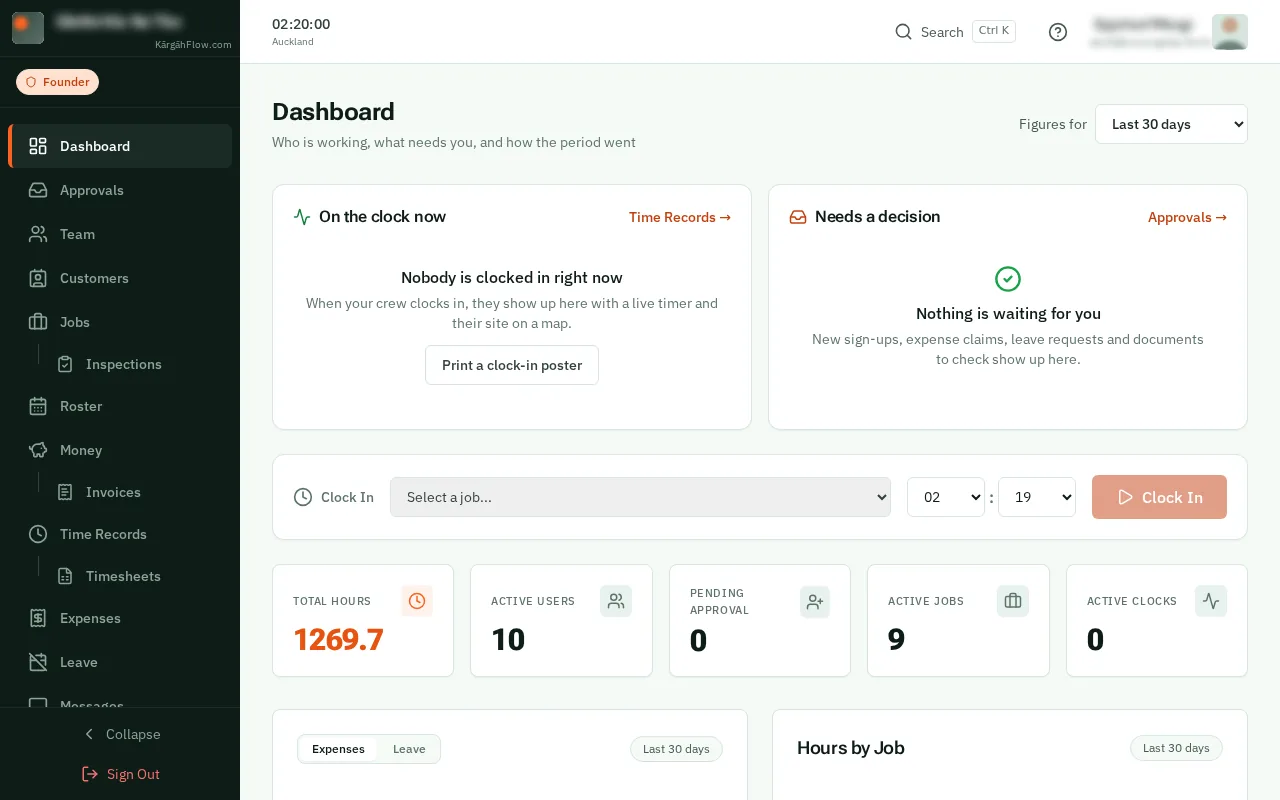
TapClick the menu button at the top left of the screen, then Timesheets.TapClick Timesheets in the menu on the left.
Good to know: Timesheets sits under Time Records in the menu.
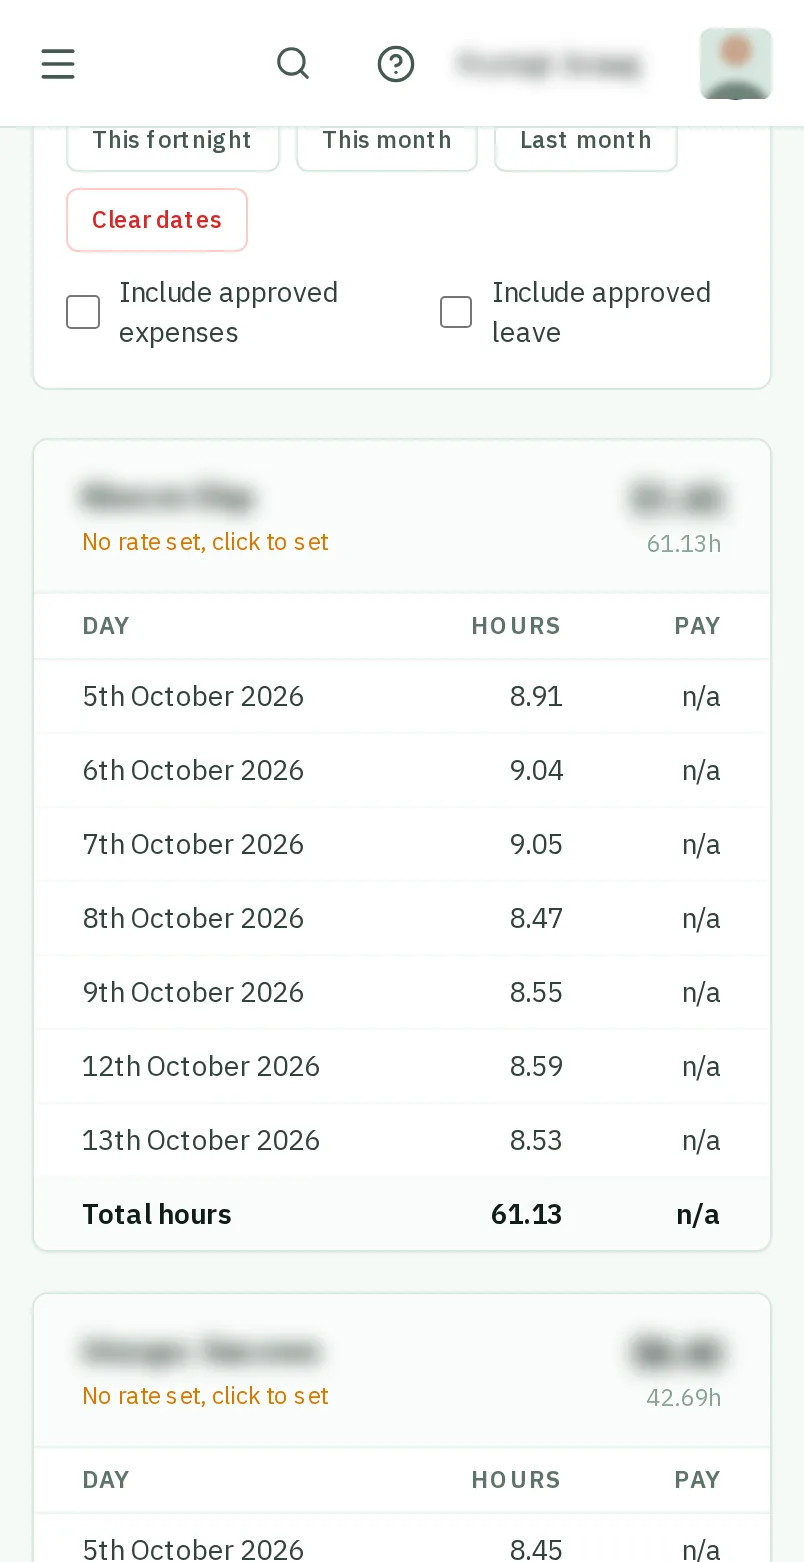
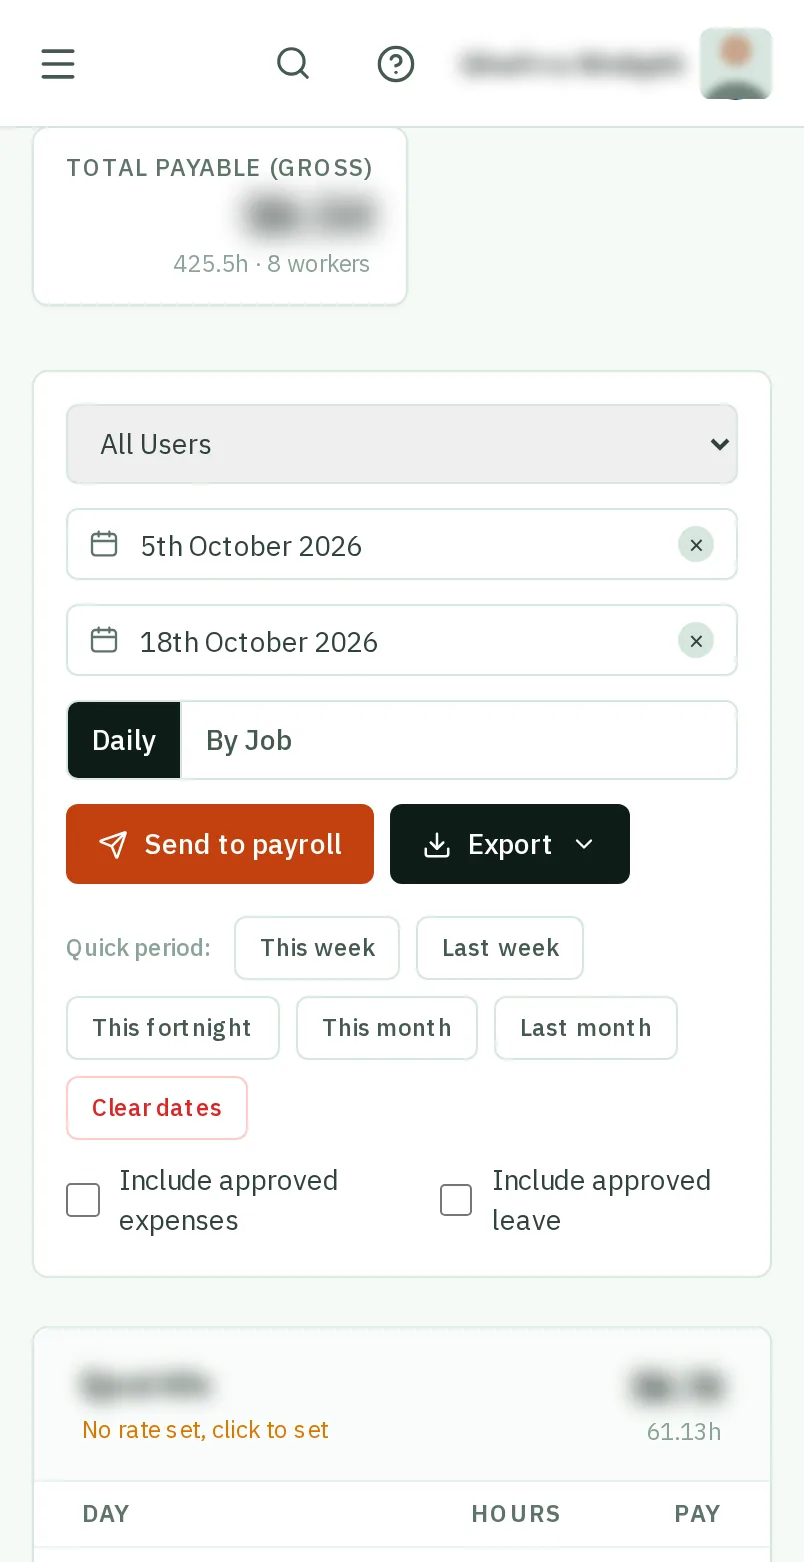
It starts on this fortnight. TapClick a Quick period, such as Last week, or pick the dates yourself.
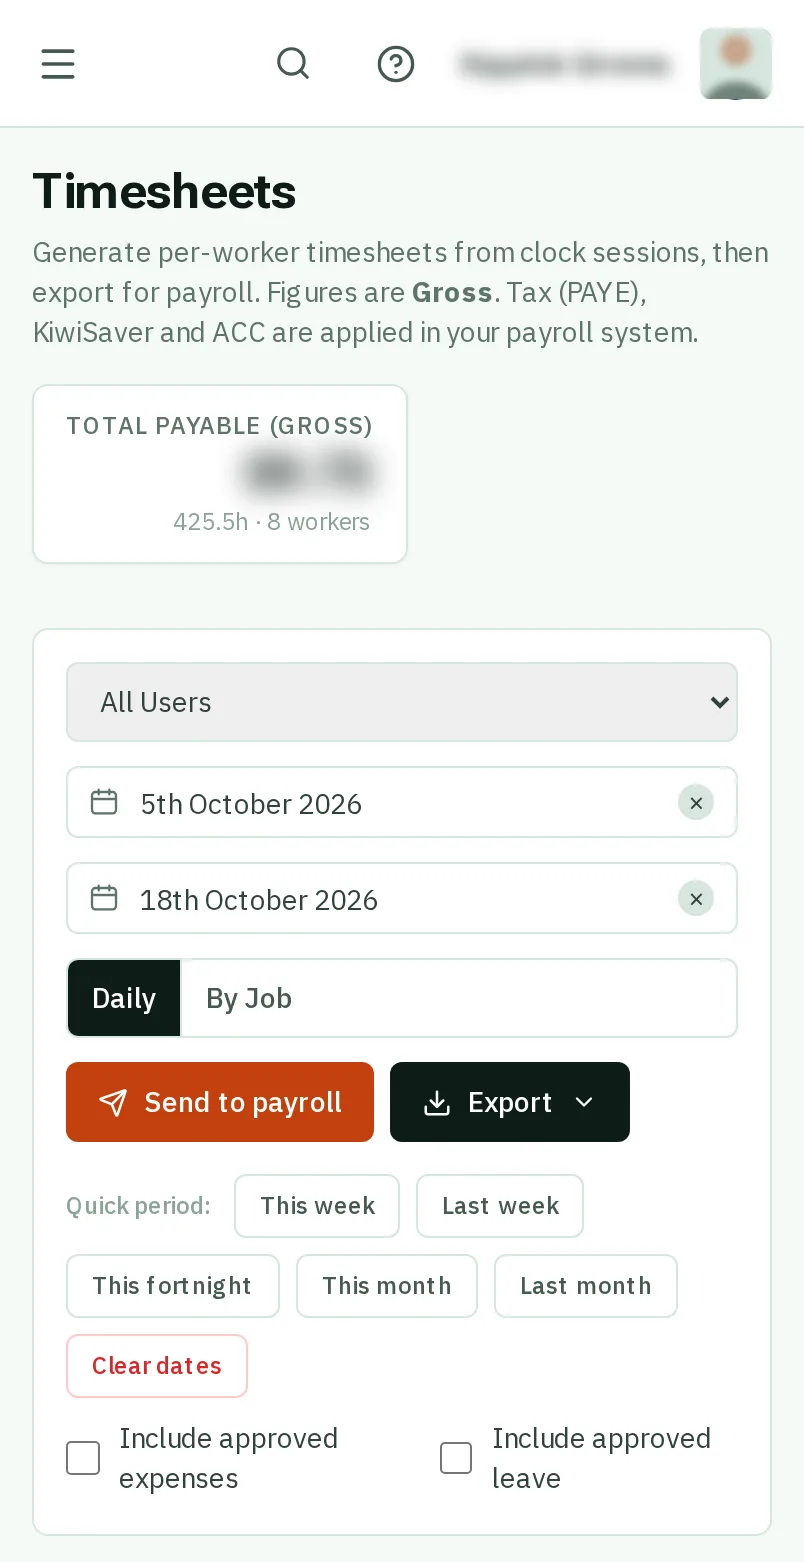
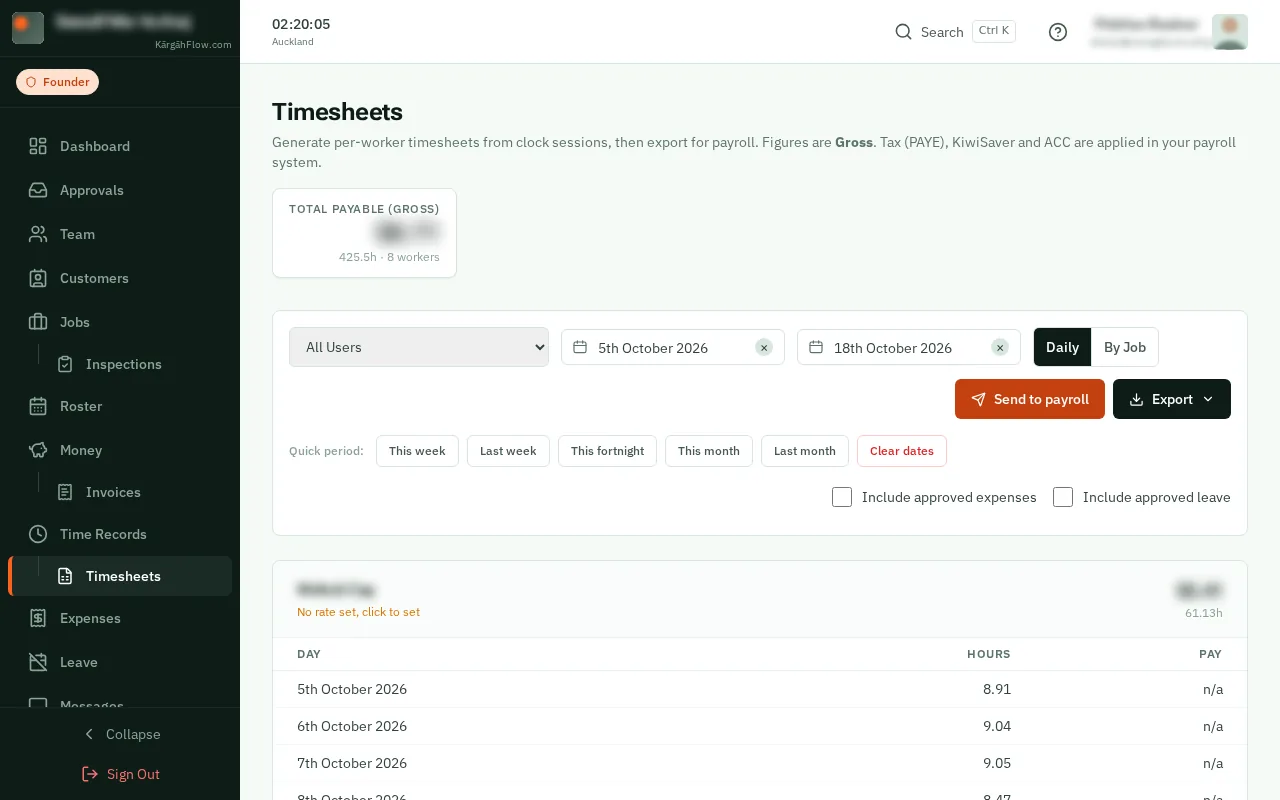
Leave All Users for everyone, or choose one person.
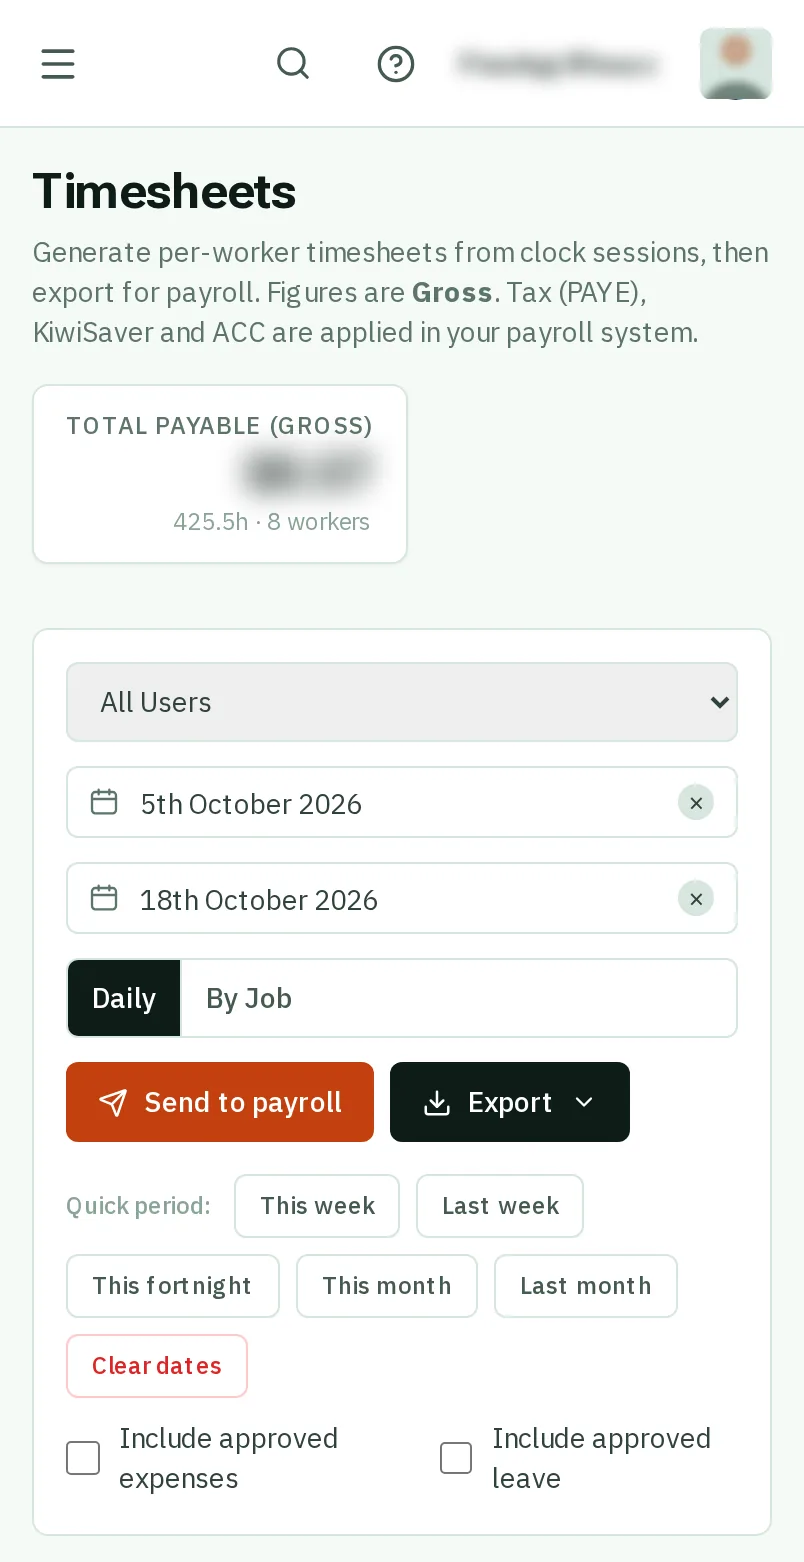
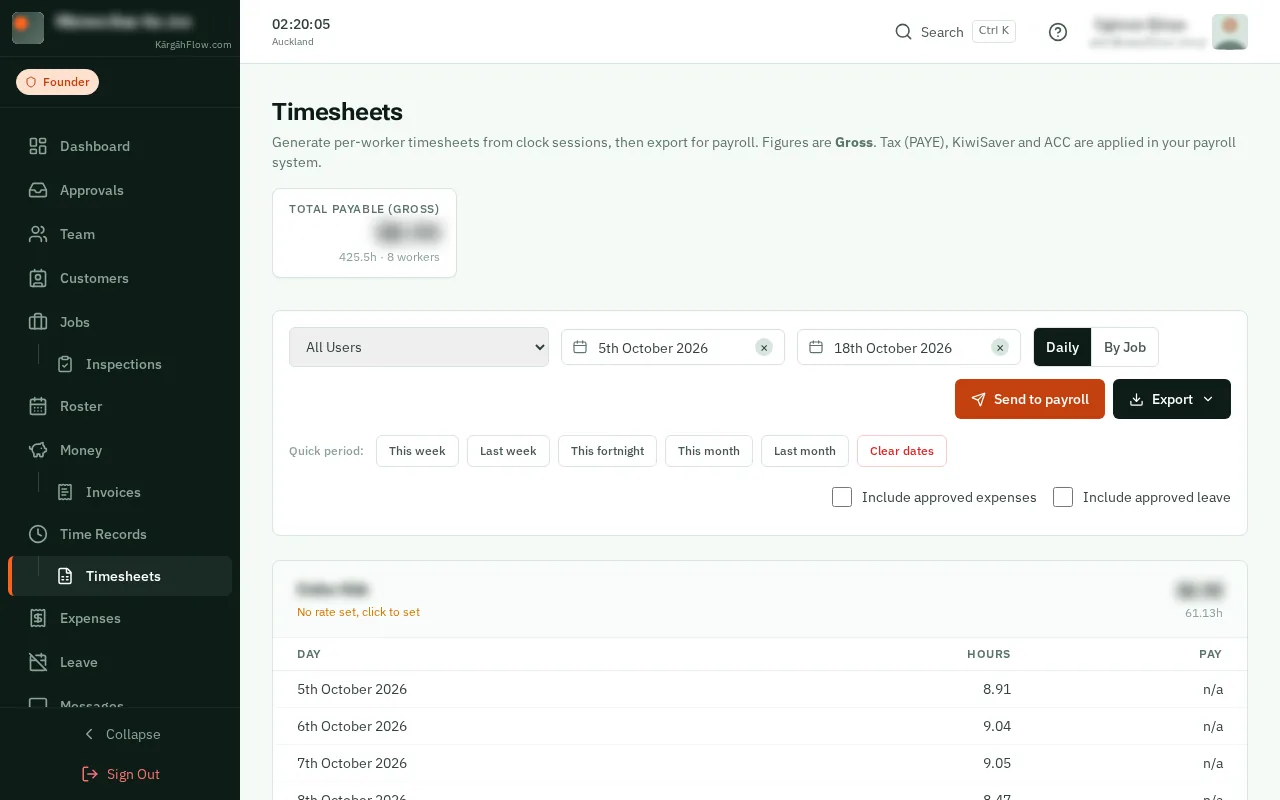
Each person’s card shows their hours day by day, any overtime, and their pay. Total Payable at the top adds everyone up.
Good to know: The pay is before tax. Tax and KiwiSaver are worked out in your payroll system.
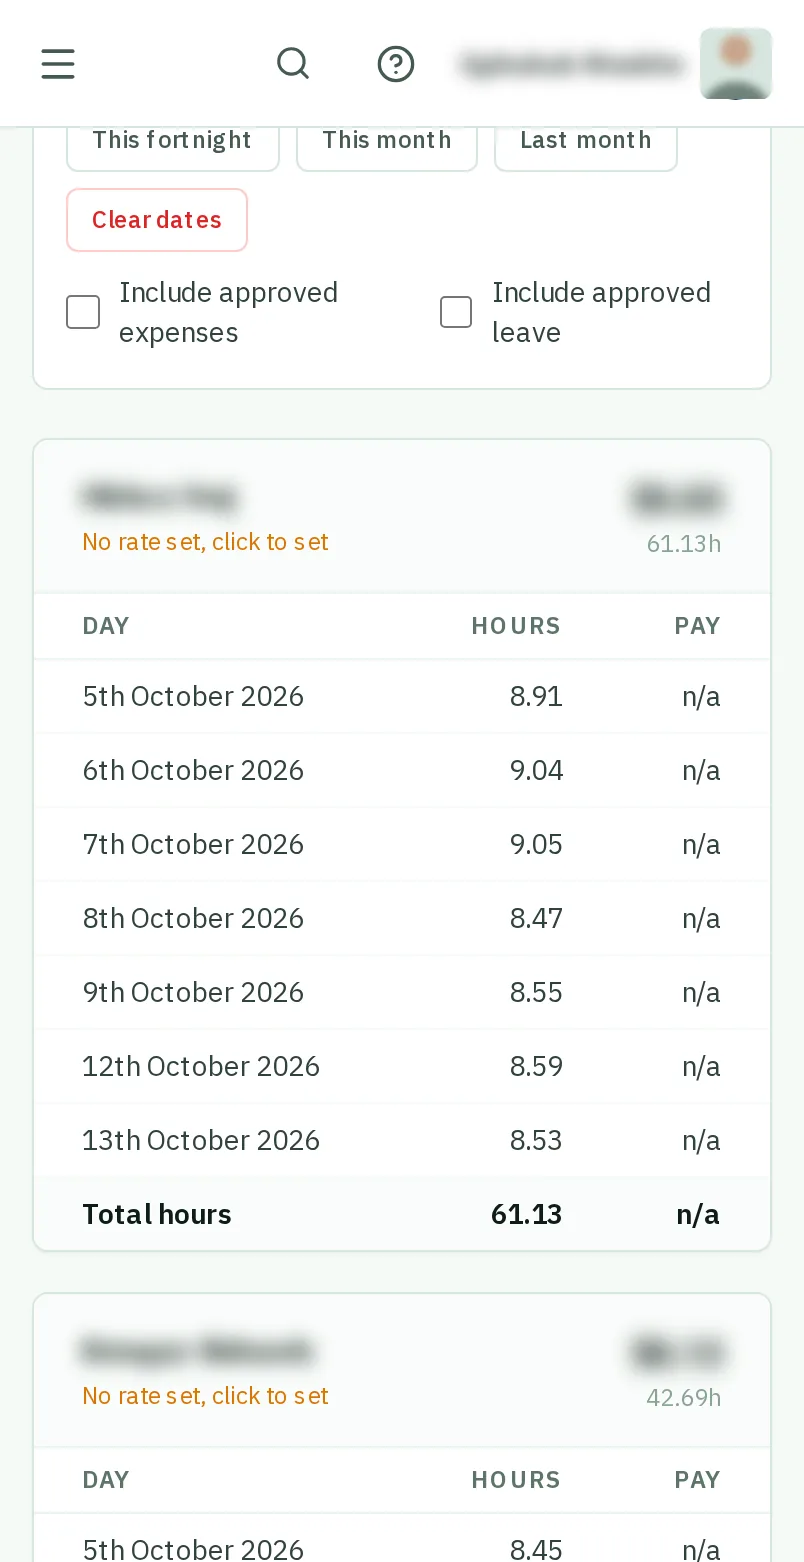
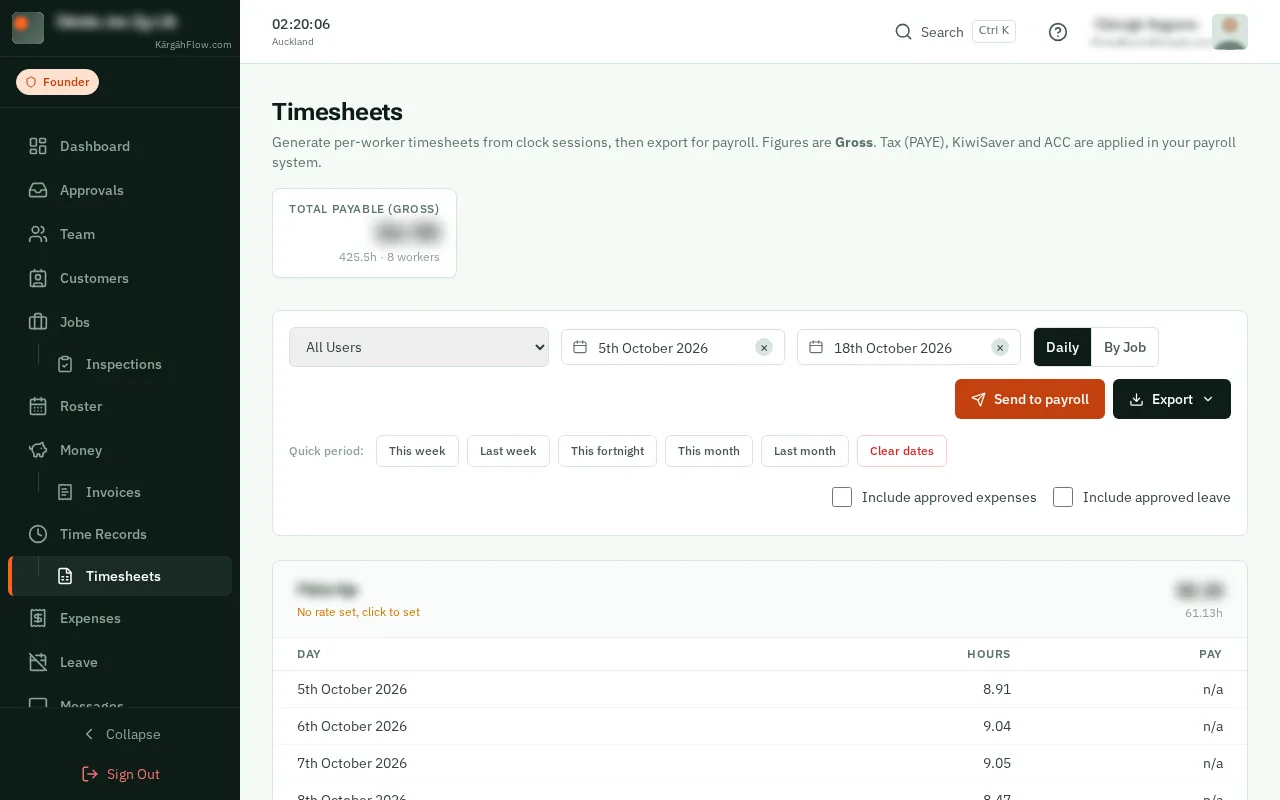
Tick Include approved expenses and Include approved leave to put those on the timesheets too.
TapClick Send to payroll, type your accountant’s email (it is remembered for next time), and tapclick Send to payroll again. They get the timesheets as a PDF, a spreadsheet and a QIF file.
Good to know: The button then says Sent to payroll for that period, so nobody sends it twice by accident.
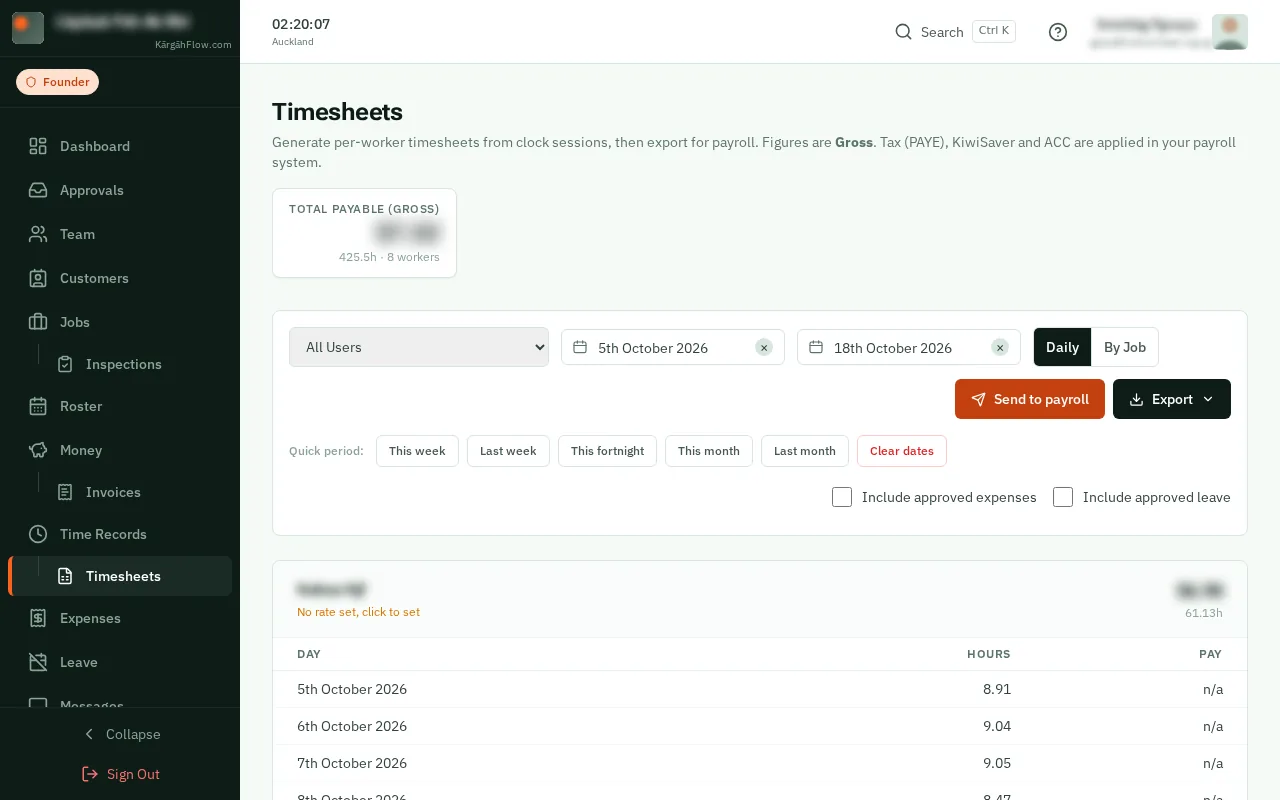
TapClick Export to save the timesheets yourself, as Excel, PDF or QIF, or to email them to anyone.