Step 1: Open Settings
TapClick the menu button at the top left of the screen, then Settings.TapClick Settings in the menu on the left.
Look forthe Settings item in the menu
Good to know: Settings sits under Company in the menu.
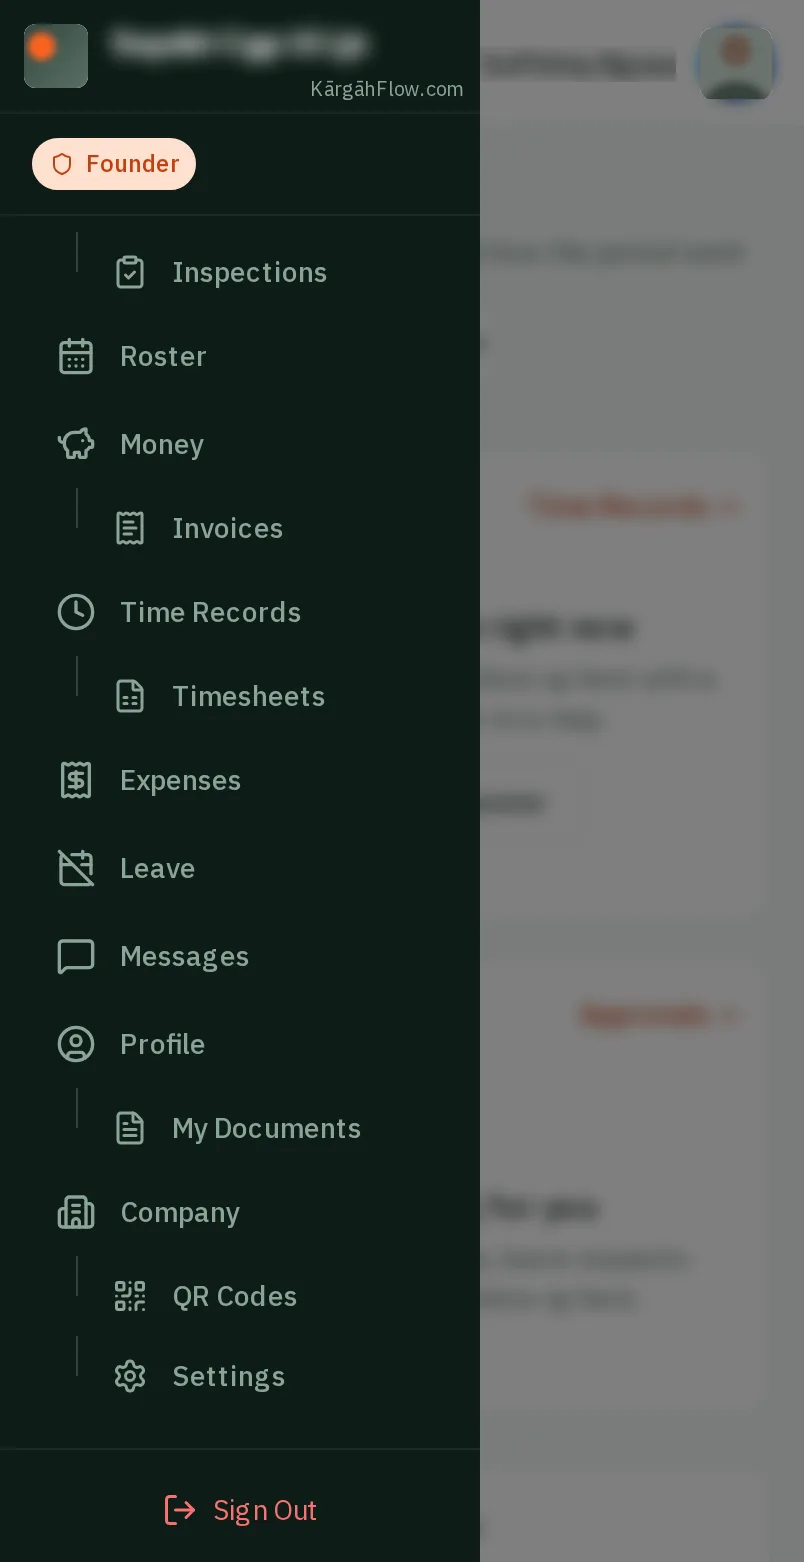
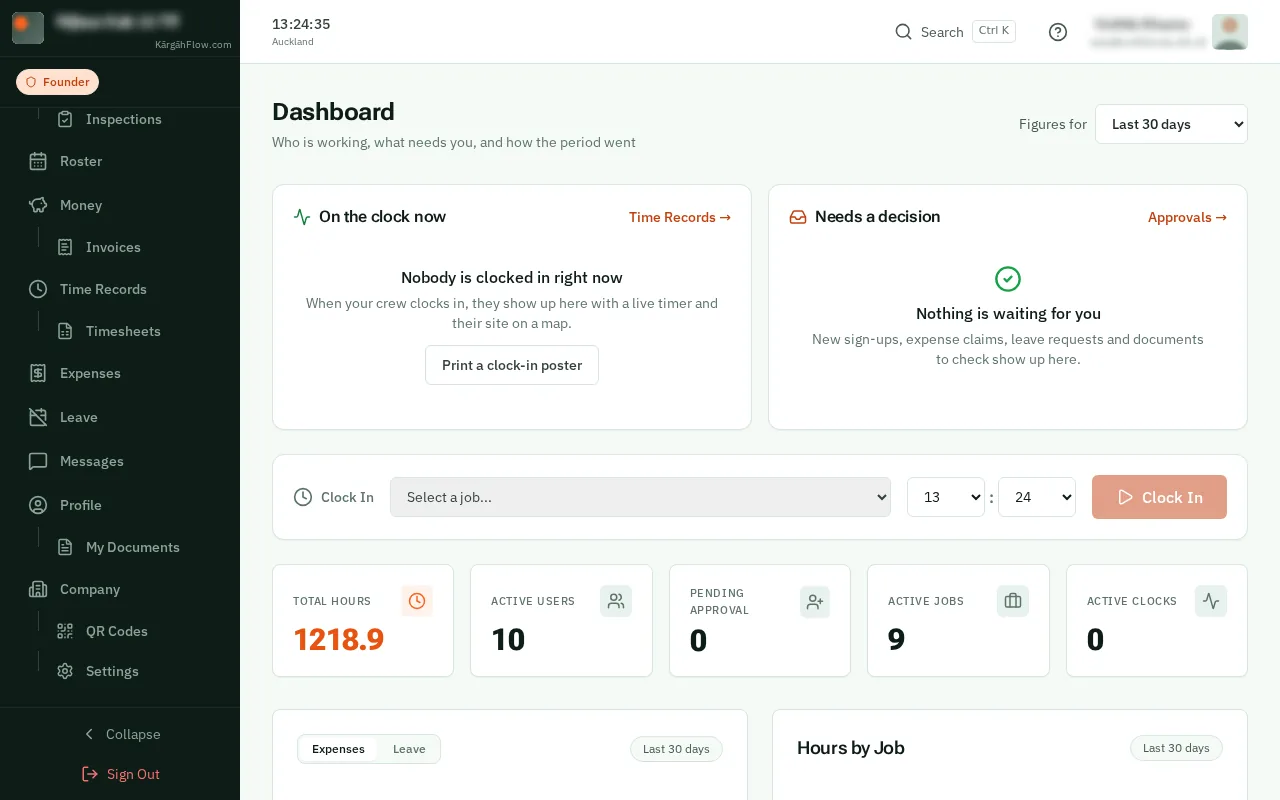
TapClick the menu button at the top left of the screen, then Settings.TapClick Settings in the menu on the left.
Good to know: Settings sits under Company in the menu.
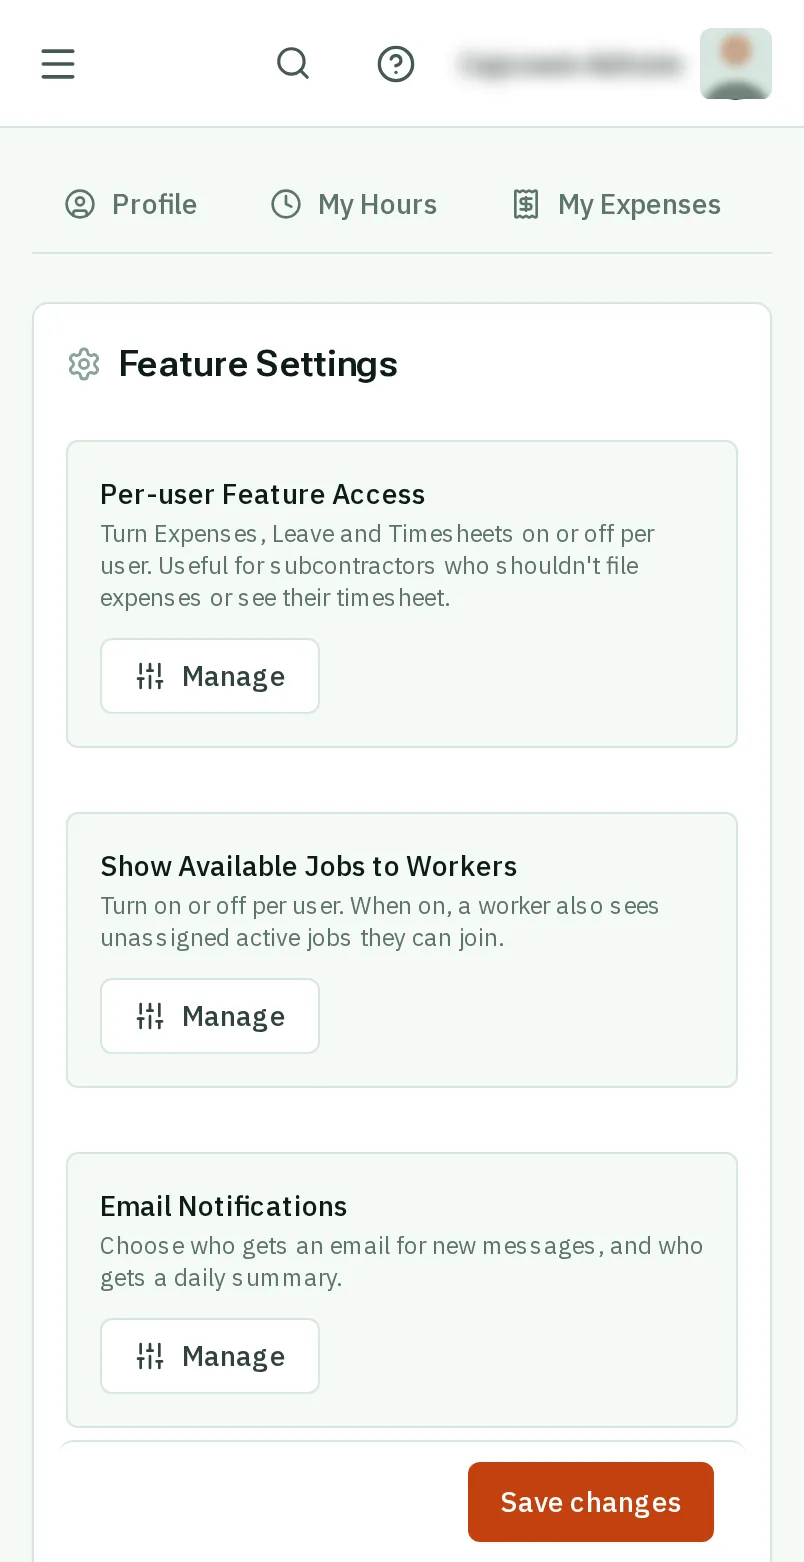
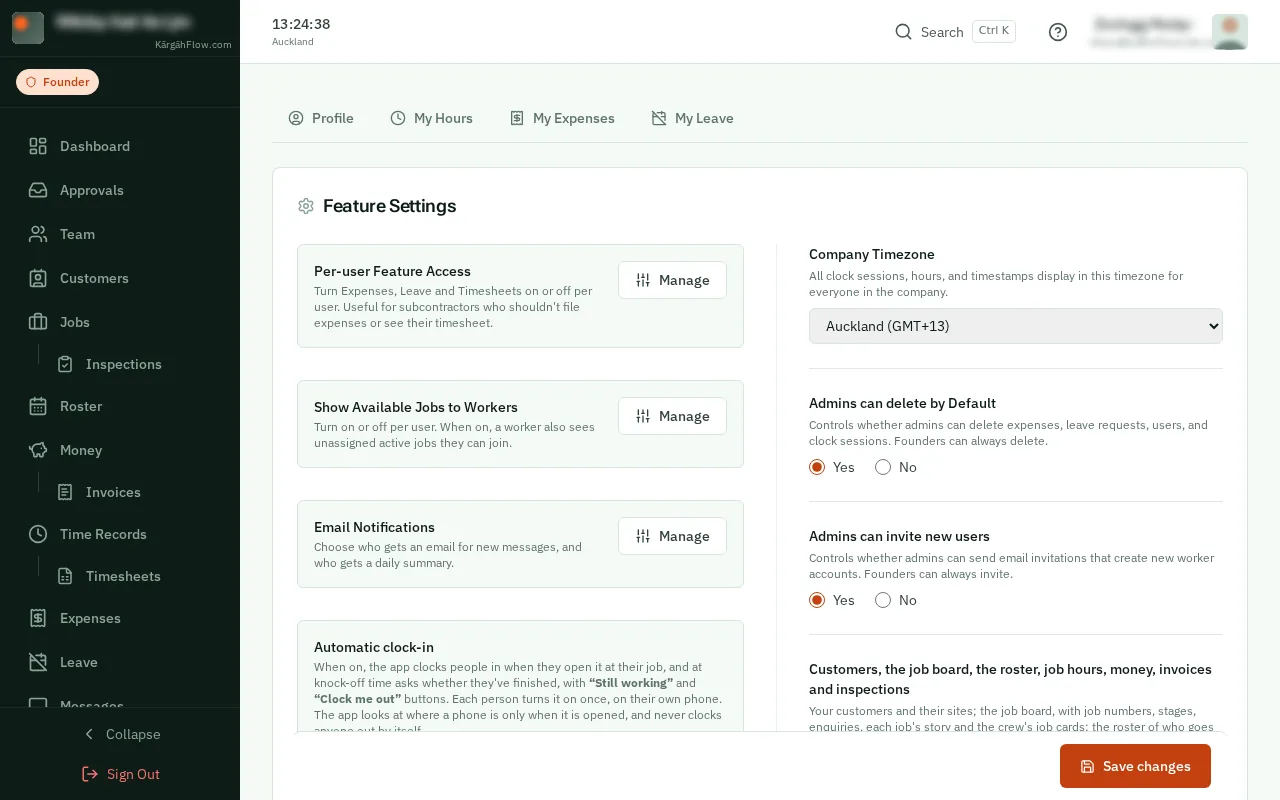
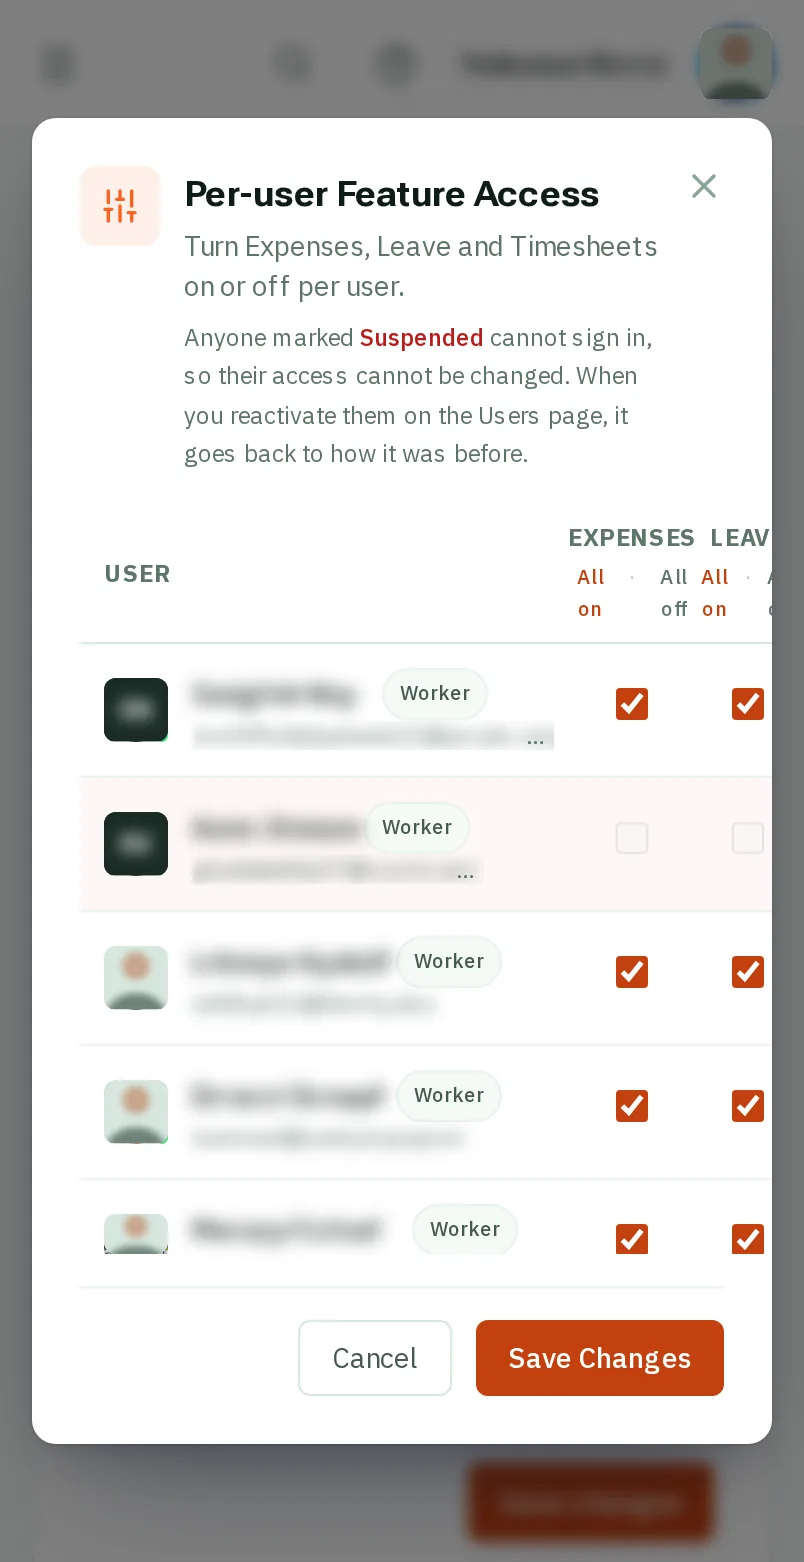
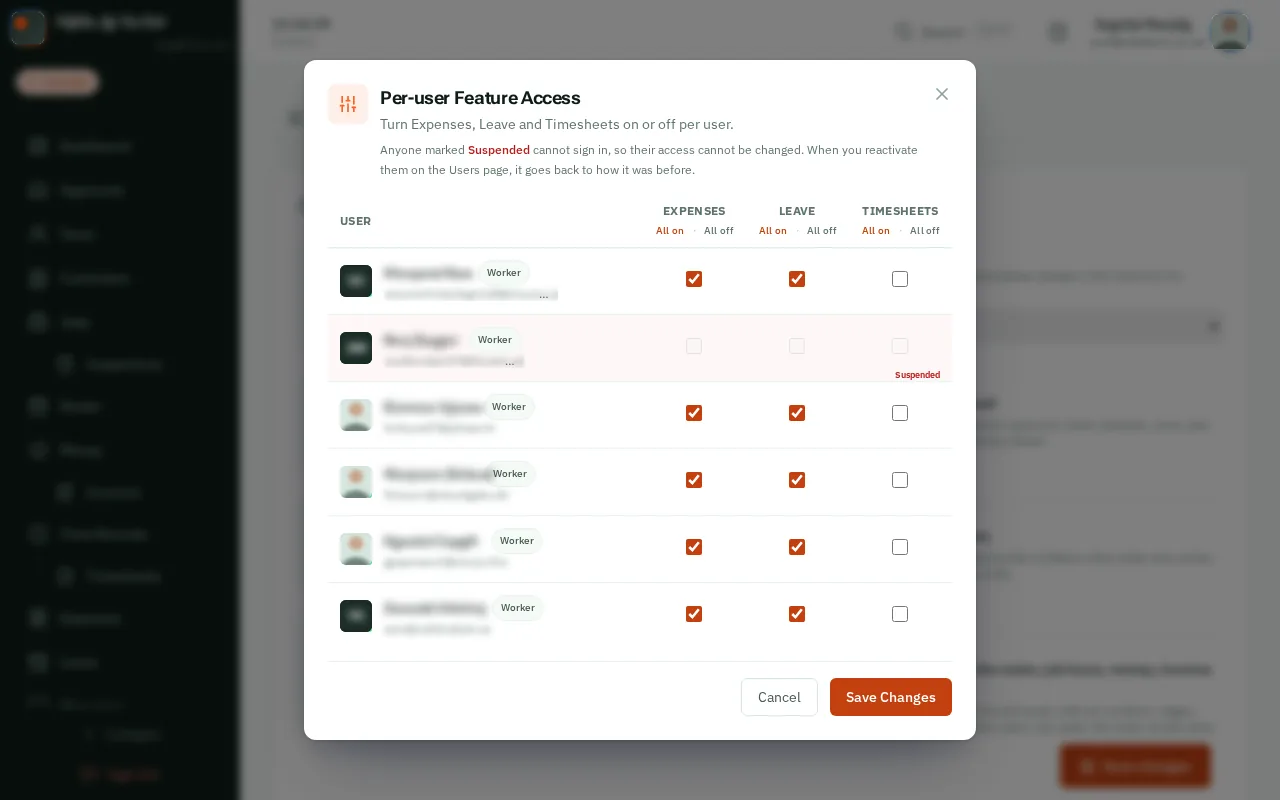
Under Per-user Feature Access, tapclick Manage to choose, person by person, who can claim expenses, ask for leave, and see their timesheet.Beside Per-user Feature Access, tapclick Manage to choose, person by person, who can claim expenses, ask for leave, and see their timesheet.
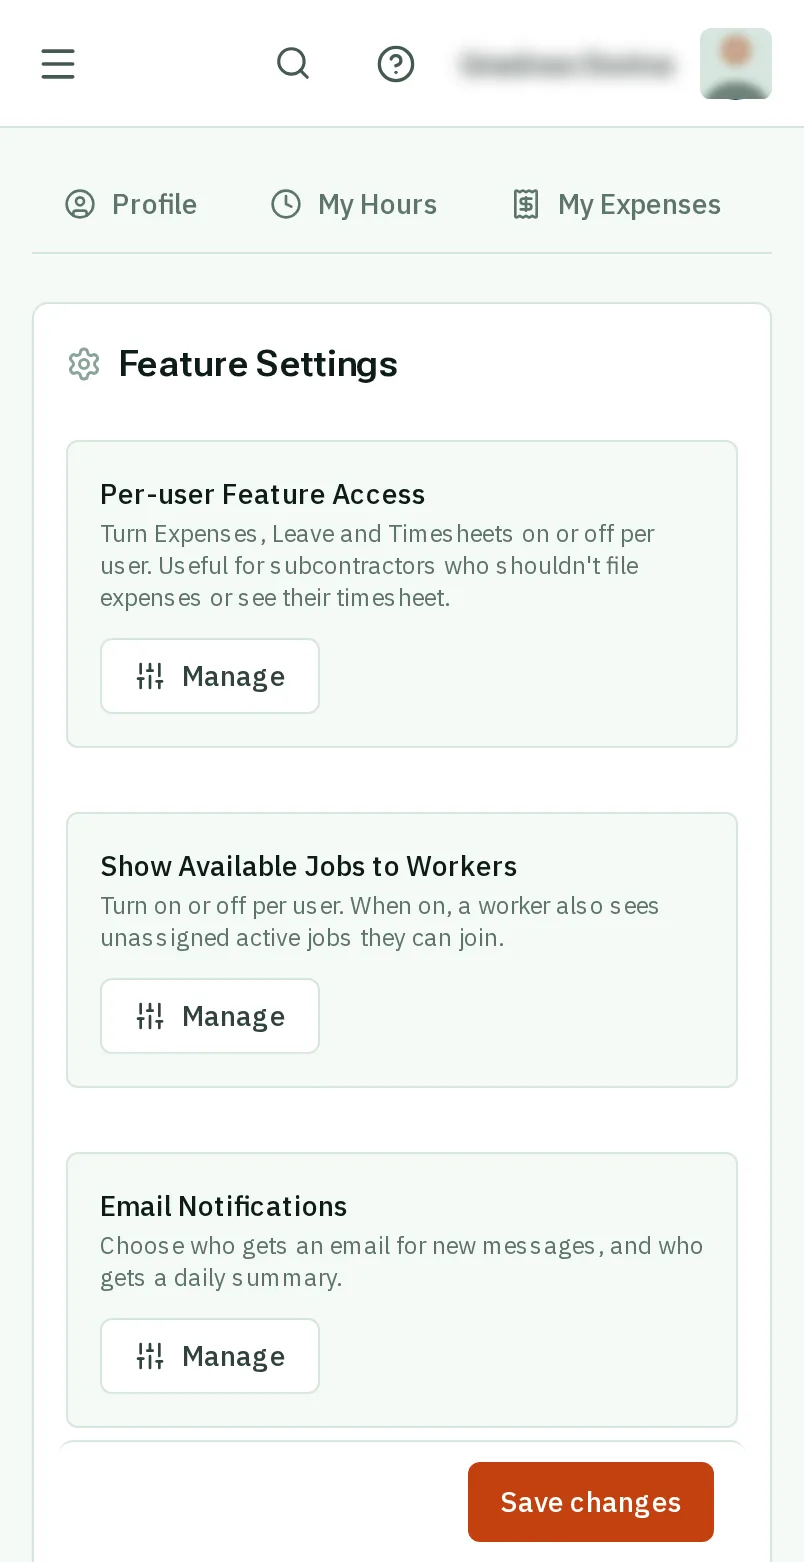
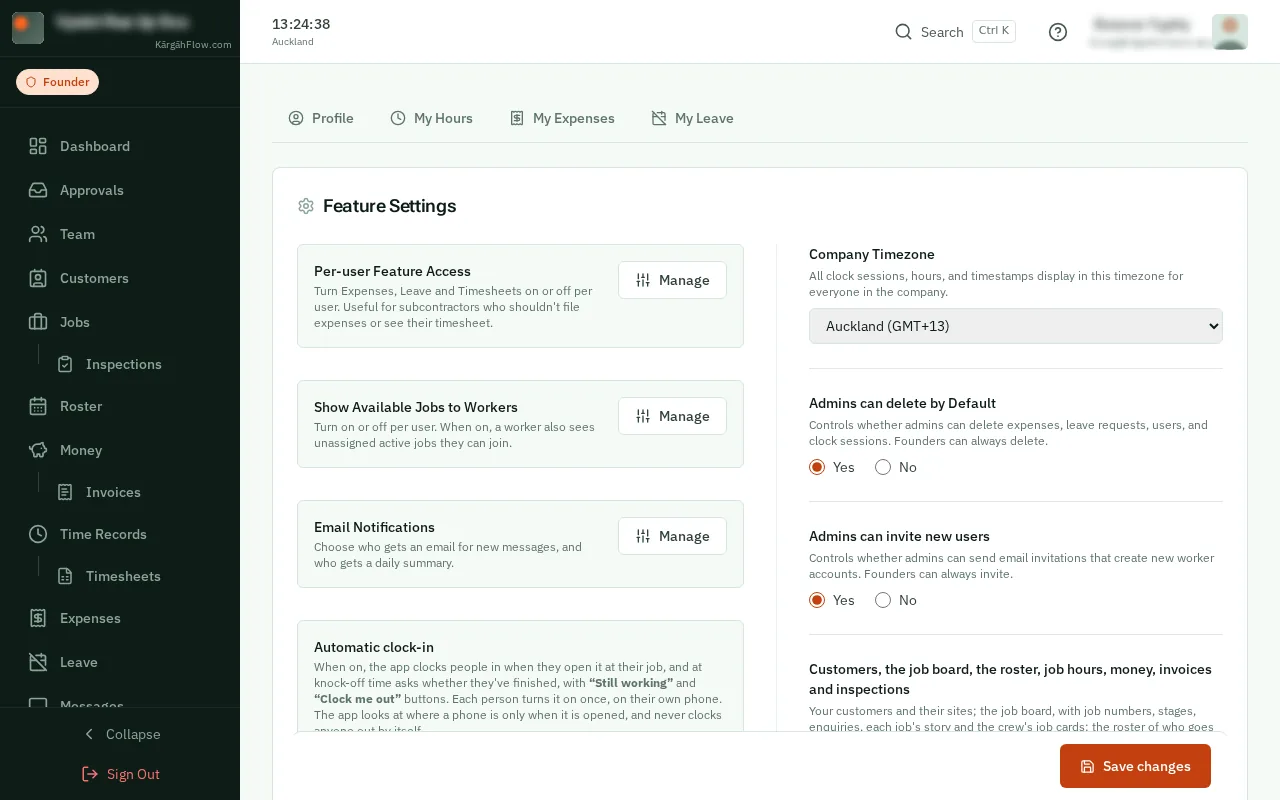
Tick or untick each person, or use All on and All off at the top of a column, then tapclick Save Changes.
Under Company Timezone, choose the time your company works to. Everyone’s hours are shown in it.
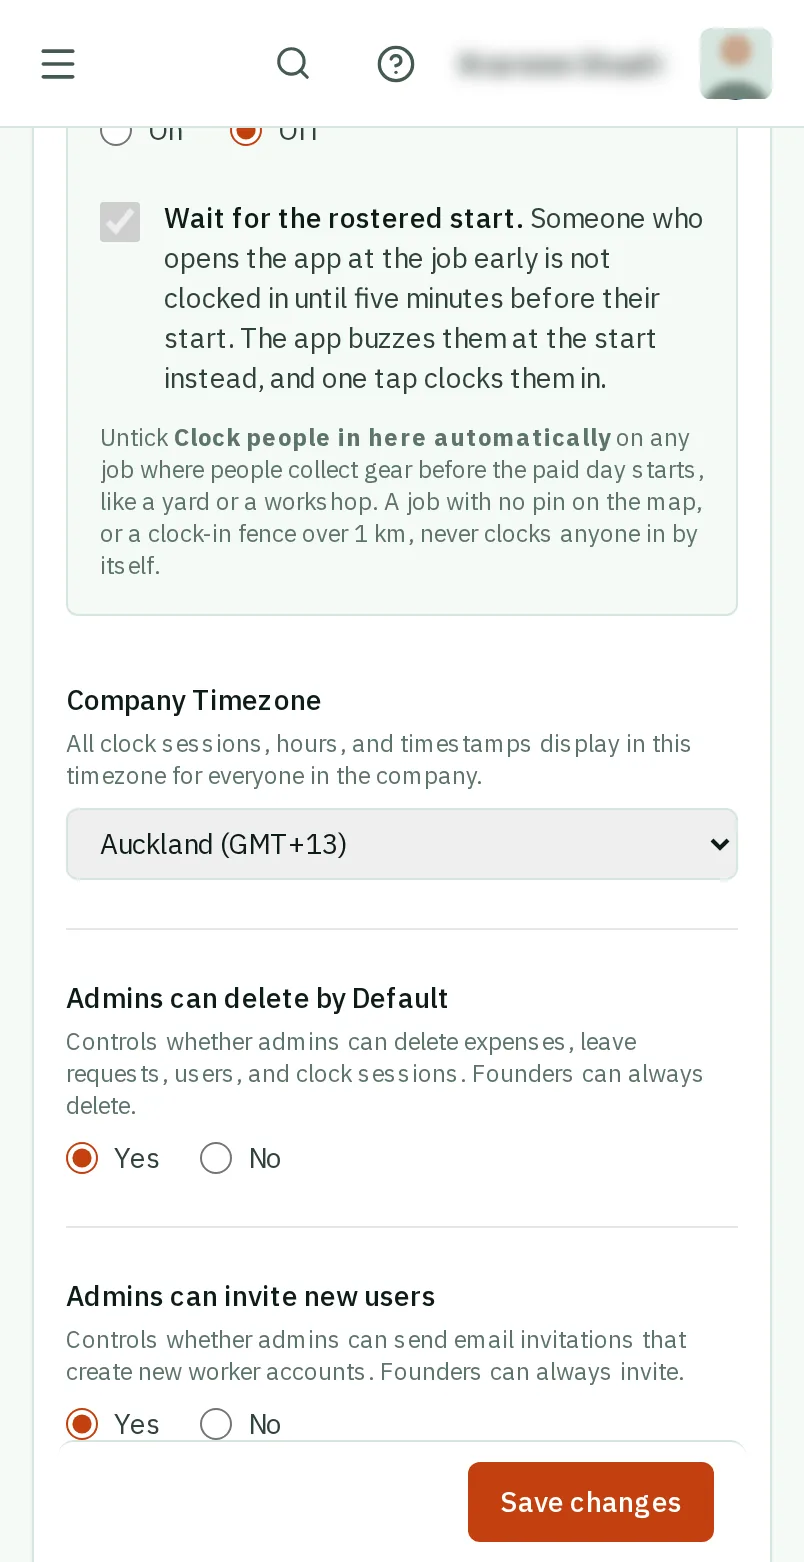
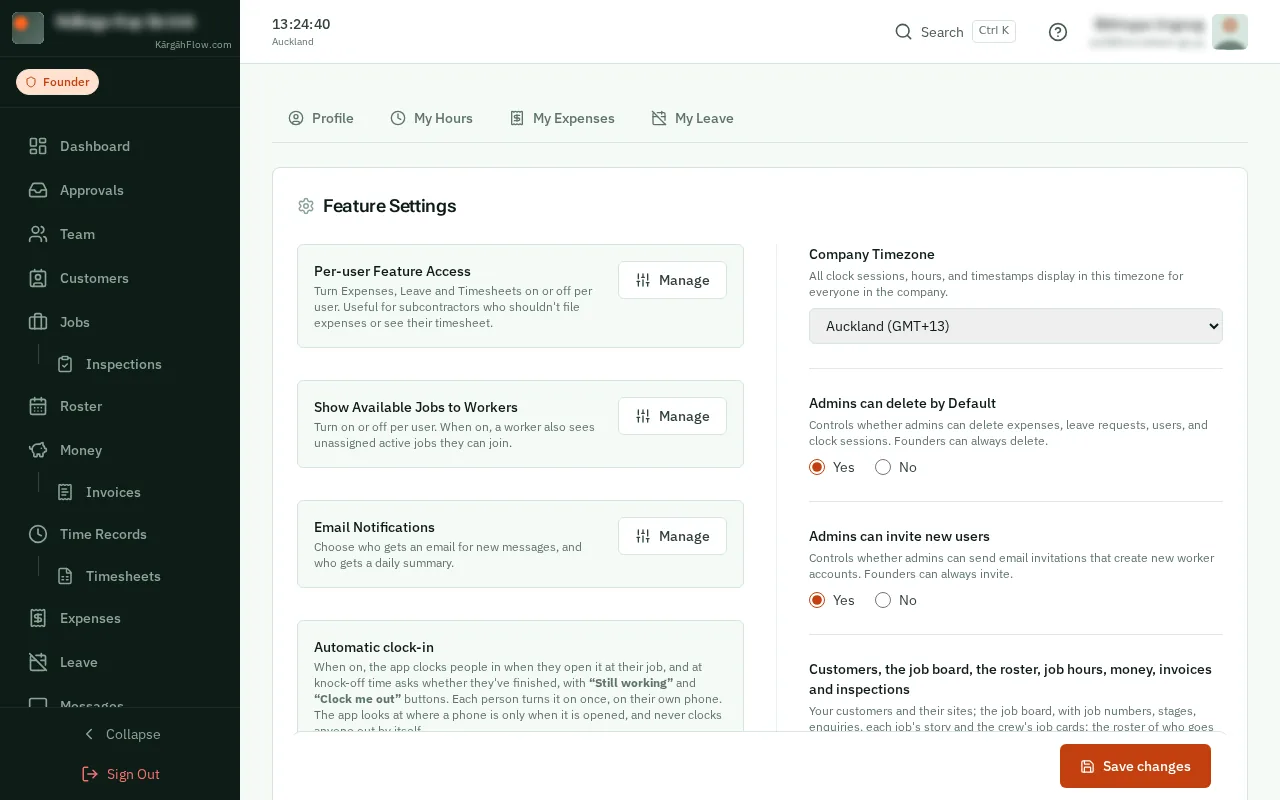
Choose Yes or No for whether your admins can delete records, and whether they can invite new people.
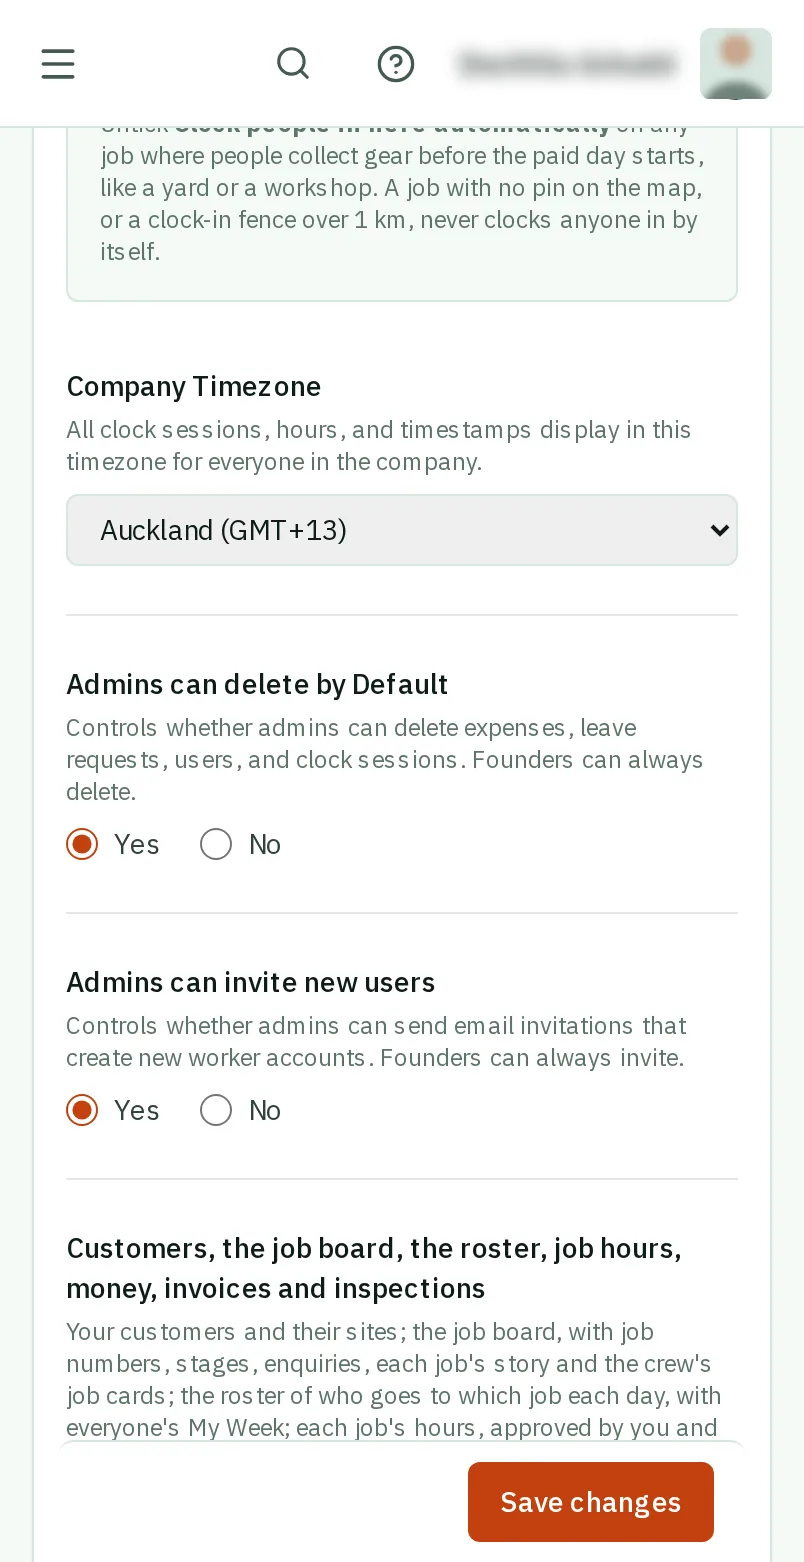
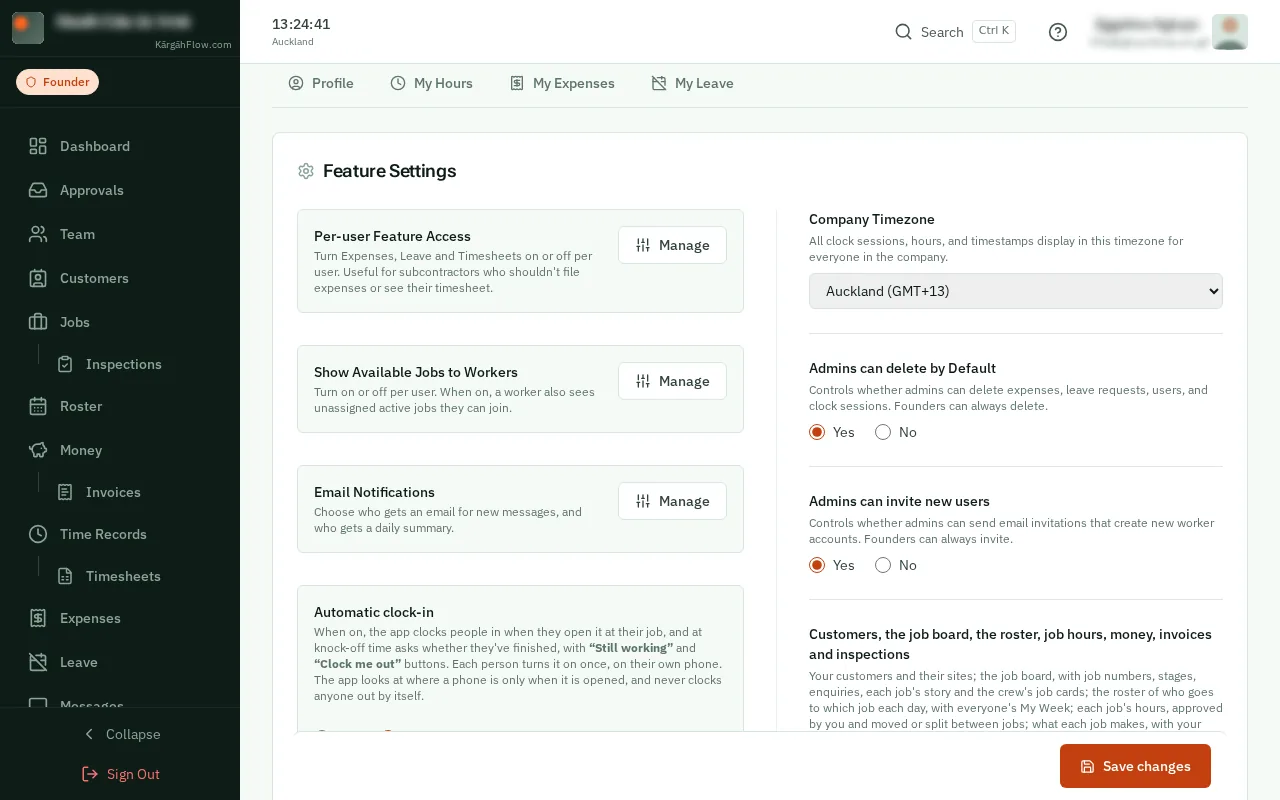
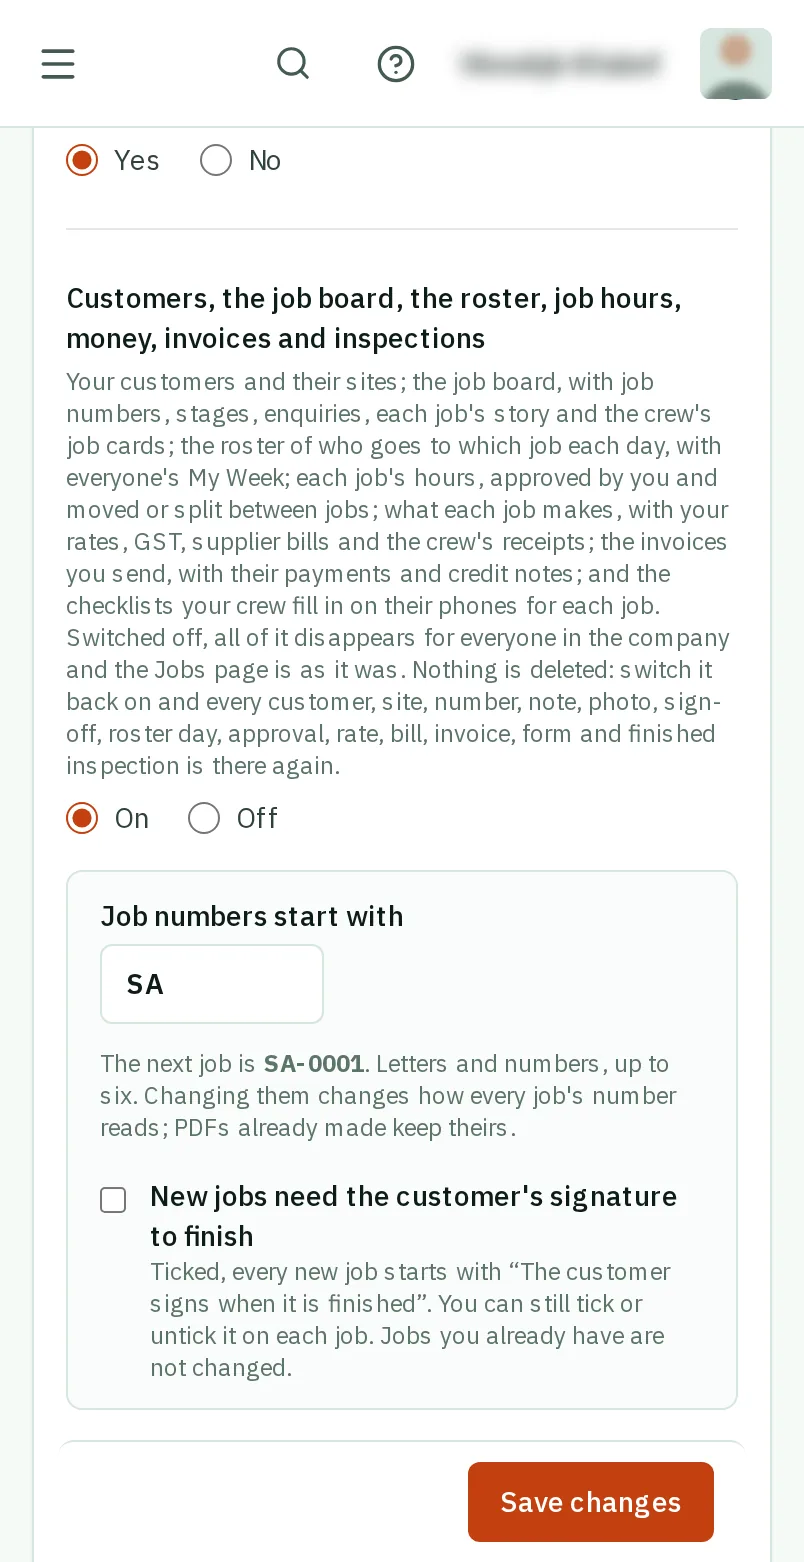
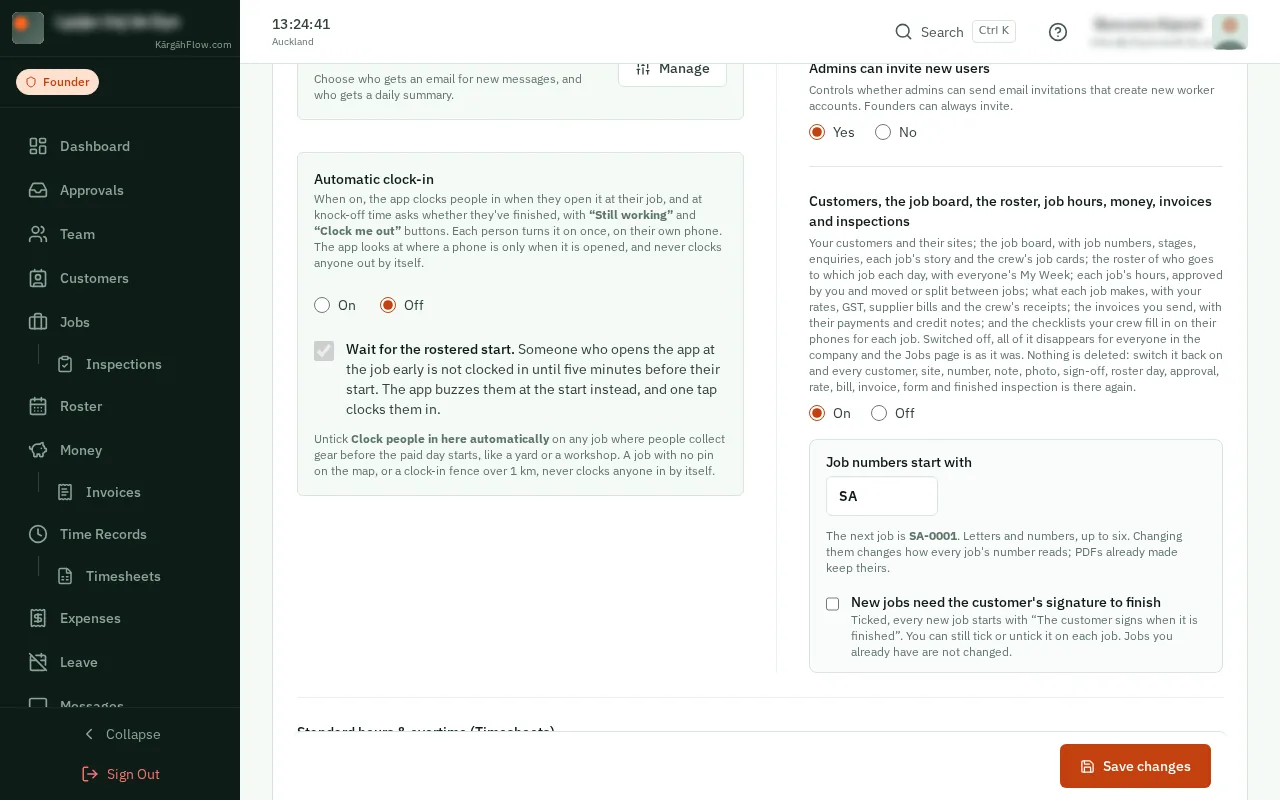
Under Customers, the job board, the roster, job hours, money, invoices and inspections, choose On or Off. Off hides all of it for everyone, and nothing is deleted. While it is on, choose what Job numbers start with, and tick New jobs need the customer’s signature to finish if every job should be signed off.
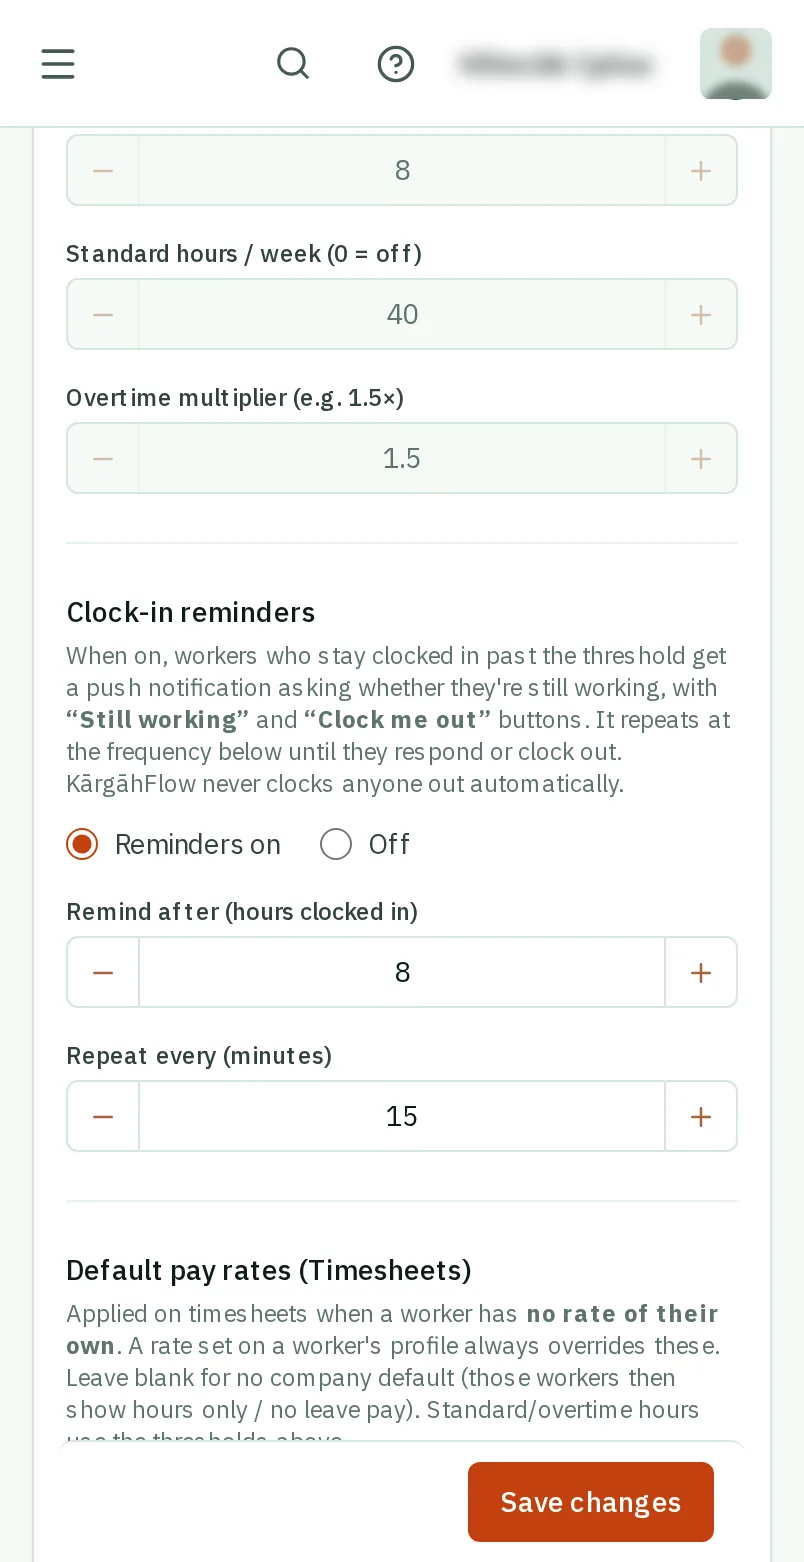
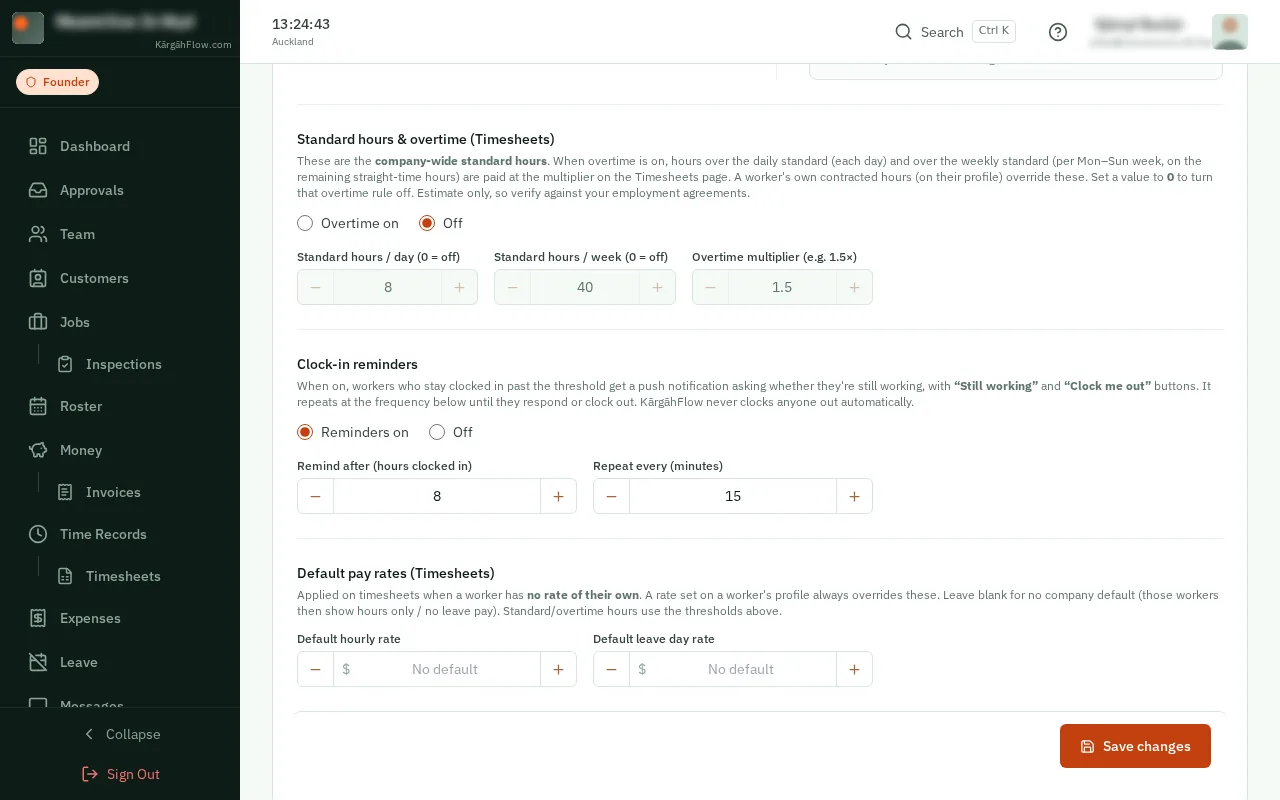
Under Standard hours & overtime, choose Overtime on, then set the hours a day and a week it starts after, and how much more it pays.
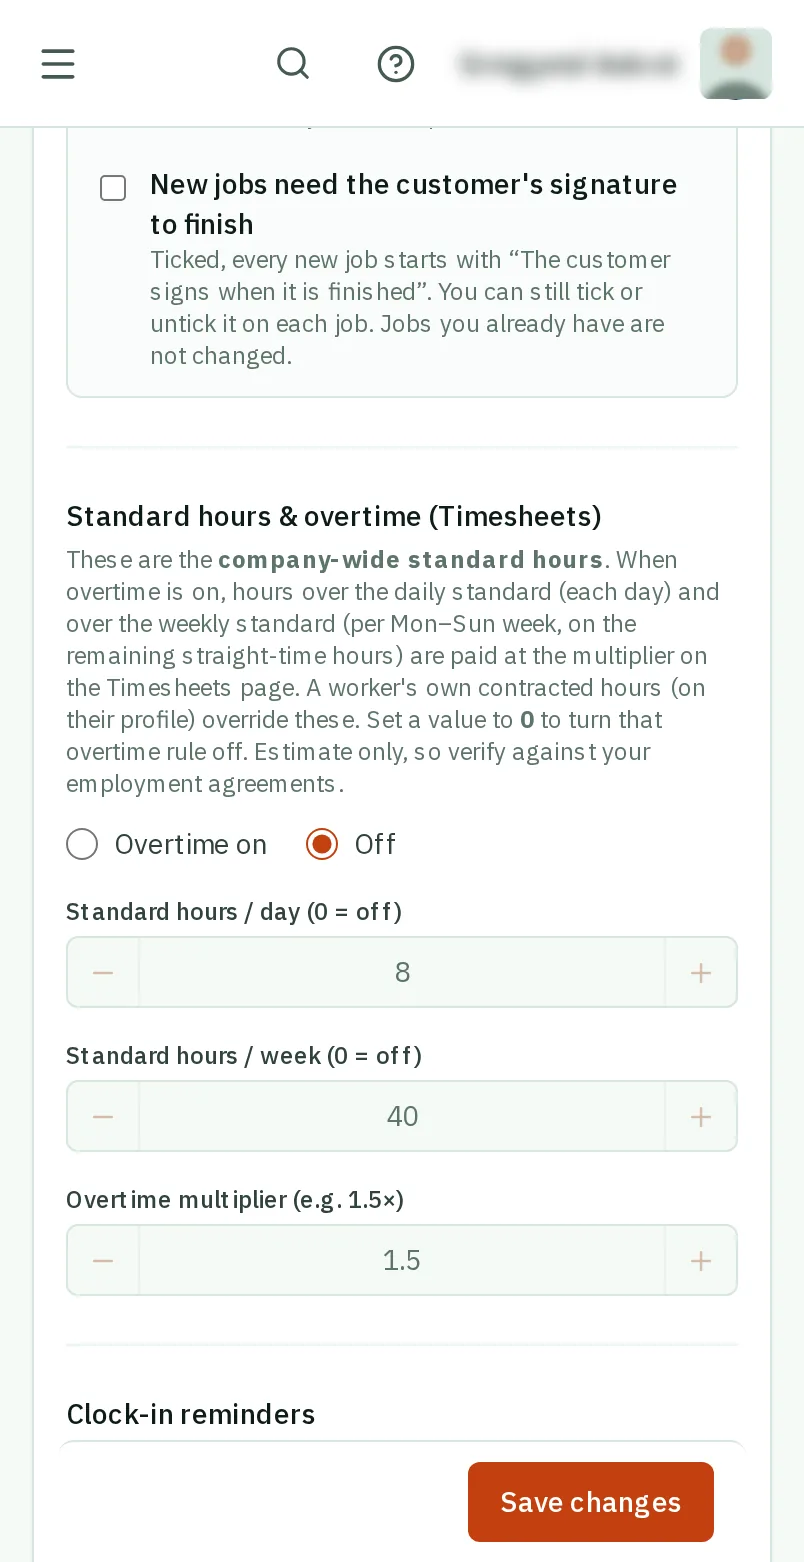
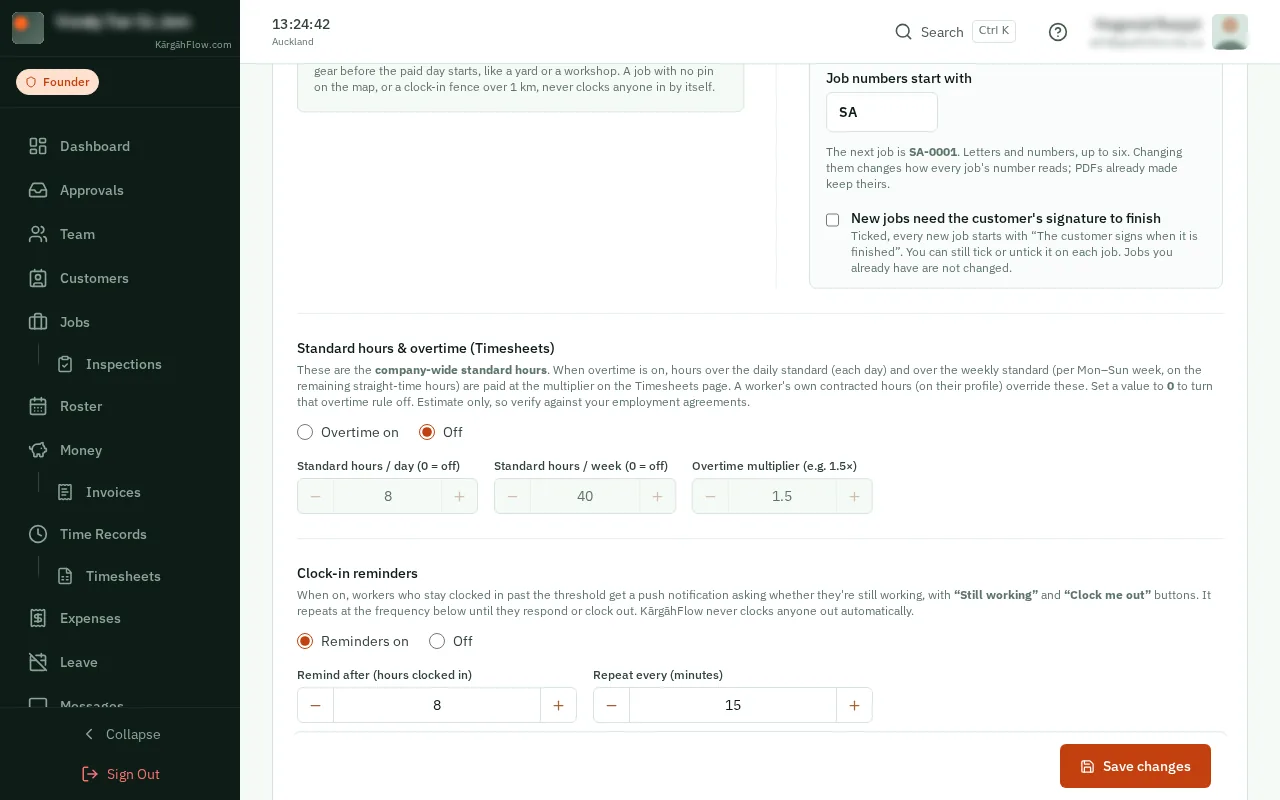
Under Clock-in reminders, choose Reminders on to buzz anyone still clocked in after the hours you set. KārgāhFlow never clocks anyone out by itself.
Good to know: Automatic clock-in, under Email Notifications, lets your crew’s app clock them in when they open it at their job. The guide Turn on automatic clock-in shows how.
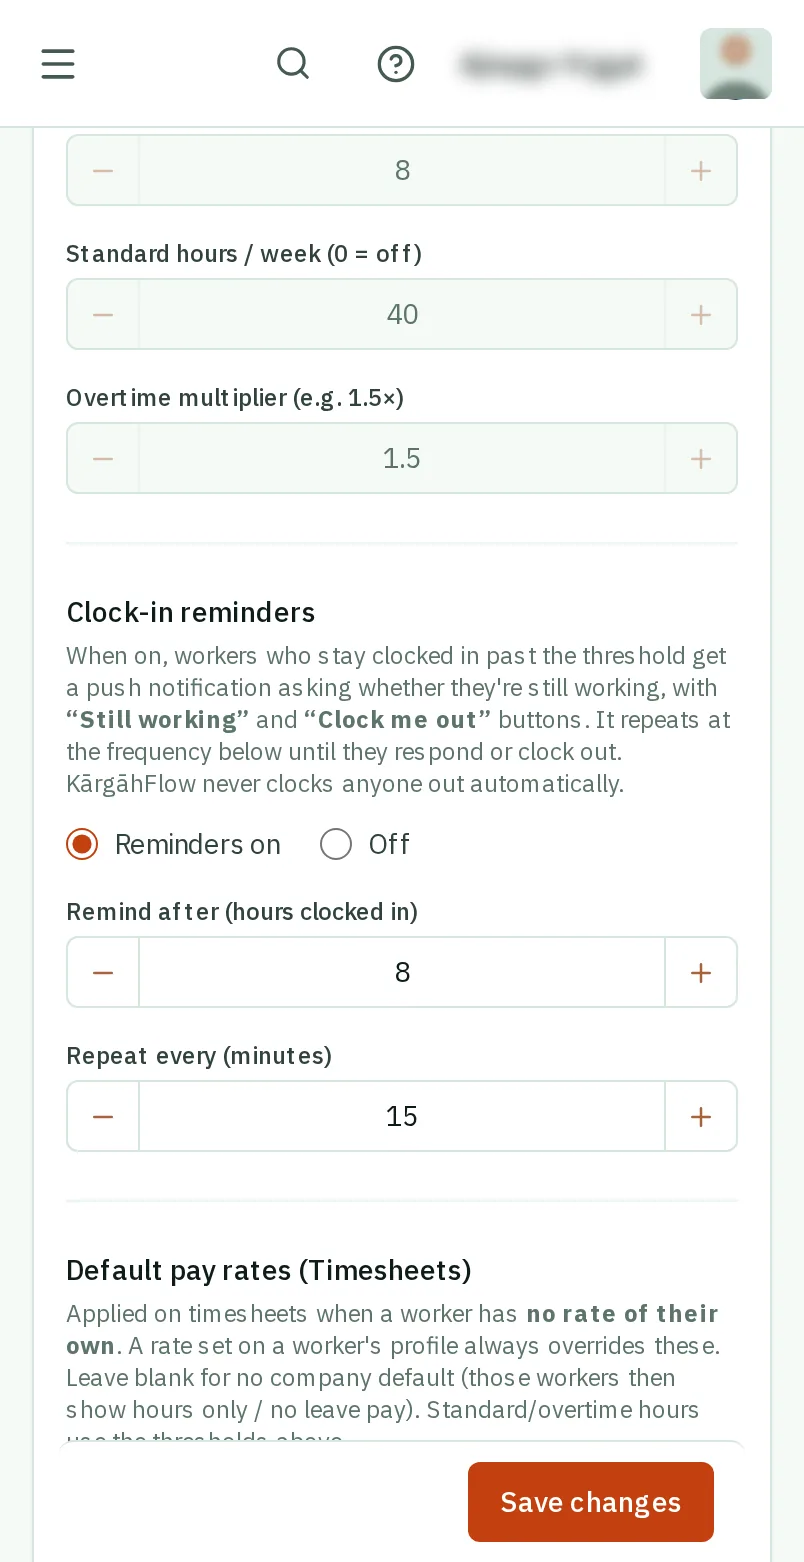
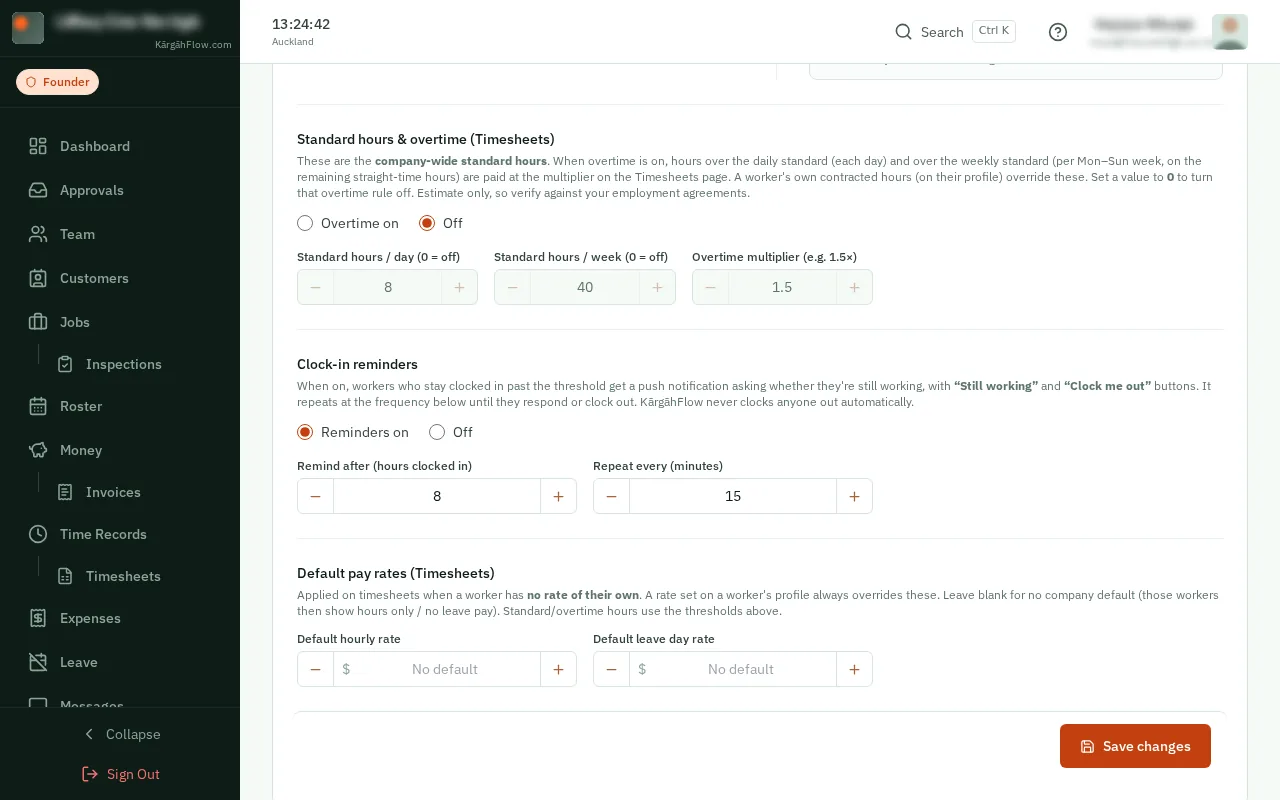
TapClick Save changes at the bottom. Until you do, a yellow bar says you have changes that are not saved yet.