KārgāhFlow
About 1 minute 6 stepsFor crew, admins and owners

Claim back an expense

Snap the receipt, check the figures it fills in, and send it to your manager.

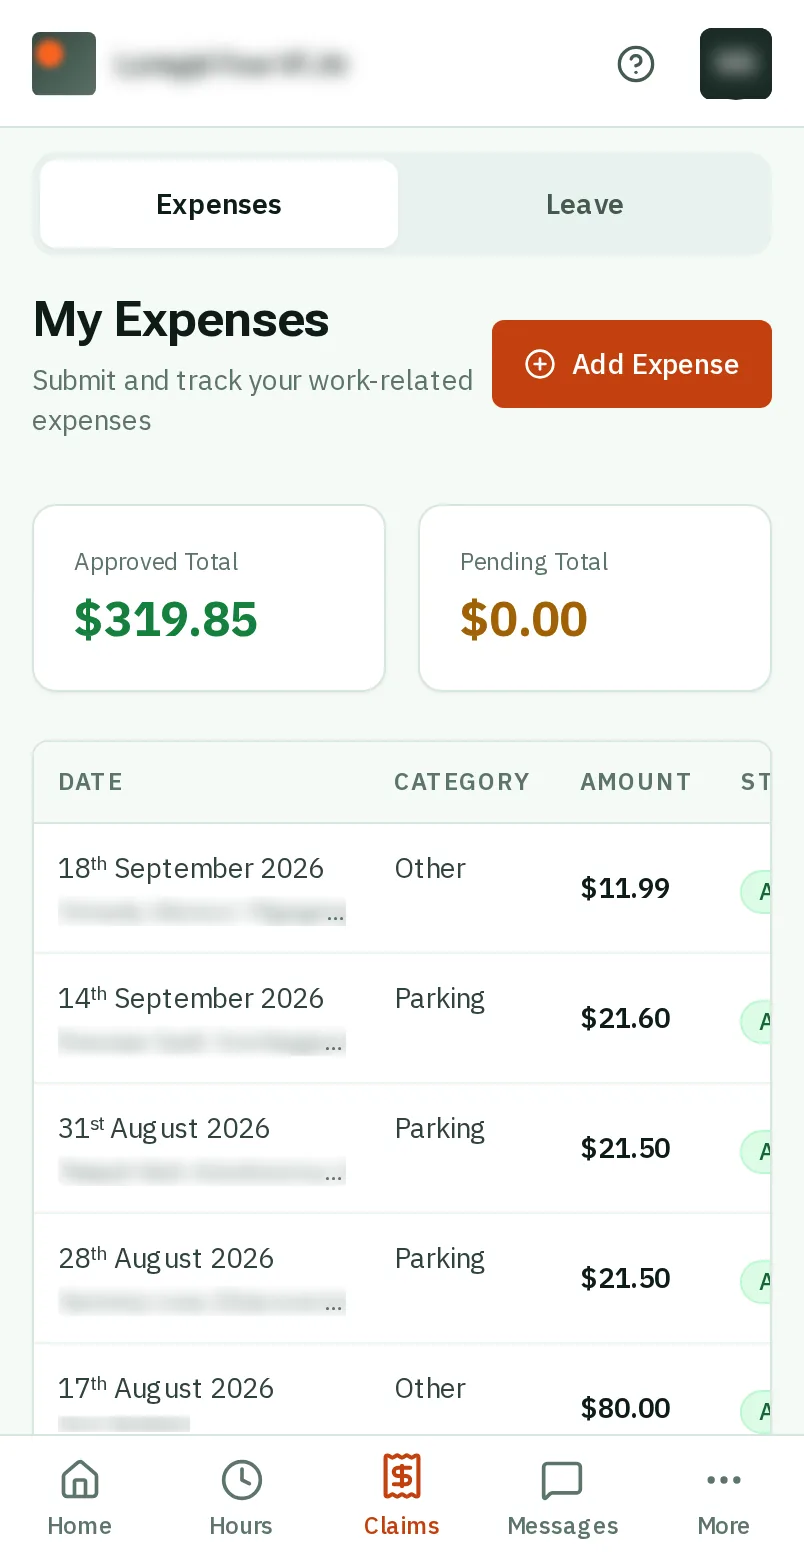
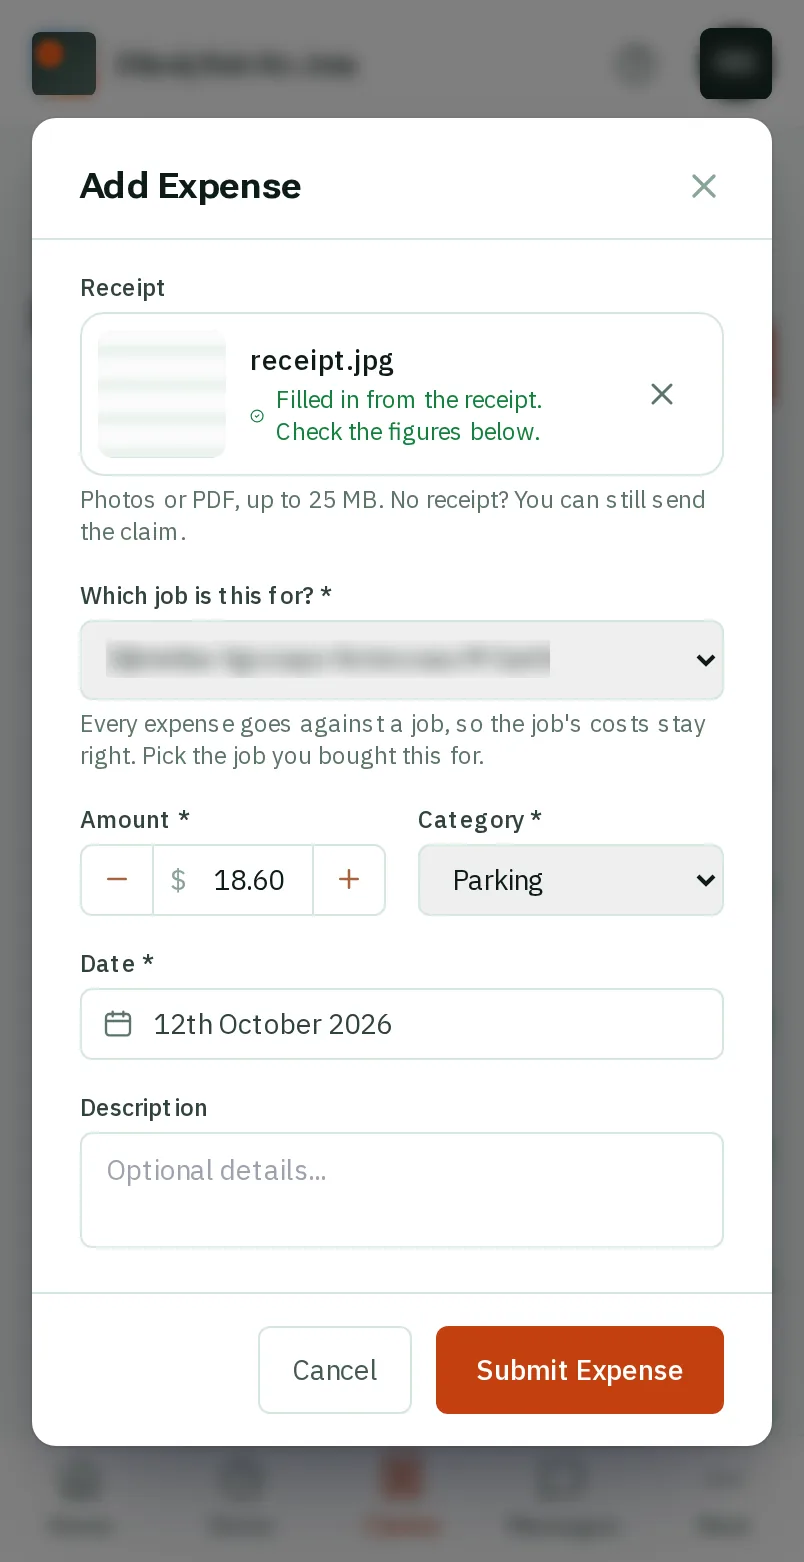
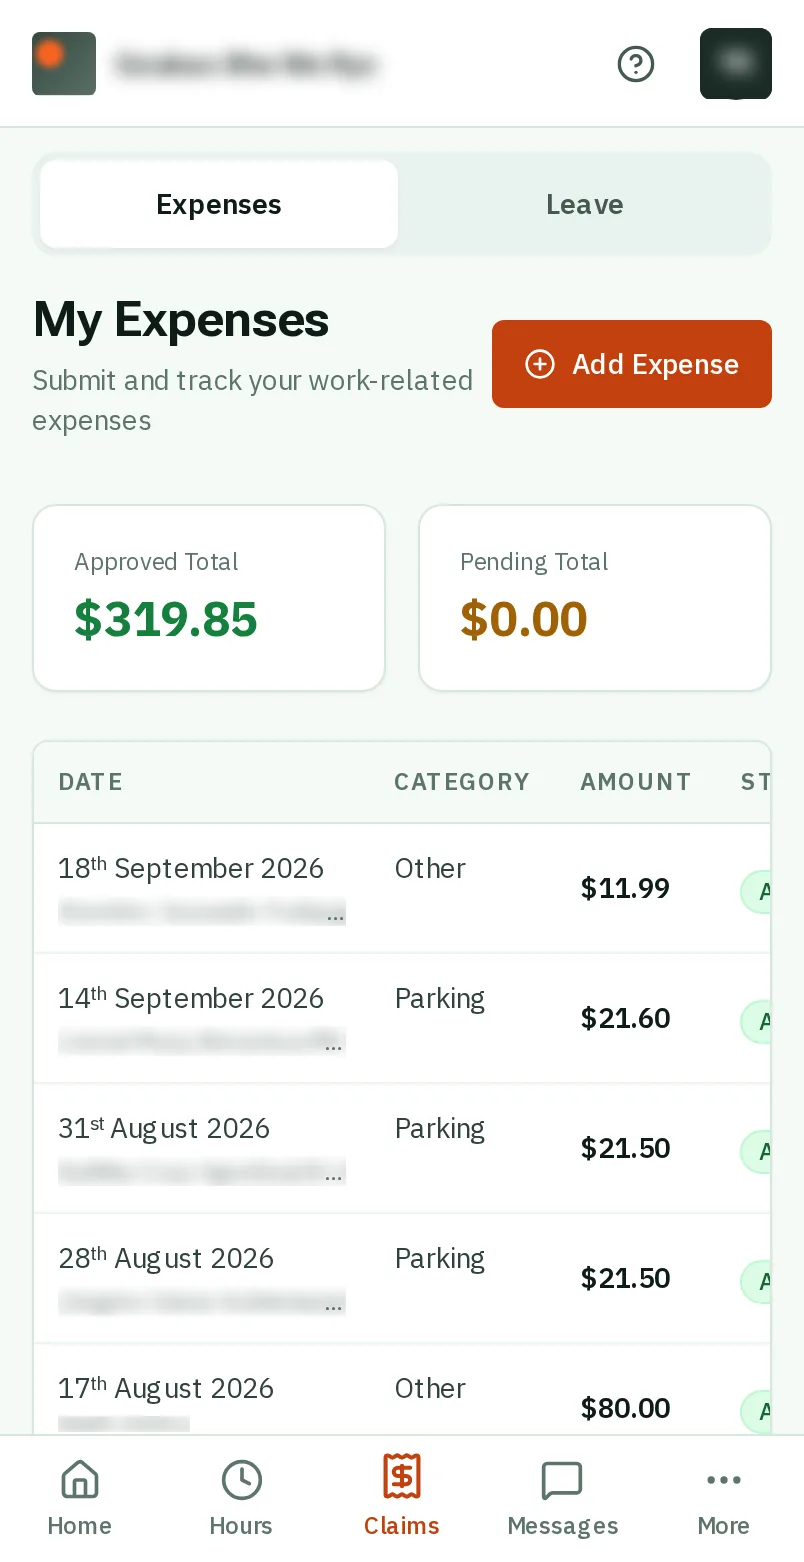
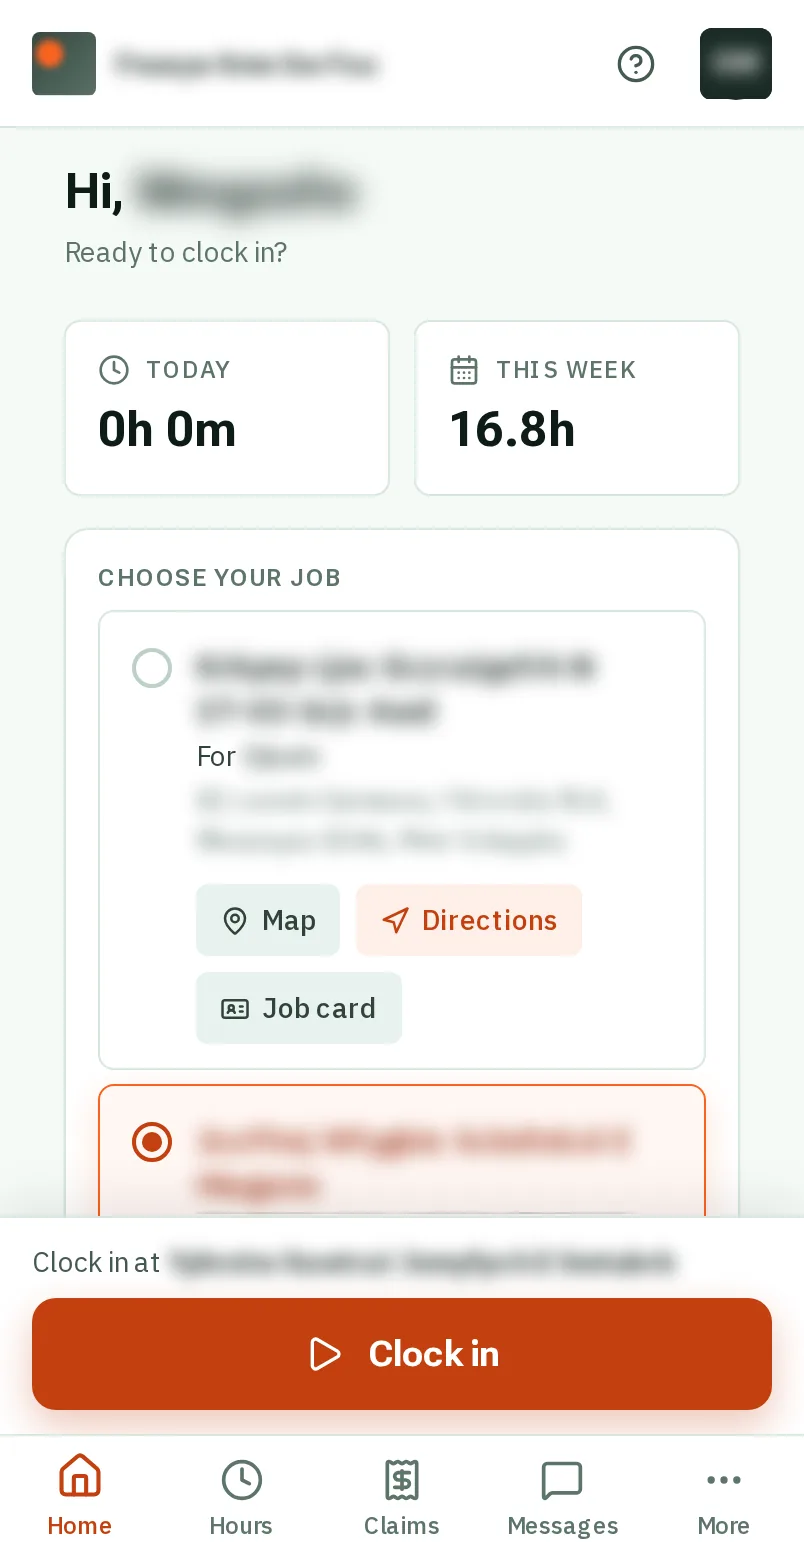
Claim back an expense: the screen on a phone
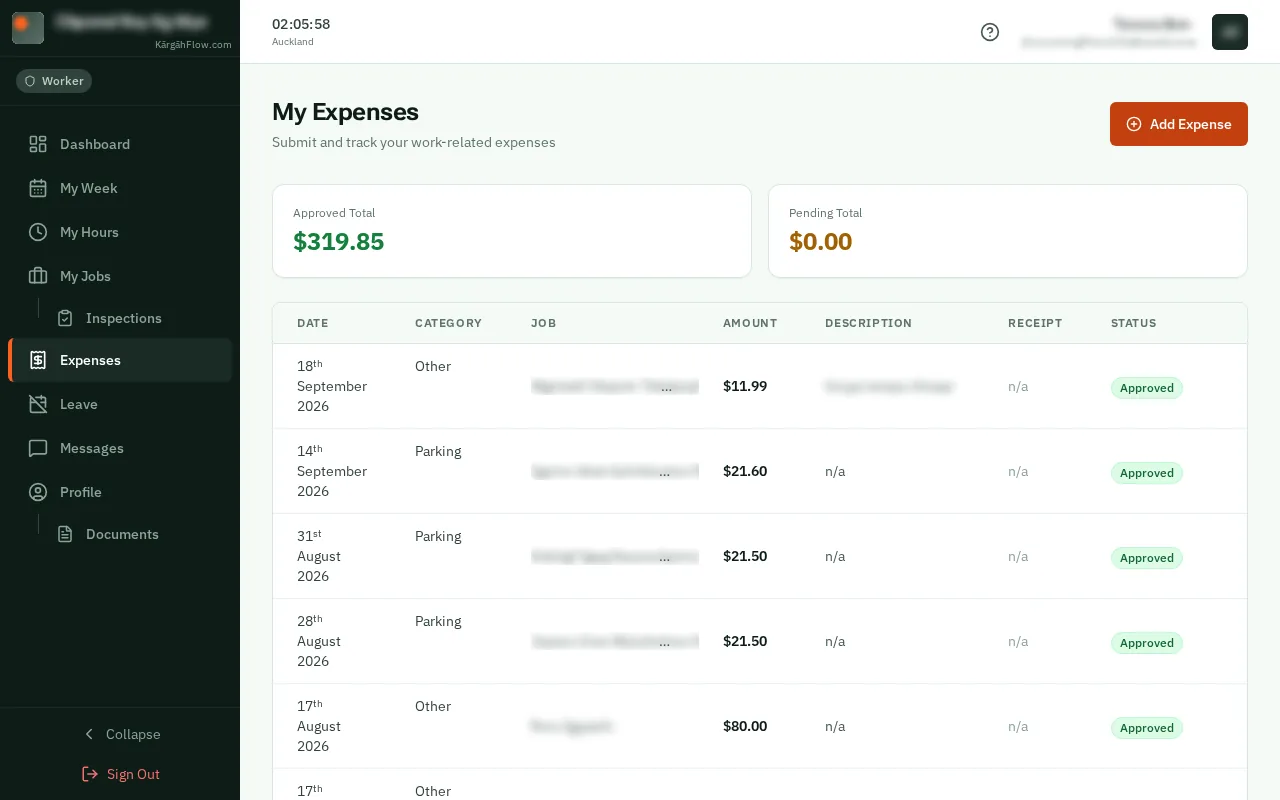
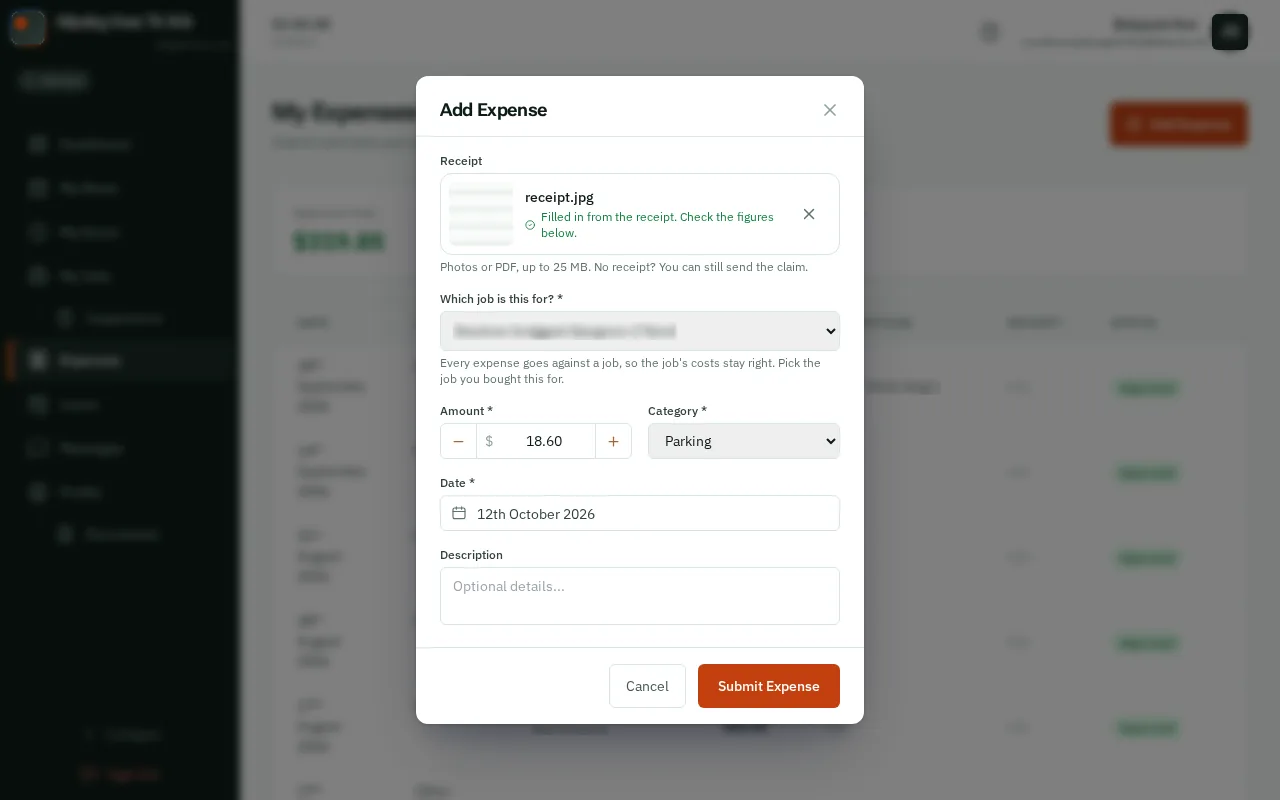
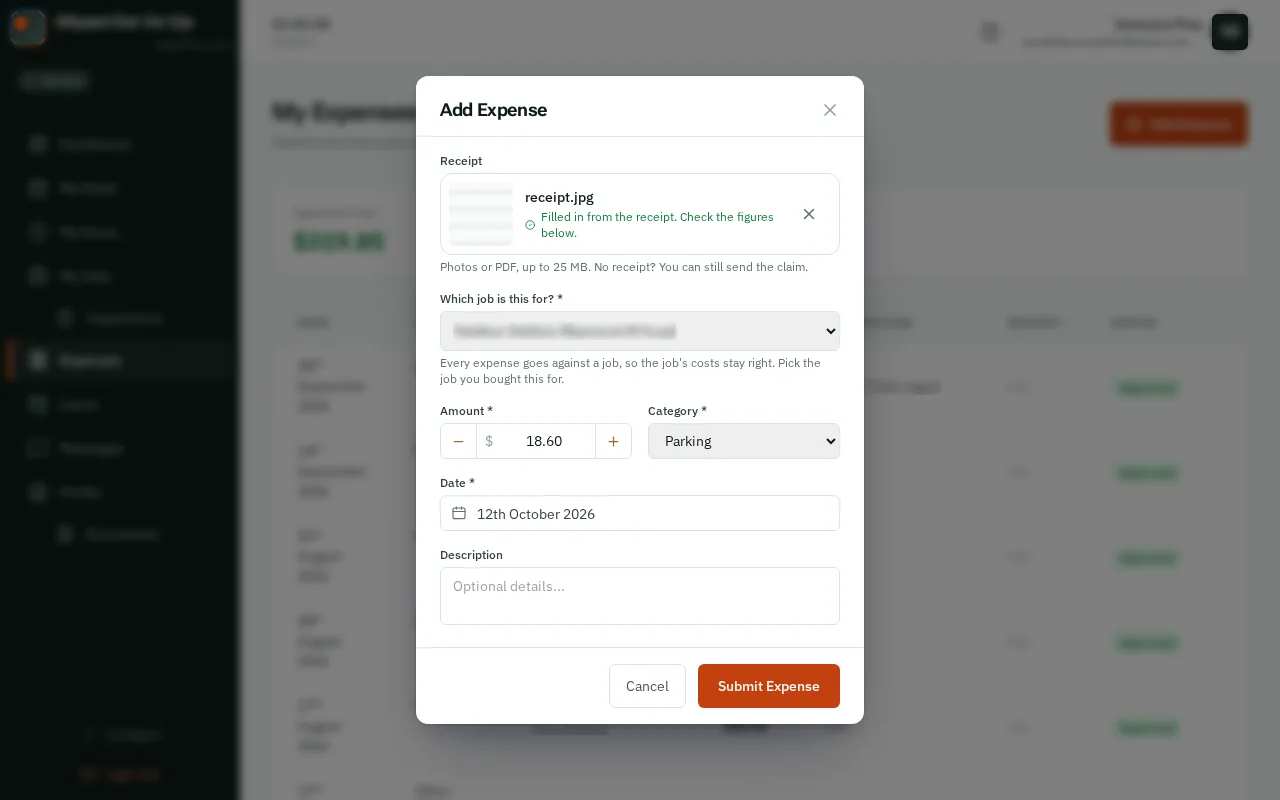
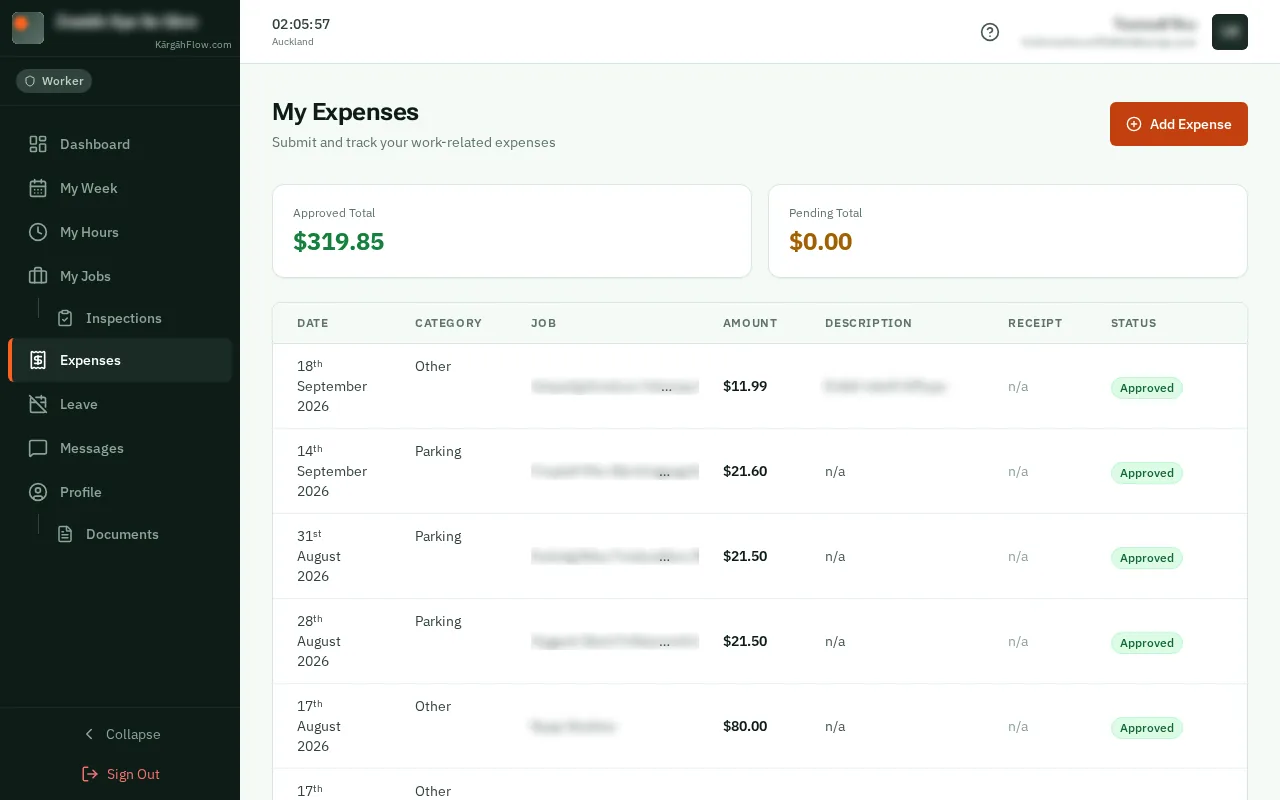
Claim back an expense: the screen on a computer
Step 1 of 6
  1. Step 1: Open your claims

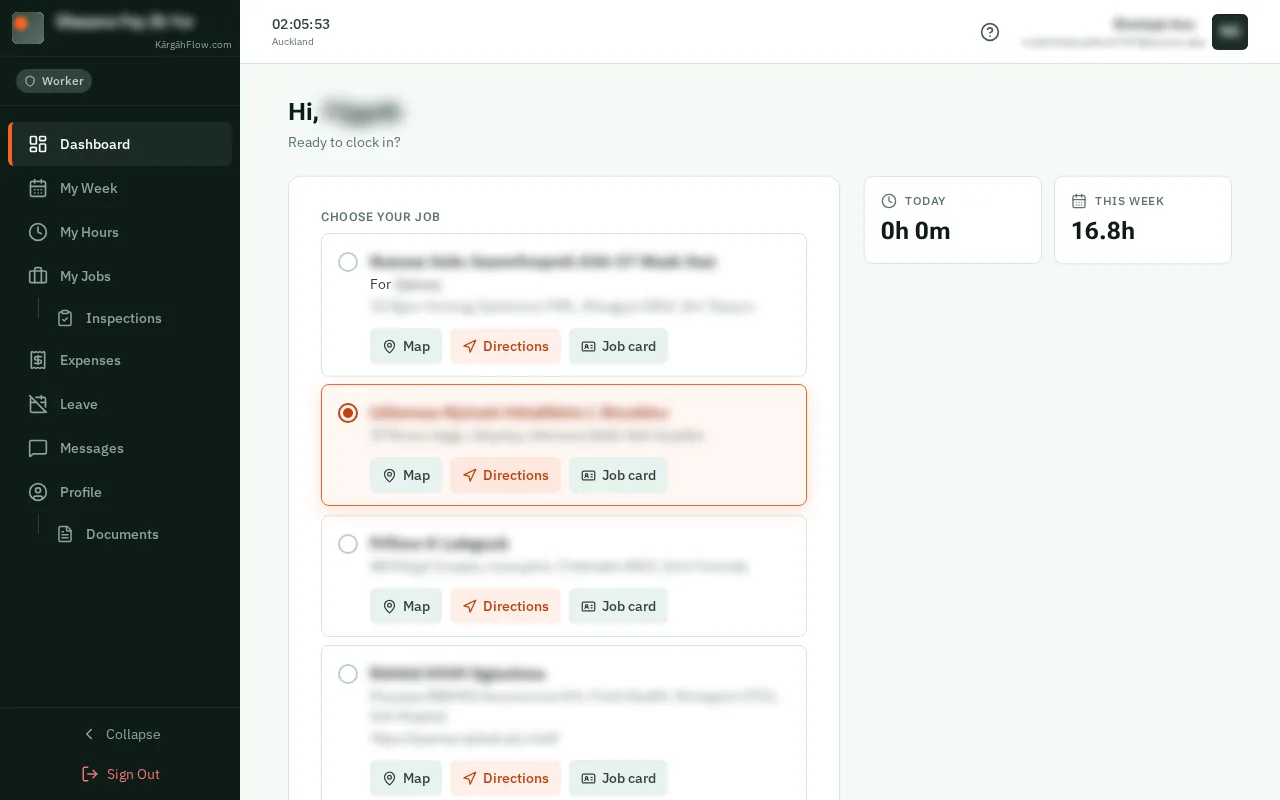
    TapClick Claims in the bar at the bottom of the screen.TapClick Expenses in the menu on the left.

    Look forthe Claims tab in the bar at the bottom of the screen

    Good to know: Admins and owners: your own claims are under Profile, then My Expenses.
    Open your claims
    Open your claims
  2. Step 2: TapClick Add Expense

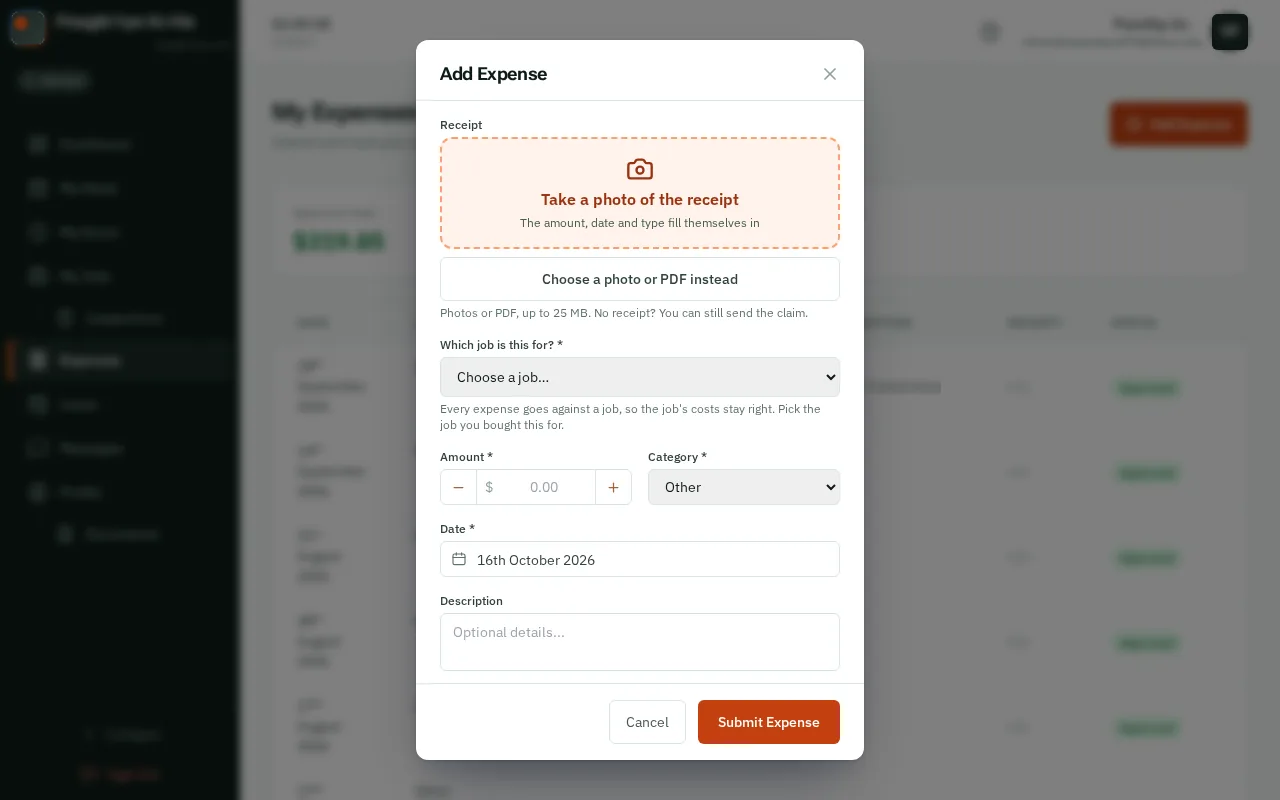
    TapClick the orange Add Expense button.

    Look forthe Add Expense button
    Tap Add Expense
    Click Add Expense
  3. Step 3: Take a photo of the receipt

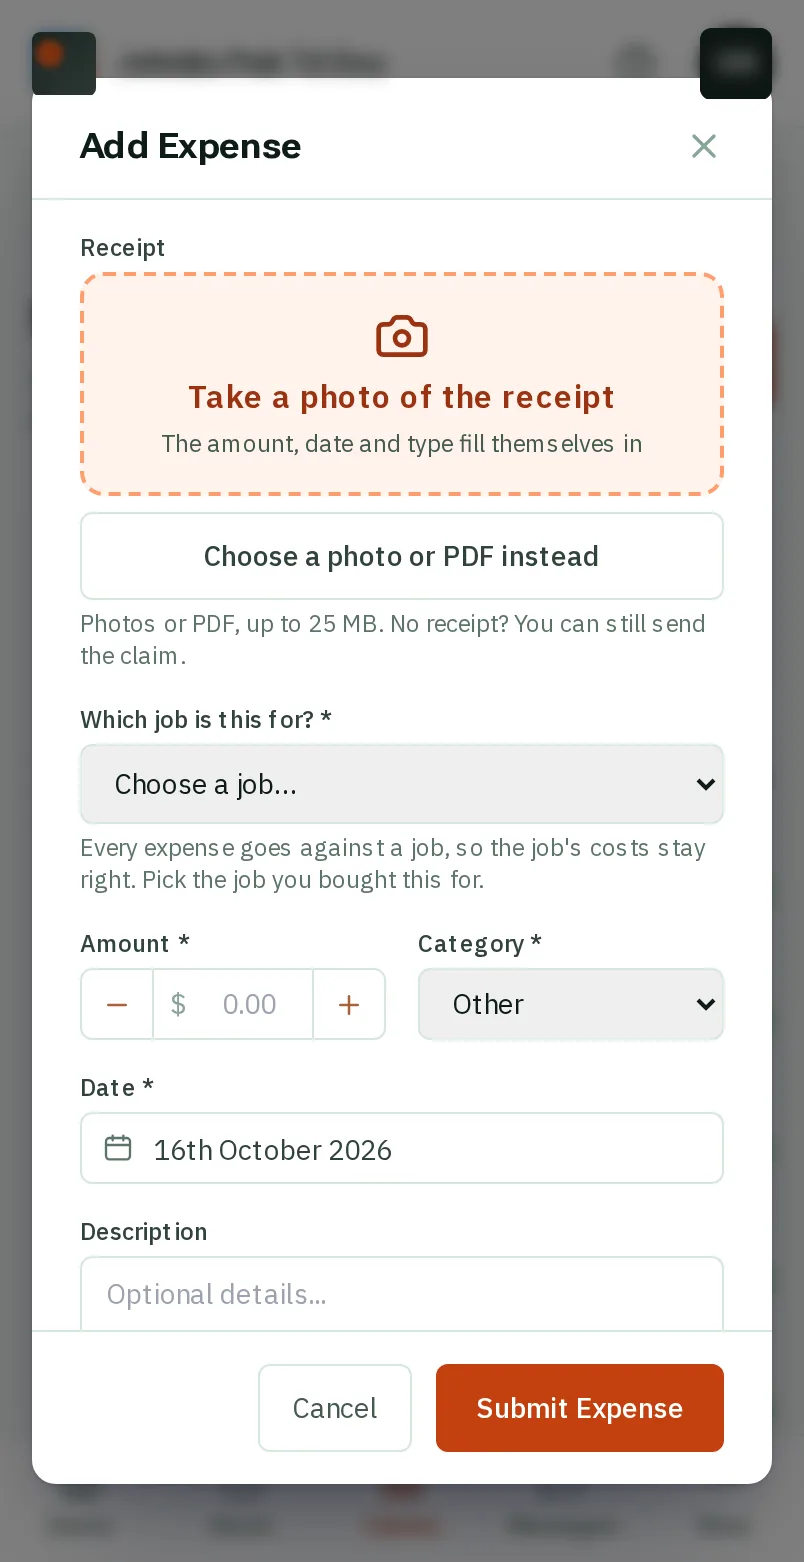
    TapClick Take a photo of the receipt. Your camera opens: hold the phone over the receipt so all of it is in the picture, and take the photo.TapClick Choose a photo or PDF instead and pick the receipt from your computer.

    Look forthe Take a photo of the receipt button
    Take a photo of the receipt
    Take a photo of the receipt
  4. Step 4: Check the figures

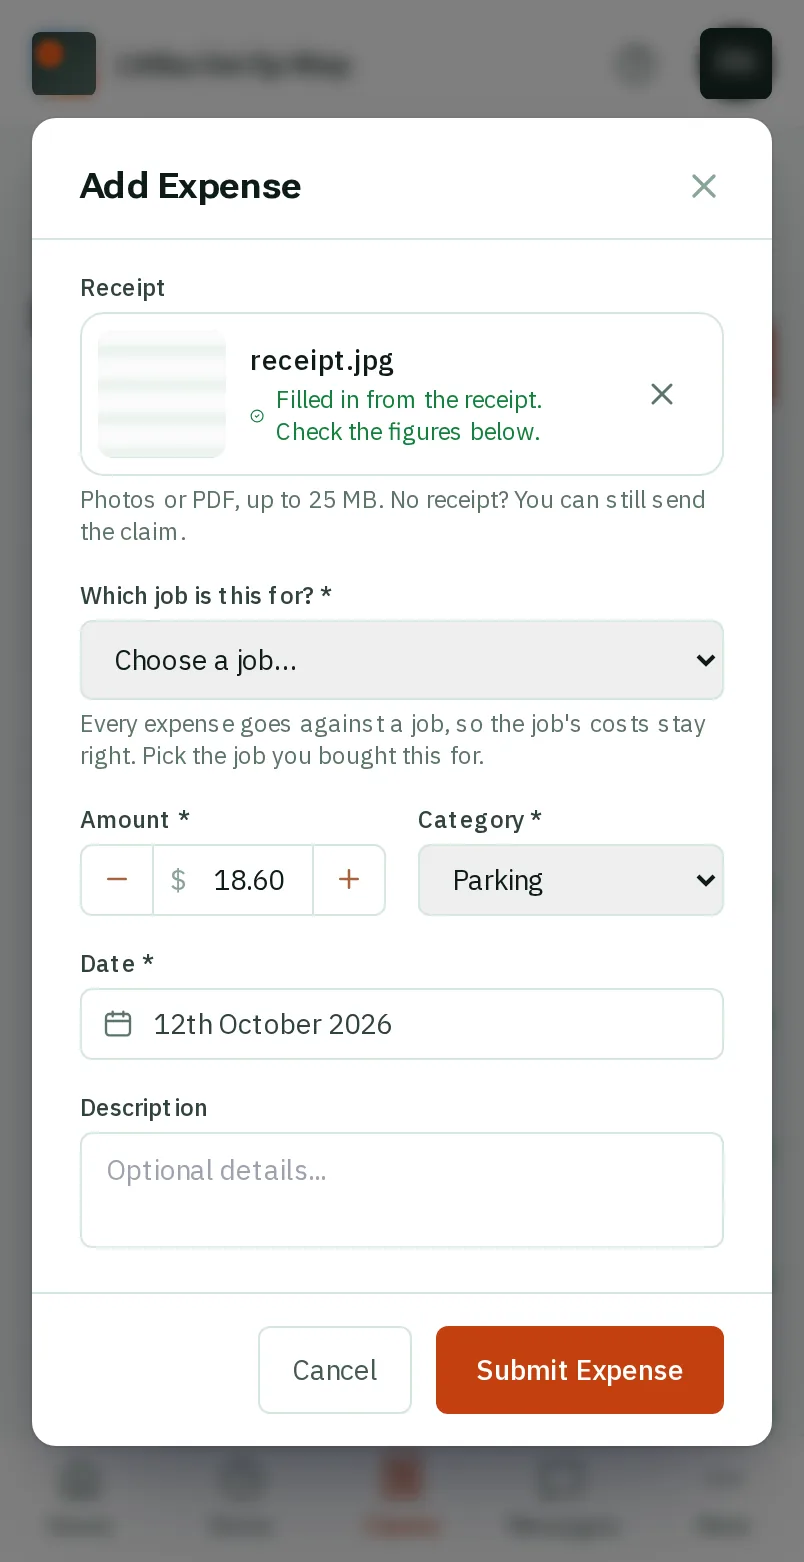
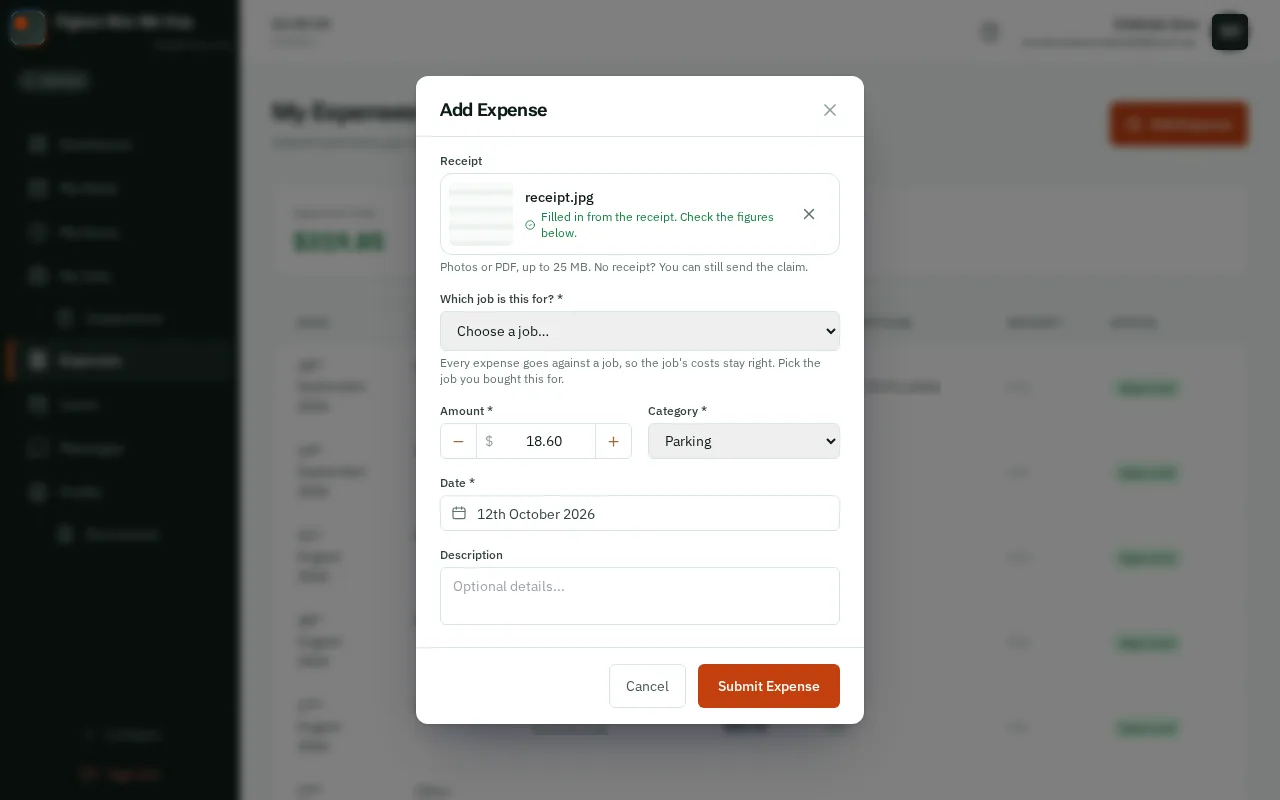
    The amount, the date and the type fill themselves in from the photo. Check they match the receipt, and fix any that do not.

    Check the figures
    Check the figures
  5. Step 5: Choose the job

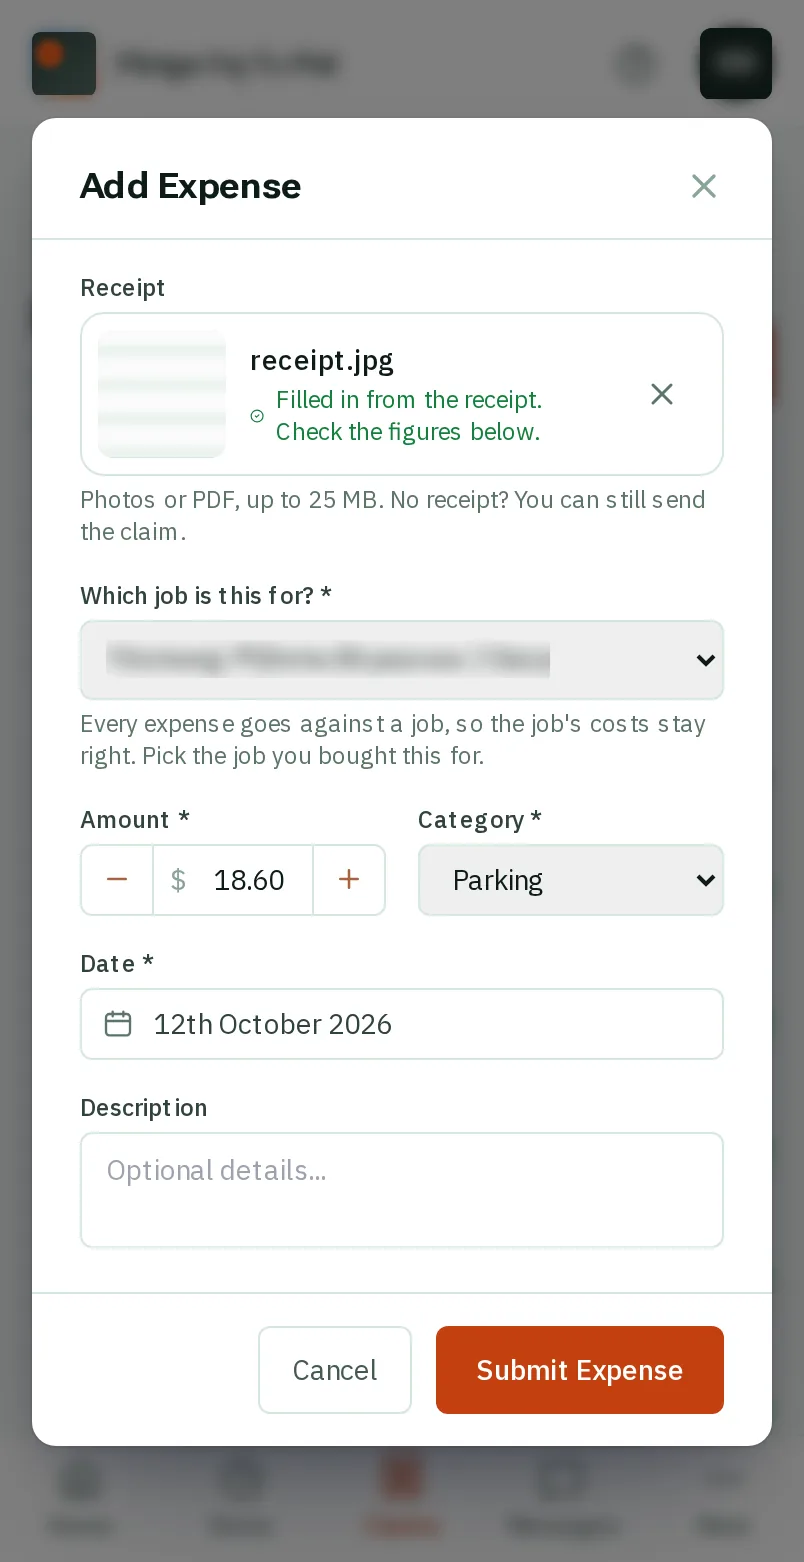
    Under Which job is this for?, choose the job you bought it for.

    Look forthe Which job is this for? box
    Choose the job
    Choose the job
  6. Step 6: TapClick Submit Expense

    TapClick Submit Expense. Your manager gets it straight away.

    Look forthe Submit Expense button

    Good to know: With notifications on, your phone tells you when it is approved. You can delete a claim until it has been decided.

    Tap Submit Expense
    Click Submit Expense

That's it

Your claim is with your manager, with the receipt attached. No paper to keep.

Next: Add a receipt to a job